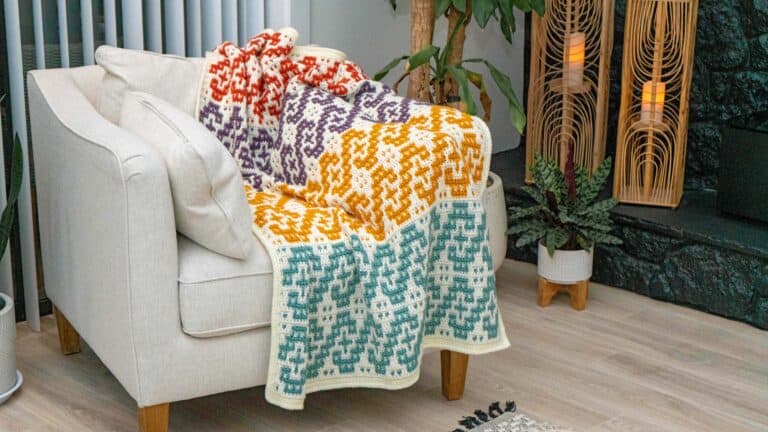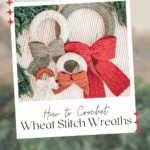
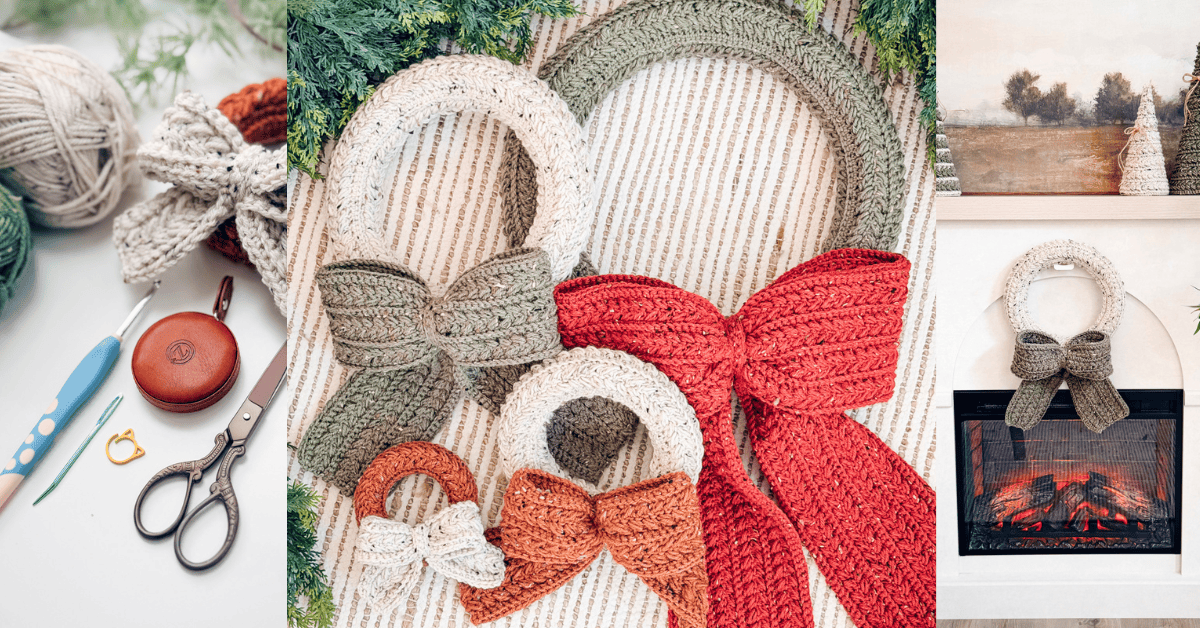
Get into the stitch-mas spirit with a quick and festive make! The Wheat Stitch Crochet Wreath pattern transforms two simple rectangles, worked back and forth in rows in my signature Wheat Stitch™, into a beautifully textured holiday decoration — perfect for your front door, mantel display, kitchen cabinets, wreath wall, or even as the star of your holiday table setting! These beautiful wreaths also make thoughtful gifts!
Disclosure: This post contains affiliate links. Please read my disclosure for more info.
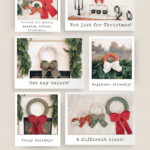
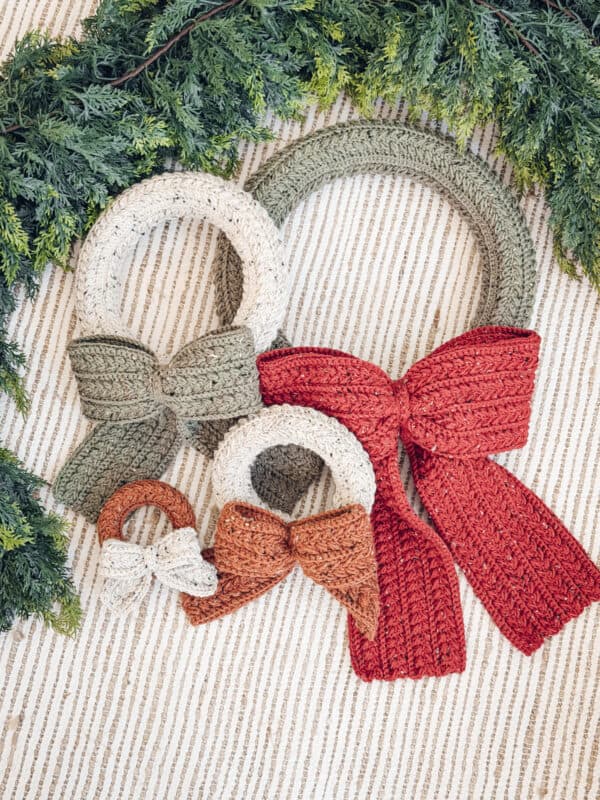
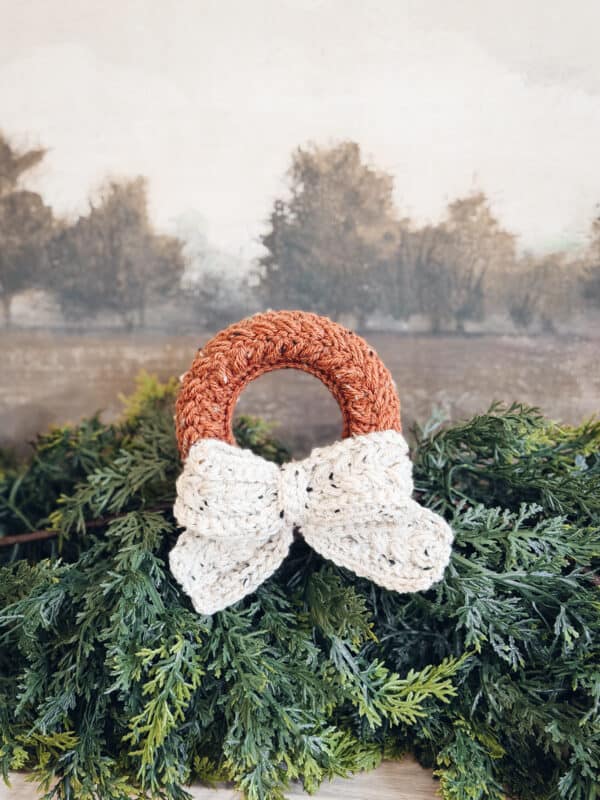
You can keep it classic in evergreen… or get bold with unexpected color palettes. And with four sizes to choose from, you can crochet a full set that looks like a professionally styled holiday home. So, if you love fast holiday patterns that look better than store-bought, this one is knot your average wreath. Crochet some coordinating Wheat Stitch Trees, Wheat Stitch Stockings, or a festively-colored Wheat Stitch Ripple Blanket to add even more texture to your decor! A Wheat Stitch Tree Skirt would also complement your wonderfully wheaty and festive decor!

Wheat Stitch™ Wreath Crochet Supplies
Yarn
WeCrochet Brava Tweed
97% Premium Acrylic/3% Viscose
218yds/100g
Yarn Quantities
Wreath
50 (120, 240, 395) yds
Bow
45 (120, 275, 445) yds
Yarn Substitutions
Lion Brand Heartland – 100% Acrylic; 251yds/142g
Herrschners Worsted 8 Heathers – 100% Acrylic; 489yds/226g
Mary Maxim Maximum Value – 100% Acrylic; 474yds/227g
Herrschners Supreme Worsted – 100% Acrylic; 169yds/100g
Herrschners Worsted Sparkle – 92% Acrylic/8% Polyester; 489yds/226g
Remember always to check the gauge and drape when substituting yarns.
Crochet Hook
Size US G+/7 (4.5mm) Crochet Hook or hook to obtain gauge.
Notions
Scissors
Yarn Needle
Removable Stitch Marker
Wreath Forms (4.5, 7.5, 11″)
Wreath Form (16″)
Skill Level
Advanced Beginner
What you’ll love about this pattern.
? Beginner-friendly — no increasing or decreasing required! Just crochet two rectangles!
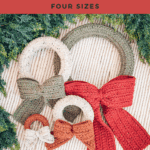
? Four sizes for endless décor possibilities!
? Perfect for last-minute decorating (under a few hours)!
4 Sizes
Wreath Diameter: 4.5 (7.5, 11, 16)” inches”
Wreath Circumference: 14 (23.5, 34.5, 50)” inches”
Abbreviations
blo – back loop only
ch – chain
RS – right side
sc – single crochet
sl st – slip stitch
st(s) – stitch(es)
WS – wrong side
Gauge
Not critical for this pattern.
15 sts by 13 rows = 4″ by 4″ in stitch pattern.
How to Crochet A Gauge Swatch
Working a gauge swatch will let you know if you will have the correct sizing for this pattern. It will also help you practice the stitches used in this project and improve your stitch work for a flawless look.
Are you struggling to match the gauge? Check out the blog post on What is Crochet Gauge and How To Fix It
Construction
This design is intentionally simple — flawless finish, minimum effort:
1️⃣ Crochet Rectangle A → the Wheat Stitch™ wreath panel
2️⃣ Stretch around a foam wreath form
3️⃣ Seam in the back
4️⃣ Crochet Rectangle B → fold into the Wheat Stitch™ bow
5️⃣ Attach bow to wreath
6️⃣ Style + enjoy the compliments
Looking for more quick holiday projects? Check out the Snowy Wheat Stitch Ornament and the Festive Wheat Stitch Stockings!
Special Stitches
Puff Stitch: Yarn over and insert your hook into the stitch/space. Yarn over again and pull up a long loop. Yarn over and insert your hook into the same stitch/space. Yarn over again and pull up a long loop (5 loops on the hook). Yarn over and pull through the first 4 loops, yarn over and pull through remaining loops.
🧶 Yarn Spotlight: Brava Tweed
Brava Tweed always gives me major holiday cozy vibes! It’s so perfect for timeless décor that will hold up year after year!
- Softness + durability ✅
- Speckled winter wonderland flecks ❄️
- Fantastic stitch definition for the Wheat Stitch texture
- Structure that keeps your wreaths from flopping
❓ FAQ — Wheat Stitch Crochet Wreath Pattern
Is this pattern beginner-friendly?
Yes! While labeled as “advanced beginner,” if you’re familiar with my signature Wheat Stitch, you can do this!
What sizes are included?
You get four wreath sizes — mini to statement-large.
How much yarn does it use?
Less than one skein for most sizes — fantastic stash buster!
Can I use different yarn weights?
Yes! Just size your hook + foam form accordingly. (Please note that we do not provide pattern support for modifications.)
Where can I learn the Wheat Stitch™?
This pattern includes written + visual help — you’ll be a texture pro. Plus, here’s a step-by-step tutorial: https://brianakdesigns.com/how-to-crochet-the-wheat-stitch/
Pattern Notes
- A ch 1 at the beginning of a row is not counted as a stitch.
- Using a stitch marker at the beginning (or end) of the row is recommended.
- Weave in your ends neatly on the wrong side.
Subscribe & Like
Video Tutorial for the Wheat Stitch Wreaths
Relax & Crochet
Upgrade to the Printable PDF
Beautifully formatted to print and relax while crocheting. The paid pattern includes:
The Ad-Free PDF can be purchased on Etsy or Ravelry.
Click the box below to unlock this exclusive subscriber content for free. Add your email and create a password. If you are having trouble, reset your password or log in to the Grow Portal.
I’m thrilled to share this amazing crochet pattern with you! Please don’t copy, paste, or distribute this pattern. Prefer an ad-free experience? Purchase a digital PDF file for a small fee from one of my online stores. I appreciate your support and readership. You are why I can keep doing what I love and sharing it with others. Thank you from the bottom of my heart.
Written Crochet Pattern Instructions for Wheat Stitch™ Wreaths
Cover for Circular Foam Form
With Color of Choice
Row 1:
Ch 51 (85, 125, 181) sts, sc in the second ch from the hook and in each ch across, turn. | 50 (84, 124, 180) sts
Row 2:
Ch 1 (turning ch does not count as a st throughout), blo sc in each st across, turn.
Rows 3-4:
Ch 1, *skip the next st, sc in next, work a puff st into the skipped st; repeat from * across, turn.
Join The Kindest Community
Join our vibrant community of crafters on Facebook today. Whether you enjoy crafting with others or simply have burning questions, we’ve got you covered – join us now!
Joining Around The Foam Form
There are two ways to join your crochet piece around the foam wreath:
Slip Stitch Join:
Wrap the cover around the wreath form with the right side facing out, then slip stitch the long sides together along the back of the wreath.
Sewing Join:
Alternatively, fasten off, leaving a long tail. Wrap the cover about the wreath with the right side facing out, then sew the long sides together using a whip stitch along the back.
Don’t worry too much about neatness—this seam will be on the back and won’t be visible.
Finally, join the short ends together to close the cover. This area will be hidden once you attach your bow, so no one will ever know if it’s not perfect! ?
Crochet Bow
With Color of Choice
Row 1:
Ch 67 (111, 161, 233) sts, starting in the second ch from the hook, sc in each st across, turn. | 66 (110, 160, 232) sts
Row 2:
Ch 1 (turning ch does not count as a st throughout), blo sc in each st across, turn.
Rows 3-4:
Ch 1, blo sc 1, *skip the next st, sc in next, work a puff st into the skipped st; repeat from * across until the last st, blo sc 1, turn.
Rows 5-6:
Ch 1, blo sc in each st across, turn.
Repeats:
Repeat Rows 3-6 until the total number of rows is 6 (10, 14, 18) rows; this will end on a blo sc row.
Folding the Bow – See Video
Fold the bow piece in half lengthwise so the long edges meet. From the open edges, measure 3.5 (7, 10, 14) inches, depending on your size. Using your yarn needle and matching yarn, seam the layers together at that point, joining the two sides securely.
Next, take the closed end of the fabric—your piece will now form a circle with tail ends. Fold the center of this circle toward the seam you just made. Pinch the center together to shape the bow and use your yarn needle to stitch it in place, securing the folds. Set aside and make the Bow Center.
Not Just for Christmas!
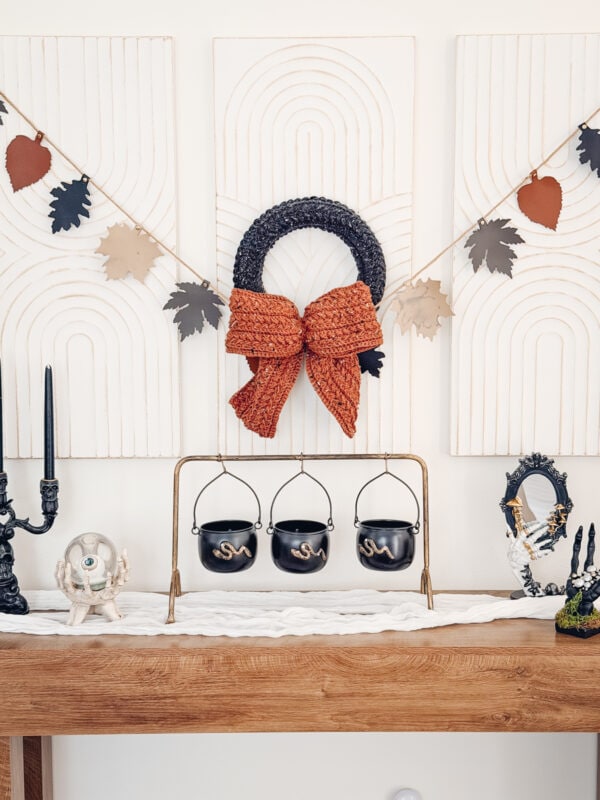
These wreaths aren’t just for Christmas! By simply changing colors, you can create a stunning piece of decor for year-round use! I used charcoal and rusty orange to make some Halloween wreaths. Try using pastels for spring and Easter, or beachy colors or red, white, and blue for the summer. Use your favorite school or team colors for a one-of-a-kind decoration. The choice is yours!
Bow Center
Row 1:
Ch 13 (15, 17, 19) sts, starting in the second ch from the hook, sc in each st across, turn. | 12 (14, 16, 18) sts
Row 2:
Ch 1 (turning ch does not count as a st throughout), sc in each st across, turn.
Repeats:
Repeat Row 2 until the total number of rows is 2 (3, 3, 3) rows. Fasten off, leaving a long tail.
Wrap the center strip snugly around the middle of the bow to create the bow’s shape. On the back side, use the tail end of your yarn and a yarn needle to seam the edges together, securing the wrap in place.
Next, attach the bow to the wreath in your preferred position—either at the top or the bottom. For the most secure hold, use your yarn needle to stitch all the way through the wreath form to the back side.
To help the bow stay puffed, tack the back side of the bow to the wreath—secure each side of the bow wings in place. See the video for reference.
Once the bow feels firmly attached, fasten off and weave in all yarn ends neatly on the back.
Finishing
Subscribe to my youtube channel
Now comes the best part—displaying your beautiful Wheat Stitch Wreath! This cozy creation isn’t just for one season. Swap out the wreath cover and bow colors to match your mood or the time of year. It’s like giving your home a fresh outfit whenever the seasons change!
Here are some fun two-color combo ideas for every occasion:
🪻 Spring: Soft Blush + Cream or Mint + Lavender
☀️ Summer: Coral + White or Turquoise + Sandy Beige
🎃 Fall: Pumpkin Orange + Wheat Gold or Rust + Ivory
❄️ Winter: Deep Red + White or Icy Blue + Silver
❤️ Valentine’s Day: Rose Pink + Red
🍀 St. Patrick’s Day: Emerald Green + Light Gold
🦃 Thanksgiving: Cranberry + Mustard
🎄 Christmas: Forest Green + Cherry Red
🎉 New Year’s: Black + Gold
No matter the combo, your Wheat Stitch Wreath will keep your space looking handmade and heartwarming all year long.
Looking for more holiday patterns?
Magical Stitches Holiday Stockings
Cheers, and happy crocheting!
Well, That Was Fun! What’s Next?