

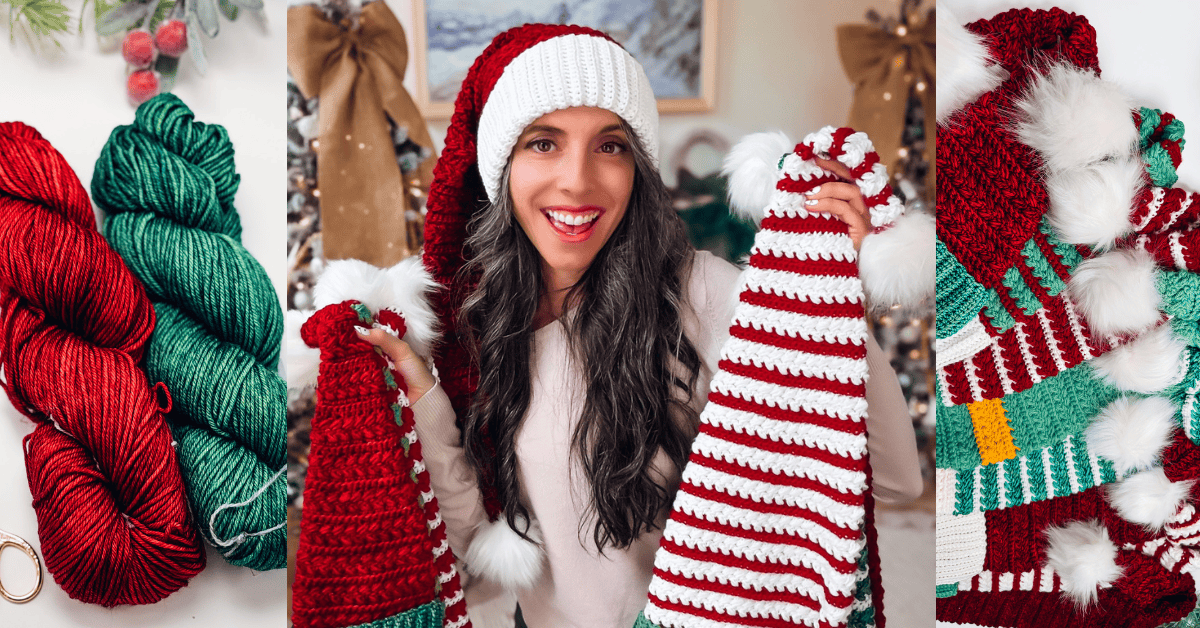
Bring extra cheer to your handmade holiday season with the Wheat Stitch™ Crochet Santa & Elf Stocking Hat — a cozy, playful stocking-style beanie designed to sparkle in family photos, shine at Christmas parties, and spread joy all winter long. This festive crochet hat pattern includes sizes from newborn through adult large, making it perfect for matching family sets, thoughtful handmade gifts, and heirloom-worthy holiday traditions you’ll look forward to year after year.
Disclosure: This post contains affiliate links. Please read my disclosure for more info.
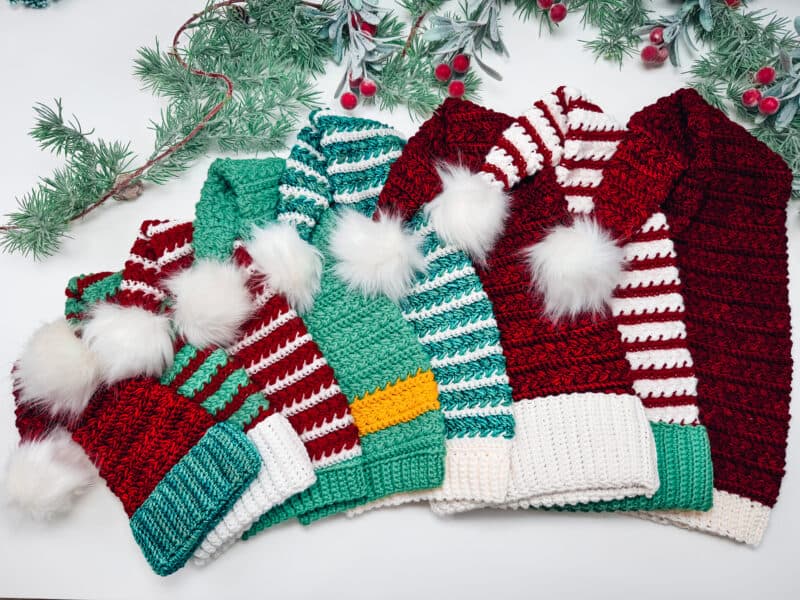
Crocheted in the round in my signature Wheat Stitch™, this hat is designed to be fun, fast, and irresistibly festive. Whether you choose classic Santa-red or bold elf-inspired stripes, this pattern makes it easy to craft a cozy, eye-catching stocking hat that’s perfect for gift-giving, winter markets, holiday photo shoots, and making merry memories that last longer than the cookies on Santa’s plate.
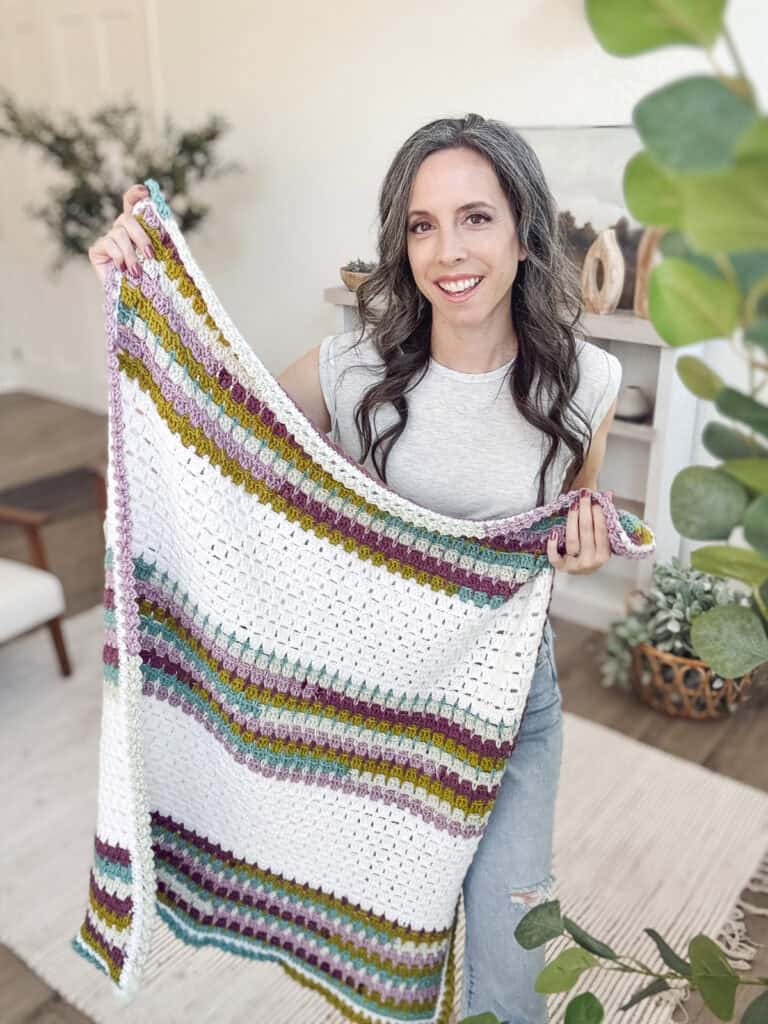
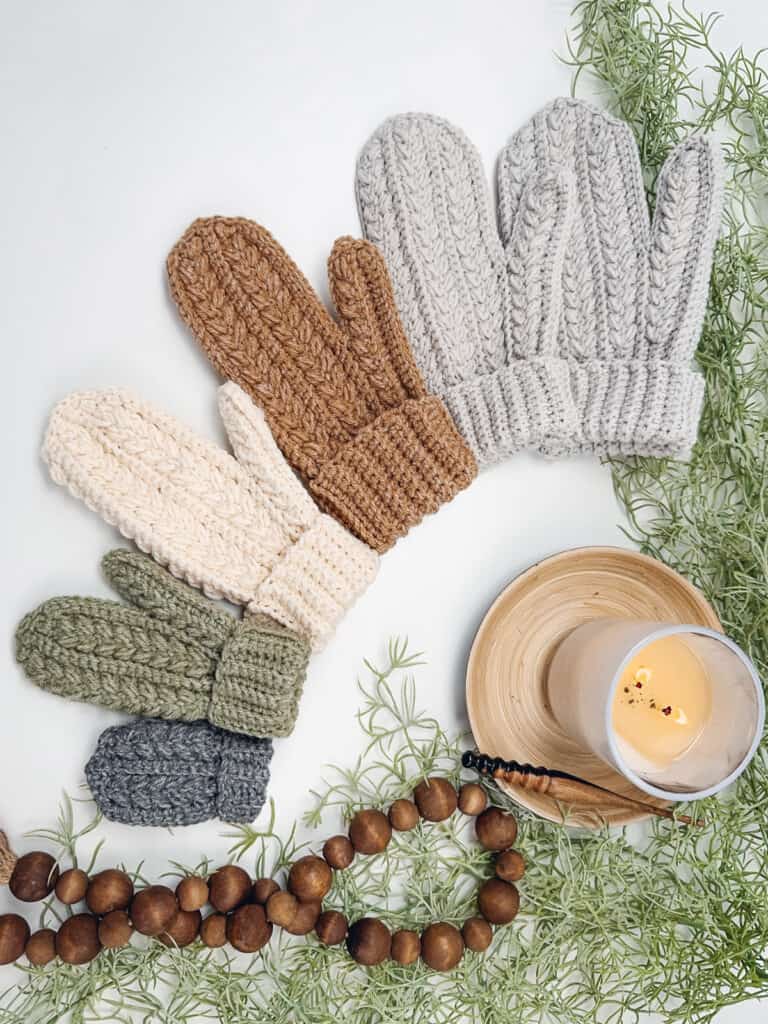
Add a Wheat Stitch™ Scarf and a pair of Winter Wheat Stitch™ Flat Mittens to create a whole festive set!
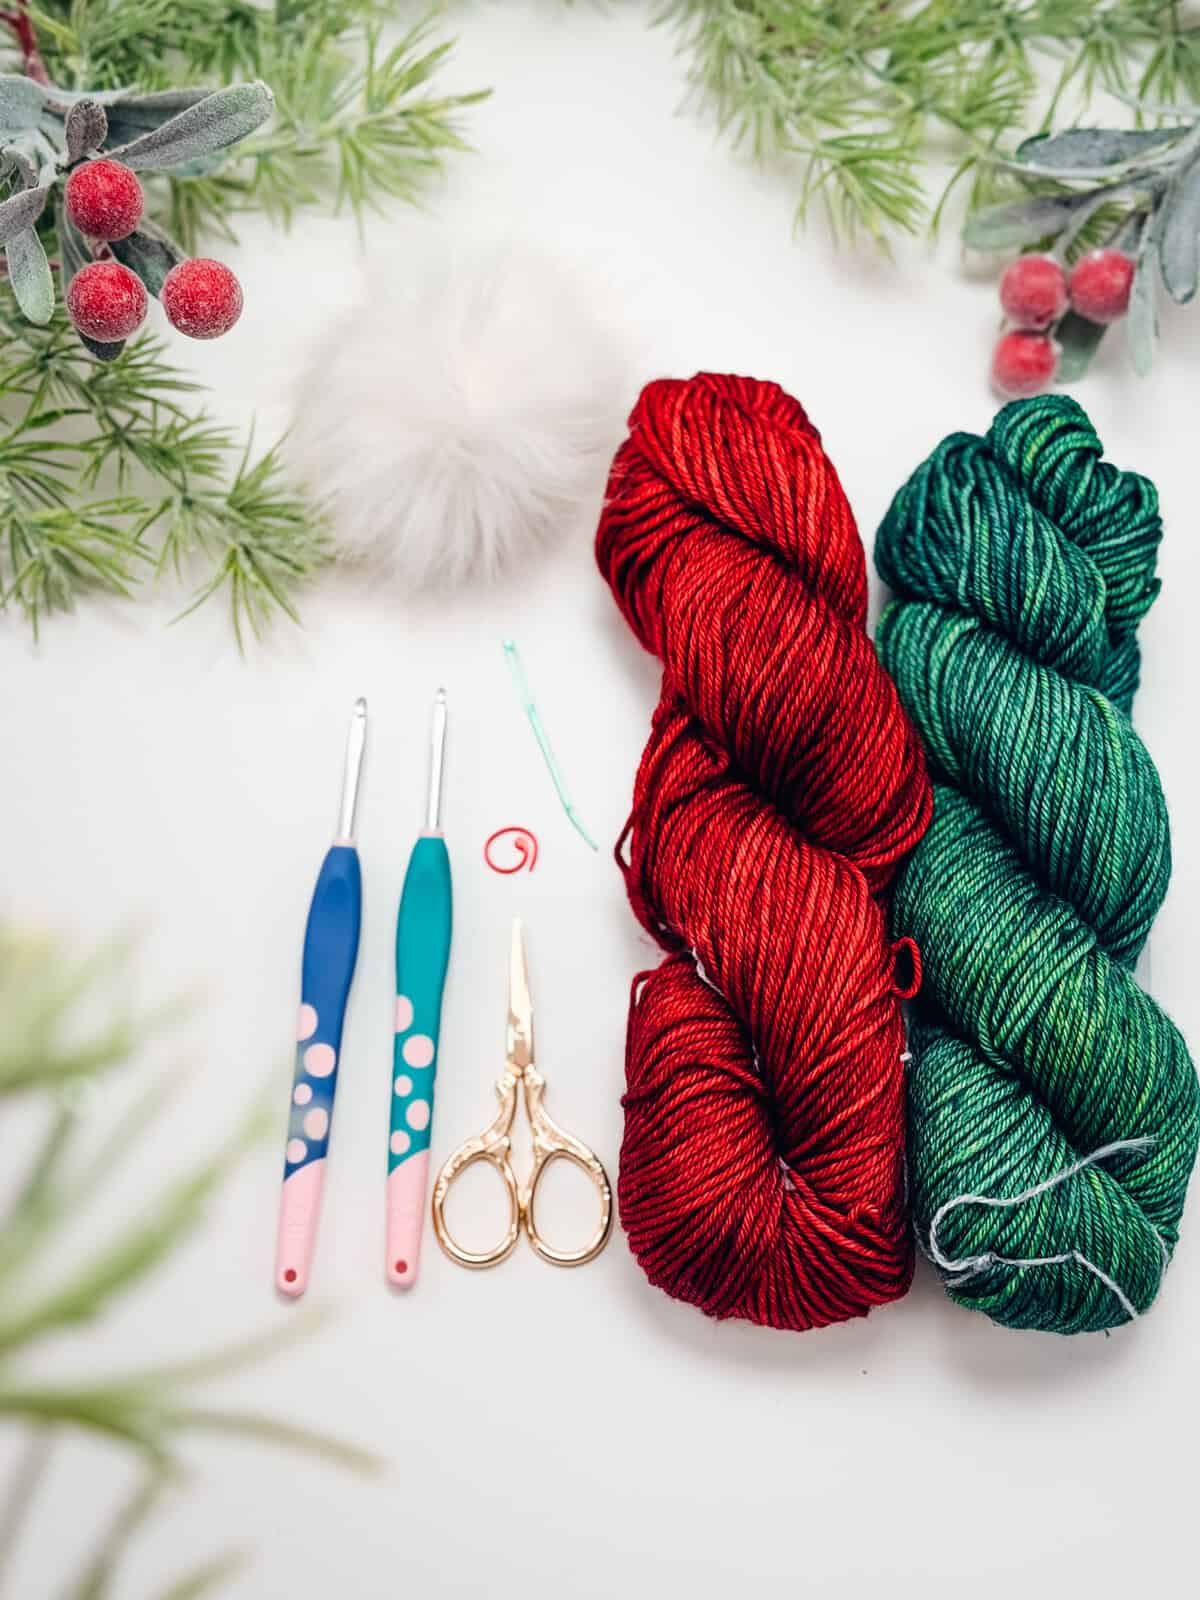
Wheat Stitch™ Crochet Santa & Elf Stocking Hat Supplies
Yarn
Berroco Vintage
52% Acrylic, 40% Wool, 8% Nylon 218yds/100g
+
Malabrigo Rios
100% Superwash Merino Wool 210yds/100g
Yarn Quantities
Yardage will jingle around a bit depending on your brim choice and color combo. Go wild with stripes or keep it cozy with solids, ’tis the season to make it yours!
Approximate Yardage: 215-525yds
Yarn Substitutions
Lion Brand Heartland – 100% Acrylic, 251yds/142g
Mighty Stitch Worsted – 80% Acrylic/20% Superwash Wool, 208yds/100g
Brava Worsted – 100% Premium Acrylic, 218yds/100g
Heatherly Worsted – 80% Acrylic/20% Merino Wool, 328yds/100g
Herrschners Supreme Worsted – 100% Acrylic, 169yds/100g
Remember always to check the gauge and drape when substituting yarns.
Crochet Hook
G (4.0mm) & H (5.0mm) – or size to meet gauge
Notions
Removable Stitch Markers
Yarn Needle to weave in ends
Scissors
Pompom
Pompom Buttons
Twine for Tags
Skill Level
Advanced Beginner
What you’ll love about this pattern.
🎅 Sizes for the whole crew — newborn → adult large.
🎅 That signature Wheat Stitch texture we all adore.
🎅 The dramatic stocking-cap silhouette that screams holiday cheer.
Sizes
Newborn (Baby, Toddler, Child, Teen) (Adult Small, Medium, Large)
To fit Head Circumference:
12-14 (14-16, 16-18, 18-20, 20-22) (21-22, 22-23, 23-24)” – Actual measurements are in schematic.
Ease: This hat is crocheted with approximately 2-3 inches of negative ease.
Abbreviations
blo – back loop only
ch – chain
flo – front loop only
RS/WS – right side/wrong side
sc – single crochet
sc2tog – single crochet 2 together
sl st – slip stitch
st(s) – stitch(es)
Gauge
15 sts and 15 rows = 4″ by 4″ in st pattern repeat, not blocked.
How to Crochet A Gauge Swatch
Working a gauge swatch will let you know if you will have the correct sizing for this pattern. It will also help you practice the stitches used in this project and improve your stitch work for a flawless look.
Are you struggling to match the gauge? Check out the blog post on What is Crochet Gauge and How To Fix It
Construction
The Wheat Stitch™ Crochet Santa & Elf Stocking Hat is worked from the bottom up for a polished, professional finish.
You’ll begin with a soft, stretchy ribbed brim, crocheted flat in rows to create a comfortable, flexible fit. Once the brim is complete, you’ll join seamlessly into rounds and transition into the richly textured Wheat Stitch™ for the body of the hat.
To customize your look:
- Switch colors every two rounds for bold, playful elf-inspired stripes
- Or keep it solid for a timeless Santa-style classic
Gentle shaping and simple decreases create the long, pointed stocking cap silhouette that gives this design its signature floppy charm. Finish your hat with a fluffy pompom for the perfect festive flourish.
Want more festively wheaty projects? Try the Wheat Stitch™ Pickle Ornament, Wheat Stitch™ Stocking, and the Wheat Stitch™ Trees!

Special Stitches
Puff Stitch: Yarn over and insert your hook into the stitch/space; yarn over again and pull up a long loop; yarn over and insert your hook into the same stitch/space; yarn over again and pull up a long loop (5 loops on the hook); yarn over and pull through the first 4 loops; yarn over and pull through remaining loops.
Pattern Notes
- The chain 1 at the beginning of the row does not count as a stitch.
- For a full tutorial on the Wheat Stitch, visit: https://brianakdesigns.com/how-to-crochet-the-wheat-stitch/
- Using a stitch marker at the beginning (and end) of the round is recommended.
- Change colors by yarning over with the new color when making the slip stitch to join at the end of the round. Keep both colors attached and carry the unused yarn up the inside of the hat without fastening off.
- If an even longer stocking hat is desired, add rounds in multiples of 4 before starting the decrease rounds.
- This Pattern Uses Standard US Terminology. I use affiliate links and follow GPSR Compliance.
FAQs (Frequently Asked Questions) for the Wheat Stitch™ Crochet Santa & Elf Stocking Hat
Q: What skill level is this pattern?
Confident beginner. You should be comfortable with the Wheat Stitch, working in rows and joined rounds, and simple color changes.
Q: What sizes are included?
This pattern includes 8 sizes: newborn through adult large, perfect for family matching sets.
Q: Can I make it in different colors?
Absolutely! Traditional red and white create a Santa look, while alternating festive colors make a playful elf-style hat.
Q: Can this be customized?
Yes — adjust the hat length, stripe spacing, or pompom size to personalize each hat.
Q: Is this a fast project?
Yes – for some people! It’s a satisfying, quick-make project that’s perfect for gifting and last-minute holiday crafting. The speed and time it takes to crochet this hat depend on several factors, including the size and the person’s skill level. Crochet isn’t a contest, and we always recommend taking your time and enjoying the process (without comparing yourself to others).
Subscribe & Like
Video Tutorial for the Wheat Stitch™ Crochet Santa & Elf Stocking Hat
Relax & Crochet
Upgrade to the Printable PDF
Beautifully formatted to print and relax while crocheting. The paid pattern includes:
The Ad-Free PDF is available for purchase on Etsy or Ravelry.
Click the box below to unlock this exclusive subscriber content for free. Add your email and create a password. If you are having trouble, reset your password or log in to the Grow Portal.
I’m thrilled to share this amazing crochet pattern with you! Please don’t copy, paste, or distribute this pattern. Prefer an ad-free experience? Purchase a digital PDF file for a small fee from one of my online stores. I appreciate your support and readership. You are why I can keep doing what I love and sharing it with others. Thank you from the bottom of my heart.
Wheat Stitch™ Crochet Santa & Elf Stocking Hat – Written Pattern Instructions
Fold-Up Brim
With G (4.0mm) Hook & Color of Choice
Row 1:
Ch 13 (15, 17, 17, 19) (19, 19, 19), sc in second chain from hook and in each across, turn. | 12 (14, 16, 16, 18) (18, 18, 18) sts
Row 2:
Ch 1 (turning ch does not count as a st here and throughout), blo sc in each st across, turn.
Repeats:
Repeat Row 2 for a total of 48 (52, 58, 64, 70) (76, 80, 84) rows. Sl st Row 1 to the current row by working through the blo of the current row and the blo from the first row.
The brim band should measure approx. 10 (11.75, 13.5, 14.75, 16) (17.25, 18.5, 19.25)” wide by 3 (3.5, 4, 4, 4.5) (4.5, 4.5, 4.5)” tall.
Please note: The final width of the brim band will be smaller than the finished hat measurements because the brim should be stretchy.
Regular Brim
With G (4.0mm) Hook & Color of Choice
Row 1:
Ch 5 (5, 7, 7, 7) (9, 9, 9), sc in second chain from hook and in each across, turn. | 4 (4, 6, 6, 6) (8, 8, 8) sts
Row 2:
Join The Kindest Community
Join our vibrant community of crafters on Facebook today. Whether you enjoy crafting with others or simply have burning questions, we’ve got you covered – join us now!
Setup Round
With H (5.0mm) Hook & Same Color as Brim.
Setup Rnd:
Working along the top edge of the beanie, Ch 1, sc along the edge space of the first row, *insert your hook into the left bar of the sc st, then insert into the next row edge space. YO and pull up a loop, then pull through the first loop on the hook. YO and pull through the remaining two loops on the hook. Repeat from * all the way around the top edge, join to the first st. | 48 (52, 58, 64, 70) (76, 80, 84) sts
Hat Body
With H (5.0mm) Hook
Note: If doing stripes, change colors every 2 rounds (sc rnds in one color, puff st rounds in another). Or get creative and mix it up however you like!
Rnd 1 (WS):
Ch 1, flo sc in each st around, join and turn.
Rnd 2 (RS):
Ch 1, blo sc in each st around, join and turn.
Rnds 3-4:
Ch 1, skip the first st, sc in next, work a puff st into the skipped st, *skip the next st, sc in next, work a puff st into the skipped st; repeat from * around, join and turn.
Rnds 5-6:
Ch 1, blo sc in each st around, join and turn.
Rnds 7-8:
Ch 1, skip the first st, sc in next, work a puff st into the skipped st, *skip the next st, sc in next, work a puff st into the skipped st; repeat from * around, join and turn.
Repeat Rnds 5-8 for 1 (1, 2, 2, 3) (3, 4, 4) more times.
There will be a total of 12 (12, 12, 16, 16) (16, 20, 20) rnds for the body.

Quick Tip
Don’t fasten off ends between colors. Simply carry the yarn up on the inside. Fewer ends to weave in!
Decreasing Summary
For every size, work a 2-stitch decrease on each BLO single crochet round until the stitch count is 8. Alternate where you place the decreases to keep the shaping even and the hat looking smooth.
If you want every single stitch count spelled out for each decrease round (for every size), that’s all tucked inside the VIP Experience, ad-free PDF version of this pattern, which you can find on Etsy or Ravelry!
Finishing
Subscribe to my youtube channel
Using the long tail and your yarn needle, loop through each remaining st of the hat all the way around. Pull closed and weave in all ends. Place a pompom on the hat if desired, and wear!
The Wheat Stitch™ Crochet Santa & Elf Stocking Hat is the perfect mix of cozy, whimsical, and handmade charm. With inclusive sizing, customizable colorwork options, and a beginner-friendly construction, it’s a holiday pattern you’ll reach for again and again. Make one — or make matching sets — and bring a little extra handmade magic to your season.
Cheers, and happy crocheting! For more festive fun, check out these designs!
❤️ Granny All the Way Ornaments
Well, That Was Fun! What’s Next?