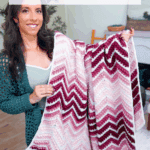
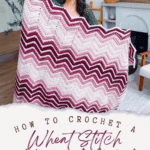
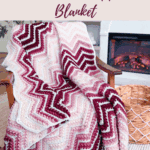
Looking for a blanket that’s cozy, textured, and full of movement? The Wheat Stitch™ Ripple Blanket takes the classic ripple (or chevron) design and gives it a fresh twist with my signature wheat stitch. The result is a timeless blanket worked from the bottom up that’s full of beautiful peaks and valleys, creating natural waves you’ll want to wrap up in right away.

Disclosure: This post contains affiliate links. Please read my disclosure for more info.
Whether you’re crocheting for your own home, making a heartfelt gift, or preparing for market season, this free pattern is designed to be relaxing, versatile, and endlessly customizable. Pair this blanket with a Braided Wheat Stitch™ Blanket or a set of Wheat Stitch™ Nesting Baskets to add even more texture and style to your space.
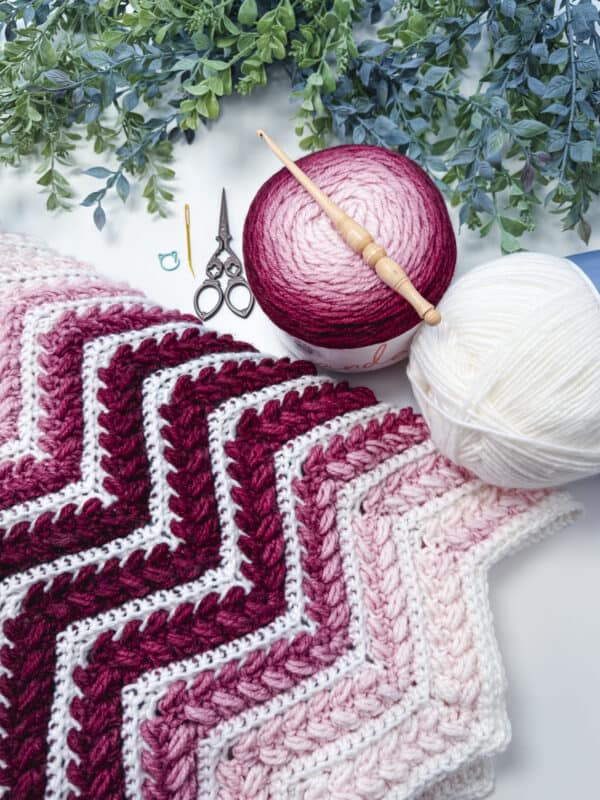
Wheat Stitch Crochet Ripple Blanket Supplies
Yarn
Color A
Herrschners Worsted Jumbo
100% Acrylic, 743yds/340g
Shown in White
Color B
Lion Brand Mandala Gradient
90% Acrylic/10% Nylon, 295yds/150g
Shown in Burgundy
Yarn Quantities
Small Throw total yardage: 4960yds
Total yardage for other sizes will vary.
Yarn Substitutions
WeCrochet Brava Worsted – 100% Premium Acrylic, 218yds/100g
Mary Maxim Maximum Value – 100% Acrylic, 474yds/227g
Herrschners Supreme Worsted – 100% Acrylic, 169yds/100g
Soho Playful – 65% Acrylic/35% Cotton, 218yds/100g
(Colors will be back in stock soon!)
Malabrigo Rios – 100% Superwash Wool, 210yds/100g
Remember always to check the gauge and drape when substituting yarns.
Crochet Hook
Size US I (5.5mm) Crochet Hook or hook to obtain gauge.
Notions
Scissors
Yarn Needle
Removable Stitch Marker
Skill Level
Advanced Beginner
What you’ll love about this pattern.
? Relaxing repeat – Worked flat in rows from the bottom up in the simple 4-row repeat Wheat Stitch, using simple increases and decreases to form the ripple.
? Unique texture – The wheat stitch adds gorgeous depth and makes this ripple design stand out.
? Lots of Sizes – The full version of this pattern comes in 10 different sizes!
Sizes
The ad-free pattern for this blanket has dimensions and yardage for 10 sizes, from a crib or stroller-sized blanket to a king-size bed throw. For this blog post, the directions and measurements are for a Small Throw (approx. 52×60″).
Abbreviations
blo – back loop only
ch – chain
RS – right side
sc – single crochet
sc2tog – single crochet 2 together
sl st – slip stitch
st(s) – stitch(es)
WS – wrong side
Gauge
7 sts and 9 rows = 4” in stitch pattern, though not critical for this blanket pattern.
How to Crochet A Gauge Swatch
Working a gauge swatch will let you know if you will have the correct sizing for this pattern. It will also help you practice the stitches used in this project and improve your stitch work for a flawless look.
Are you struggling to match the gauge? Check out the blog post on What is Crochet Gauge and How To Fix It
Construction
This blanket is worked flat in rows from the bottom up, following a repeating stitch pattern that creates the ripple shape. The wave-like movement comes from a rhythmic series of increases and decreases across each row — creating peaks and valleys that flow naturally as you crochet.
Once you reach your desired length, a simple border is added along the long edges of the blanket. This neatens the row ends, balances out the ripples, and gives the whole piece a smooth, polished finish.
Love colorful projects? Check out the Colorful Hues Granny Blanket and the Mosaic Crochet Lotus Blanket!
Special Stitches
Puff Stitch: Yarn over and insert your hook into the stitch/space. Yarn over again and pull up a long loop. Yarn over and insert your hook into the same stitch/space. Yarn over again and pull up a long loop (5 loops on the hook). Yarn over and pull through the first 4 loops, yarn over and pull through the remaining loops.
Pattern Notes
- The chain 1 at the beginning of the row does not count as a stitch.
- Using a stitch marker at the beginning (and end) of the row, in the skipped stitches at each valley of the ripple pattern, and in the second st of the sc 3 increase at the peak of the ripple pattern, is recommended.
- This Pattern Uses Standard US Terminology. I use affiliate links and follow GPSR Compliance: privacy & disclosure policy here.
Frequently Asked Questions
Q: Is the Wheat Stitch Ripple Blanket beginner-friendly?
A: If you’re comfortable with basic stitches and following a repeat, yes! The wheat stitch looks advanced, but it’s built from simple techniques. The ripple shaping is just a matter of increasing and decreasing in the right spots.
Q: What yarn works best for this pattern?
A: Worsted weight is an excellent choice for stitch definition, but you can easily adjust for bulkier or lighter yarns depending on the size and drape you want. (Please note that any modifications are not something we can provide support with.)
Q: How long does it take to make?
A: That depends on the size! A stroller-size blanket works up fairly quickly, while a bedspread will be a longer-term project. The repeat is soothing and rhythmic — perfect for TV or cozy evenings.
Q: Can I resize the blanket?
A: Yes! You can also adjust by working more or fewer repeats of the ripple stitch pattern.
Subscribe & Like
Video Tutorial for the Wheat Stitch Ripple Blanket
Relax & Crochet
Upgrade to the Printable PDF
Beautifully formatted to print and relax while crocheting. The paid pattern includes:
The Ad-Free PDF can be purchased on Etsy or Ravelry.
Click the box below to unlock this exclusive subscriber content for free. Add your email and create a password. If you are having trouble, reset your password or log in to the Grow Portal.
I’m thrilled to share this amazing crochet pattern with you! Please don’t copy, paste, or distribute this pattern. Prefer an ad-free experience? Purchase a digital PDF file for a small fee from one of my online stores. I appreciate your support and readership. You are why I can keep doing what I love and sharing it with others. Thank you from the bottom of my heart.
Written Wheat Stitch Ripple Crochet Blanket Pattern Instructions
Small Throw
Repeats:
Repeat Rows 3-6 until the blanket meets the desired size.
Do not fasten off; go to Edging.
Join The Kindest Community
Join our vibrant community of crafters on Facebook today. Whether you enjoy crafting with others or simply have burning questions, we’ve got you covered – join us now!
Blanket Edging
We are only adding edging on the long sides; the top and bottom of the blanket look great as is.
For a detailed look at this simple edge stitch, watch the tutorial here: https://brianakdesigns.com/how-to-crochet-a-straight-edge/
Row 1:
Ch 1 and work along the long edge, sc. (Place a stitch marker in this st to mark the first st of the Round.) *Insert your hook into the left bar of the sc just made, then insert into the next space on the edge of the Blanket. Yarn over and pull a loop through the Blanket fabric and also through one loop on the hook. Yarn over and pull through two loops on the hook. Repeat from * all the way across one edge of the Blanket, working one st per every sc row, and 2 sts per puff st rows if needed.
Fasten off and join to the other side of the blanket with the RS facing; repeat Row 1.
Customizing Tips
The wheat stitch texture works beautifully in both solid and striped yarns, so you can truly make this blanket your own. Stick with neutrals for a modern aesthetic, or go bold with stripes and playful color changes. If you’re worried about extra yarn ends to weave in, you can carry your color changes up the edges – they will be hidden when the Edging is added. You can also try the Knot Join for fewer ends!
Finishing
Subscribe to my youtube channel
Fasten off and weave in all ends. Give your blanket a light blocking to help the stitches relax and the shape even out. Then snuggle in and enjoy your handmade blanket!
The free Wheat Stitch™ Ripple Blanket combines timeless ripple design with the unique, textured beauty of the wheat stitch. It’s one of those projects that feels relaxing to work on but looks impressively polished when finished. Whether you’re keeping it, gifting it, or selling it, this blanket is a guaranteed crowd-pleaser.
Cheers, and happy crocheting!
More Blanket Patterns You’ll Love:
❄️ Granny Square Snowflake Quilt
Well, That Was Fun! What’s Next?