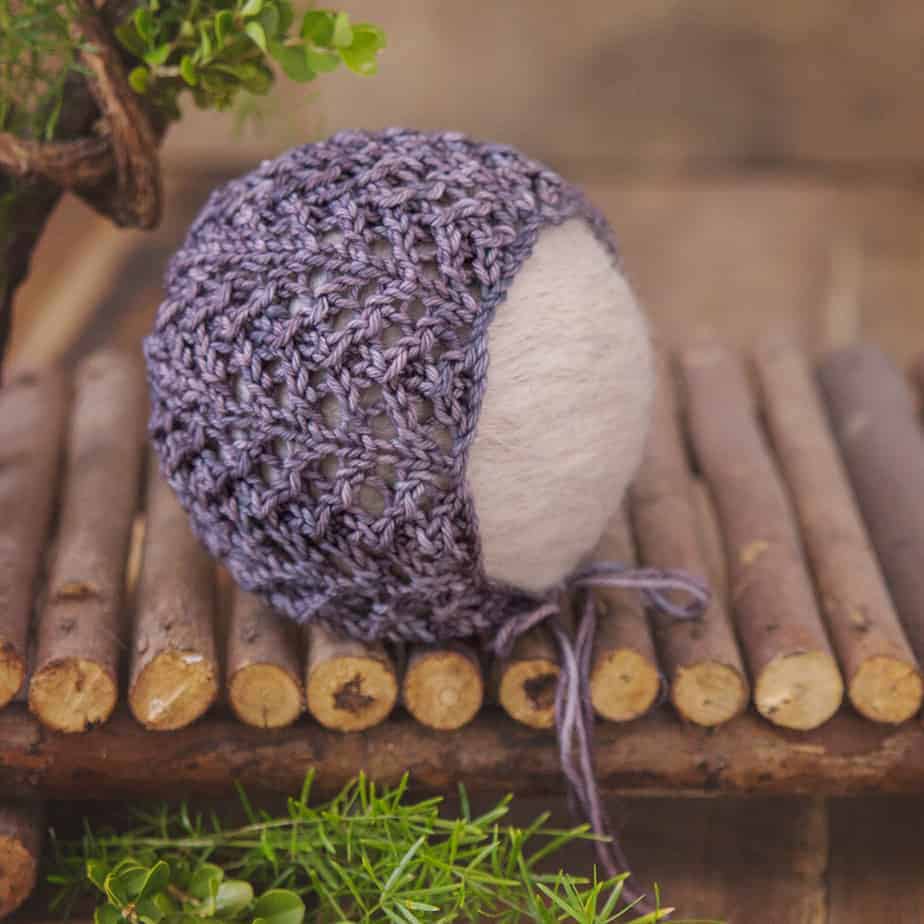
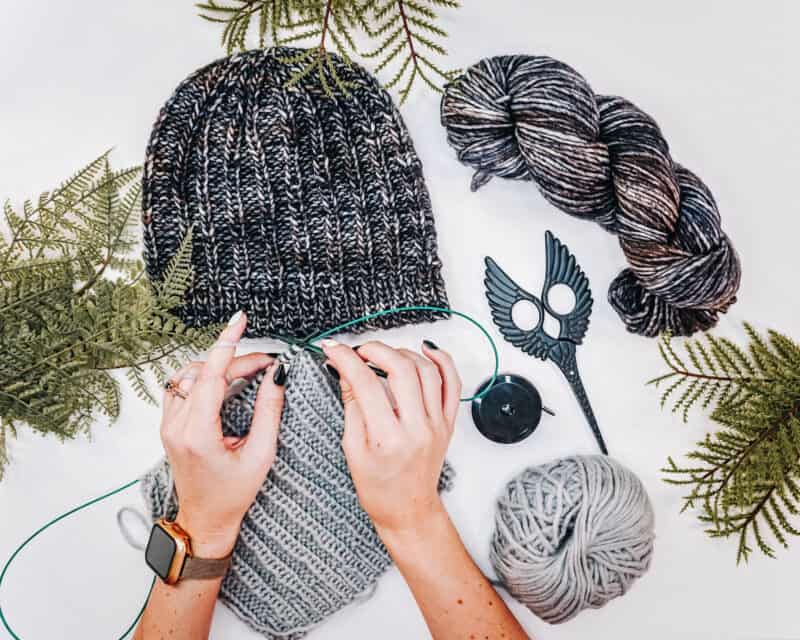
Juniper Knit Hat
It is so fun when you can design a pattern that works seamlessly for both knit and crochet. In fact, the Juniper Knit Hat and the Juniper Knit-Look Crochet Hat mimic each other so well that it can be hard to tell the difference between them.
As someone who can knit and crochet, I enjoy it when a pattern is flexible, haha. There are definitely times when I prefer to do one over the other, but for those that can't do both, I wanted to make sure knitters and crocheters alike had access to a simple but classic ribbed hat.
Disclosure: This post contains affiliate links. Please read my disclosure for more info.
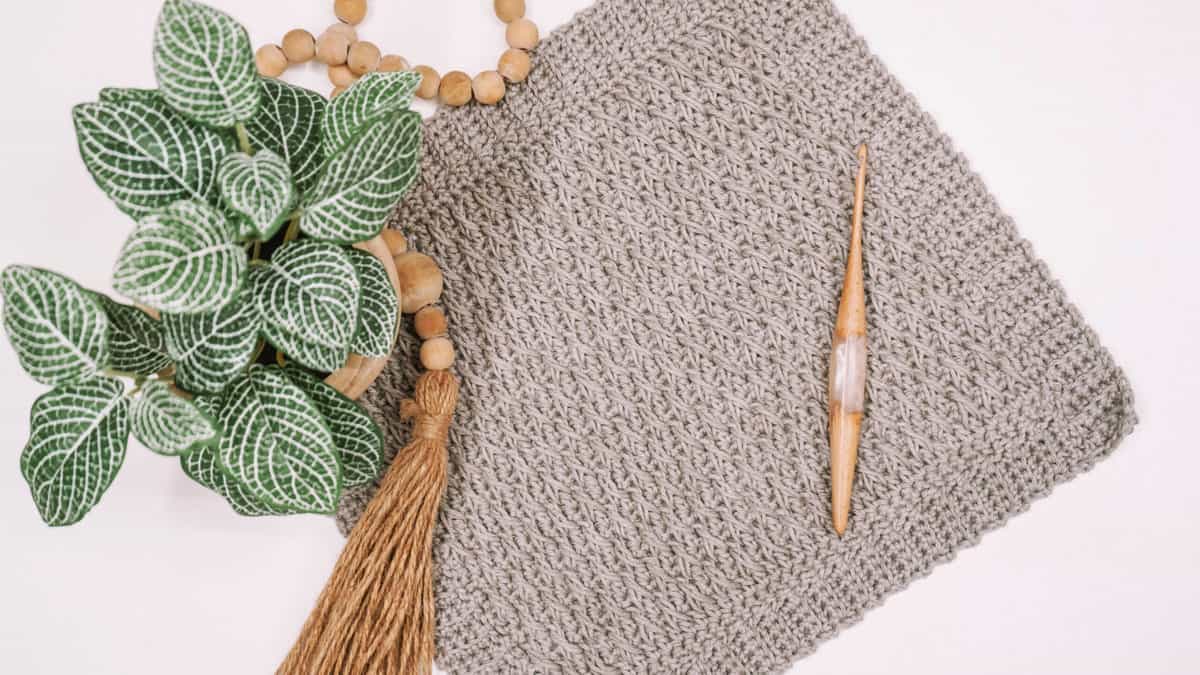
I am so in love with the texture of the Juniper Knit Hat and the Juniper Knit-Look Crochet Hat.
The Juniper Knit Hat is worked in the round from bottom-to-top design and a simple-to-adjust stitch pattern to get a perfect fit each and every time.
The Juniper Knit Hat ad-free PDF is available for purchase on Ravelry.
Supplies
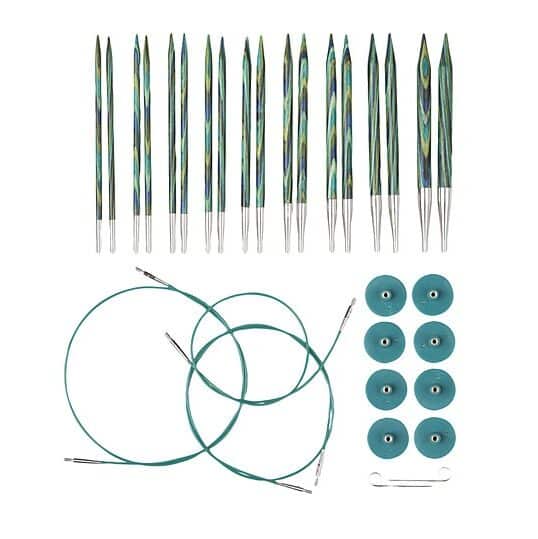
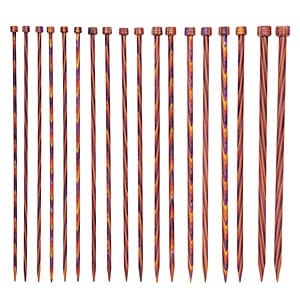
Knitting Needles:
Size 7 (4.5mm) & 8 (5.0mm) Circular Needles
Notions:
4.5mm Crochet Hook for Cast On
Removable stitch marker
Yarn needle to weave in ends
Scissors
Faux Fur Pom Pom if desired
Yarn:
Muse Hand Paint 100% Superwash Merino Wool, 114 yds/100g
Shown in colorway Honor Tonal
Yardage:
30 (40, 45 50) (55, 60, 70) (75, 85, 90) yds
Abbreviations/Stitches:
CO - cast on
K - knit
P - purl
p2tog - purl two stitches together
rnd- round
ssk - slip, slip, knit
st(s) - stitch(es)
14 sts by 20 rows = 4x4” in stitch pattern
Skill Level:
Easy Beginner
Size:
Preemie (Newborn, 3-6 Months, 6-12 Months) (12-24 Months, Toddler, Child) (Adult Small, Adult Medium, Adult Large)
Head Circumference: 10 (13.5, 15, 16.5) (17.5, 18.5, 19.5) (21, 22, 23)
See Measurement Chart & Schematic below.
Notes:
The Juniper Knit Hat is worked in rounds from bottom-up. First, stitches will be cast on the smaller needles to work rounds of ribbing. Then the hat body will be worked on the larger needles with a 4 stitch repeat. Last, a pompom is placed on top if desired and then it’s ready to wear. It is helpful to place a stitch marker at the beginning of each round.
Special Stitch:
Alternating Cable Cast On 1X1 Ribbing, This is a variation of the Cable Cast on, but includes the purl stitch cast on for ribbed edges. This edge is also neat and firm for edges that don’t require a lot of give.
Step 1: Make a slip knot, leaving a 4 inch tail, and place it on a needle in the left hand. STEP 2: Knit into the slip knot, leaving the slip knot on the left-hand needle.
Step 3: Slip the new stitch back to the left-hand needle knitwise.
Step 4: Bring the yarn around the front. Reaching behind the left-hand needle, insert the right-hand nee-
dle between the 2 stitches, warp the yarn around as if to purl and pull the stitch through.
Step 5: Slip this new purl stitch to the left-hand needle knitwise.
Step 6: Bring the yarn to the back. From the front, insert the right-hand needle between the end most 2 stitches, wrap the yarn around, and pull the new stitch through. Slip this new knit stitch to the left-hand needle knitwise.
Step 7: Repeat steps 4-6, alternating between knit and purl stitches until the desired amount of cast-on
stitches. The new stitch will always be made by going between the 2 stitches closest to the tip of the left- hand needle.
Get a visual with the Cast On Method Video Tutorial.
Juniper Knit Hat Video Tutorial
Measurement Chart & Schematic
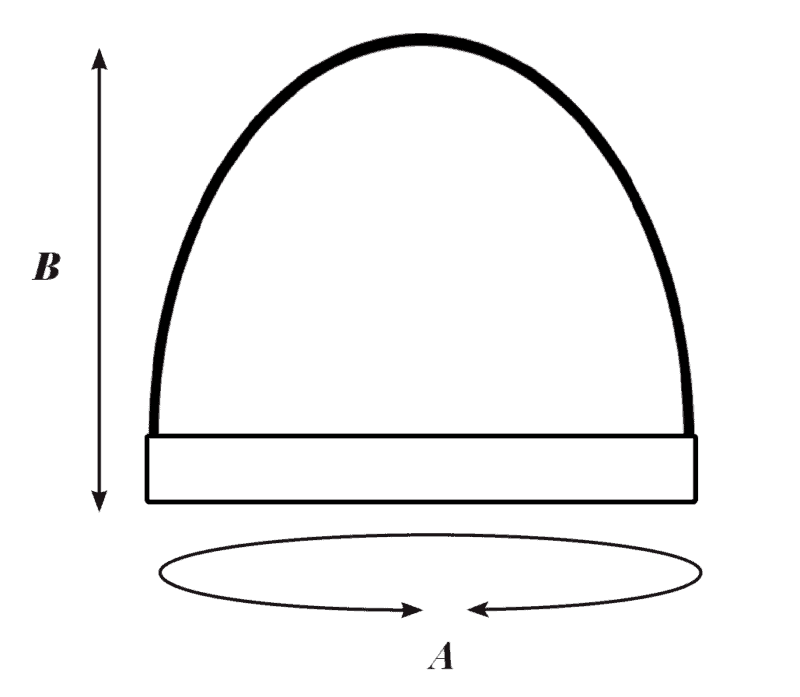
Hat Schematic in Inches
A: 9 (12.5, 14, 15.5) (16.5, 17.5, 18.5) (20, 21, 22)
B: 3.5 (4, 5, 6) (6.5, 7, 8) (8.5, 9, 9.5)
Juniper Knit Hat Ribbing Brim - All Sizes
Set UP: With 4.5mm circular needles CO 32 (44, 48, 56) (56, 60, 64) (72, 76, 80), and work in the round. 32 (44, 48, 56) (56, 60, 64) (72, 76, 80) sts
Row 1: *K1, P1*; repeat from * to * around.
Repeats: Rep Rnd 1 for a total of 3 (3, 5, 5) (5, 5, 7) (7, 7, 7) rnds.

Juniper Knit Hat Body
Change to 5.0 mm Needles
Rnd 1: K1, P3; repeat from * to * around. 32 (44, 48, 56) (56, 60, 64) (72, 76, 80) sts
Repeats: Repeat Round 1 for 6 (9, 12, 17) (19, 22, 27) (28, 29, 32) more rounds.
Hat Decreasing
Rnd 1: *K1, p2tog, P1*; repeat from * to * around. 24 (33, 36, 42) (42, 45, 48, (54, 57, 60) sts
Rnd 2: Knit the knit sts and purl the purl sts around. 24 (33, 36, 42) (42, 45, 48, (54, 57, 60) sts
Rnd 3: *K1, p2tog*; repeat from * to * around. 16 (22, 24, 28) (28, 30, 32) (36, 38, 40) sts
Rnd 4: Knit the knit sts and purl the purl sts around. 16 (22, 24, 28) (28, 30, 32) (36, 38, 40) sts
Rnd 5: Ssk around. For size preemie & newborn go to finishing. 8 (11, 12, 14) (14, 15, 16) (18, 19, 20) sts
Rnd 6: Knit around. 0 (0, 12, 14) (14, 15, 16) (18, 19, 20) sts
Rnd 7: Ssk around, if the stitch count is an odd number, simply knit the last without decreasing. 0 (0, 6, 7) (7, 8, 8) (9, 10, 10) sts
Finishing
Fasten off yarn, leaving a tail end to close the top of the hat. With a yarn needle, weave through the remaining stitches on the needles and pull the hole closed, weave in ends, block and wear. Add pompom if desired.

Well That Was Fun! What's Next?
📌 PIN THIS POST - Don't lose this project; save it to your Pinterest crochet board so you can quickly come back to it again.
💌 SHARE - Share your yarn choice, in-progress, or finished projects on Facebook or Instagram and use the hashtag #brianakdesigns
🥂 JOIN - Join the kindest crafters in the Briana K Designs Community Group on Facebook. We love yarny friends!
🔗 RAVELRY LINK -Link and share your project on Ravelry. Having inspirational photos can help crafters.