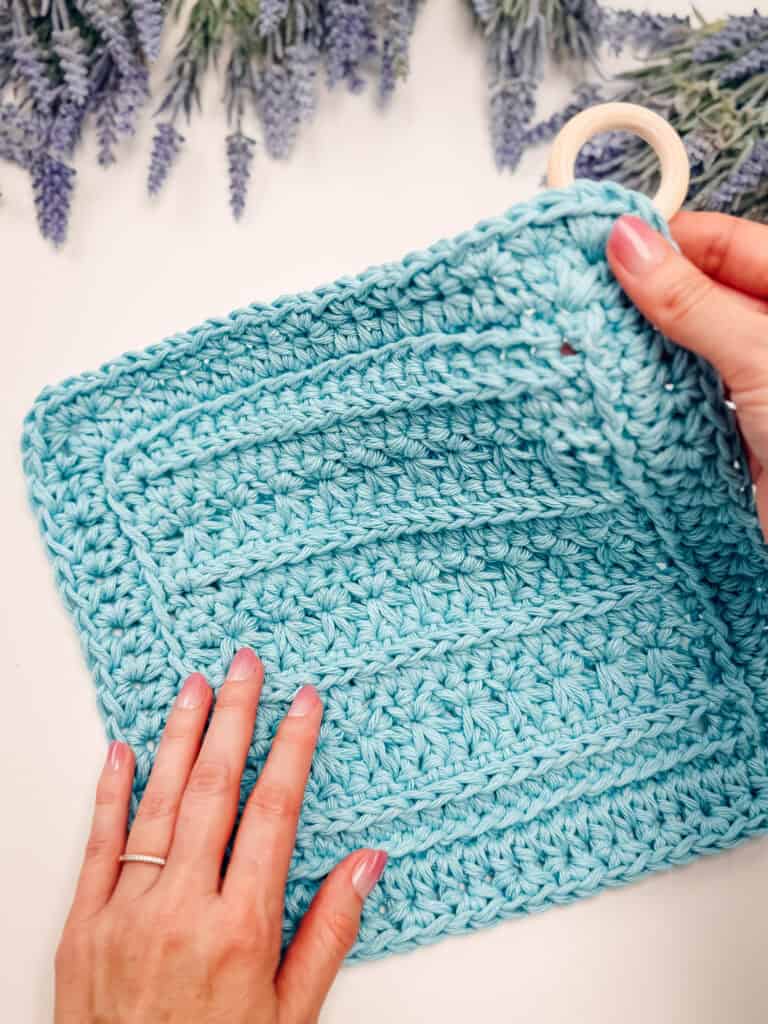



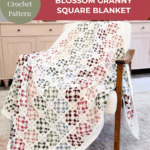
There’s a moment in every motif blanket where you look at the pile next to you on the couch and realize you haven’t made a blanket yet. You’ve made 47 squares. Those are very different things.
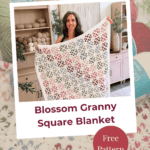
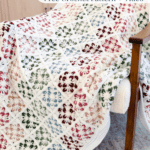
The Blossom Granny Square Blanket is built to skip that pile entirely. Every square attaches to the one before it the moment you finish it, so the blanket grows in your lap instead of piling up in a basket. When the last square is done, the flower granny square blanket is, too. No sewing marathon waiting at the end, no evening spent seaming while you slowly lose the will to live.
Disclosure: This post contains affiliate links. Please read my disclosure for more info.
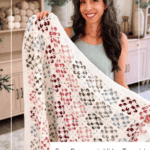
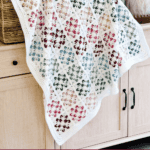
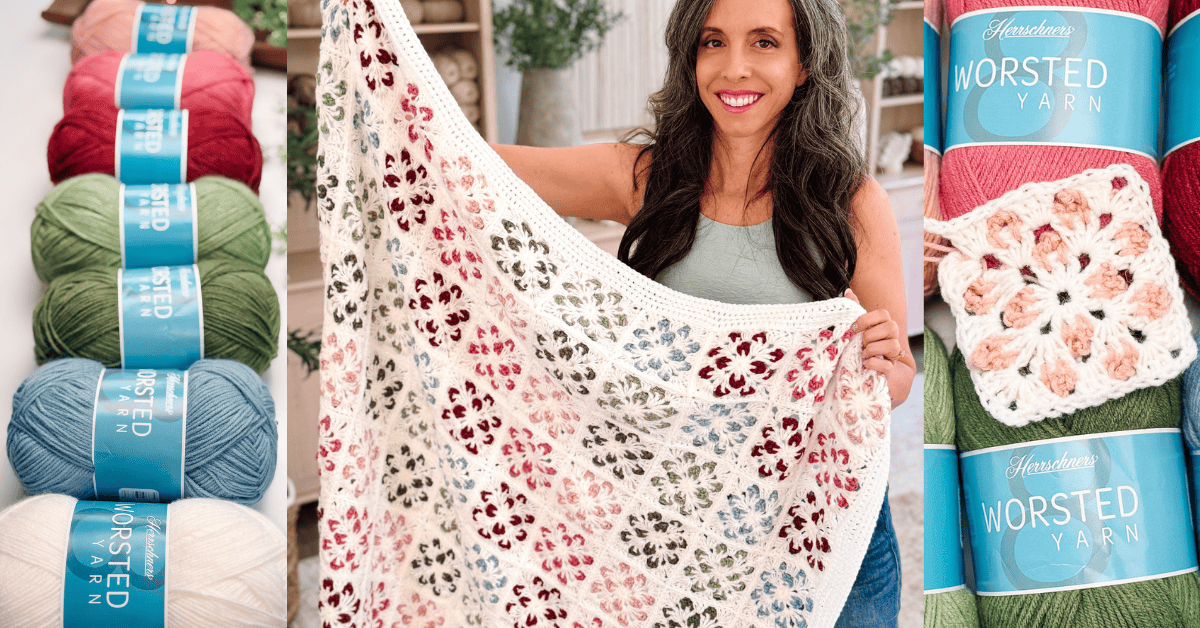
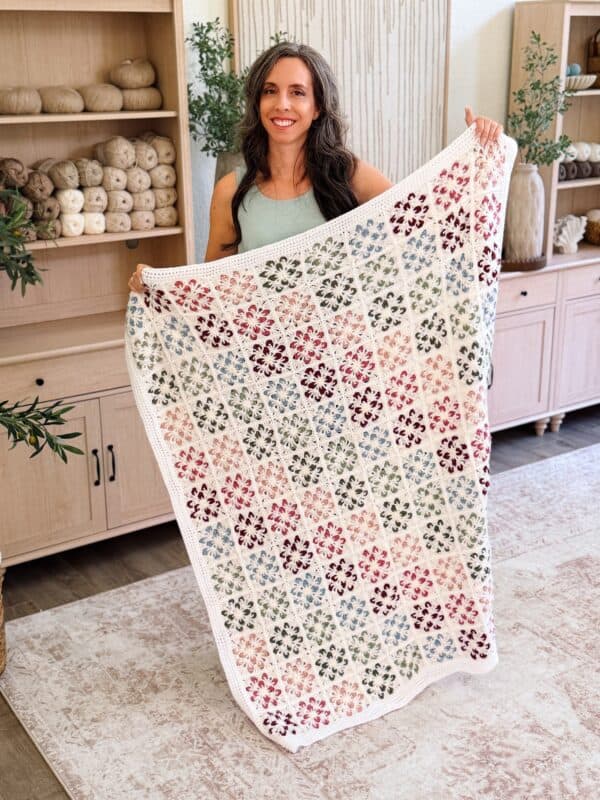
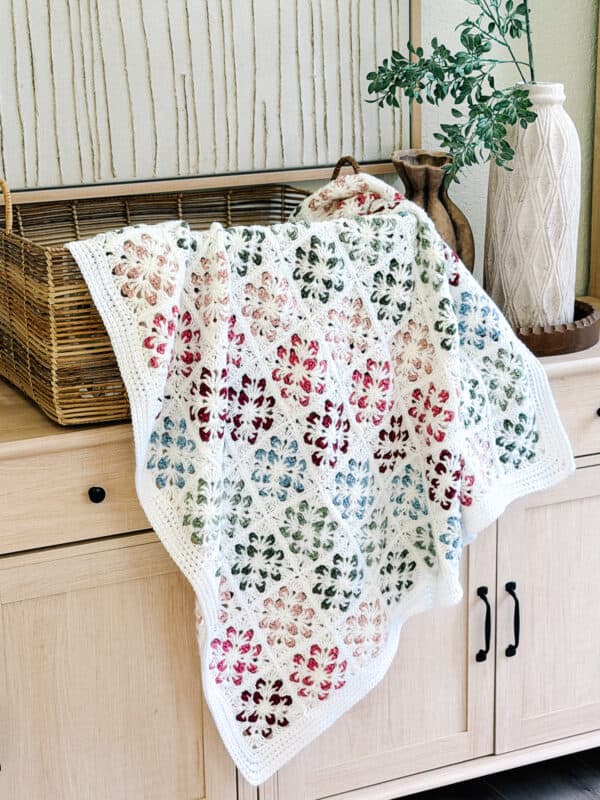
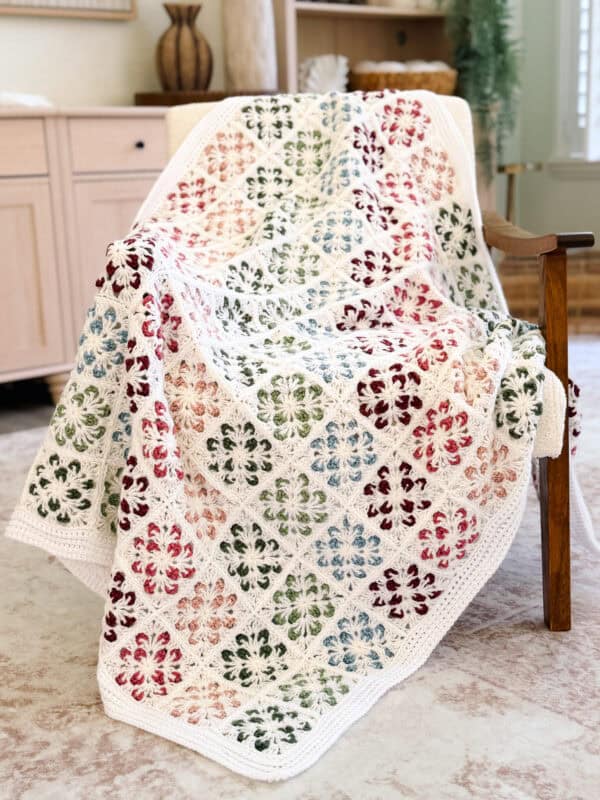
The version shown here is 120 squares in Herrschners Worsted 8, with Ivory running through every one of them and six contrast colors scattered across the grid to make the flowers. Each square finishes at 4.5 inches on an I hook, small enough to toss in a bag and big enough that the count adds up faster than you’d think.
Fair warning, though. Just one more square is a lie you will tell yourself repeatedly.
Before You Hook: Crochet Pattern Details
🧶 Yarn Used: Herrschners Worsted 8 Yarn (100% acrylic, 489yds/226g)
⚖️ Yarn Weight: Worsted, #4
🧵 Featured Stitch: Blossom Granny Square
🪝 Hook Size: US I (5.5mm) Crochet Hook, or hook to obtain gauge
📏 Sizes: As shown, 10 x 12 squares, 47.5″ x 56.5″ with the border, free on this page. The PDF adds eight more sizes, from a 16″ Lovey up to a 65.5″ x 88″ Twin
🩷🩷🩷🤍 Difficulty level: Intermediate
🕐 Approx Crochet Time: Around 25 to 35 hours for the size shown, spread over a lot of small sessions
🏷️ Project Type: A motif blanket built from 120 small squares that join as you go, easy to carry around and good for working through a stash.
Save for Later • Get a Summary • Pick Up Where You Left Off
Why You’ll Love the Blossom Granny Square Blanket
- A video walks you through it. Every round, the join, and the border are shown on camera if reading a pattern isn’t your favorite way to learn.
- Join as you go, so you don’t need to seam at the end. Each square attaches to its neighbors with a slip-stitch seam as you finish it, which leaves the border as your only finishing step.
- The flower is built in. The petals come from the contrast chains you’re already working, not from a separate motif you have to attach later.
- It’s genuinely portable. One square is five rounds. You can finish one in a school pickup line or during an episode of something.
- It eats a stash. The contrast colors only need 110 yards each, so leftovers and single skeins you’ve been hoarding are fair game.
- The border is short. Five rounds, worked in the third loop for a soft ridged texture, and then you’re done.
Pattern Name Pattern Supplies
Yarn
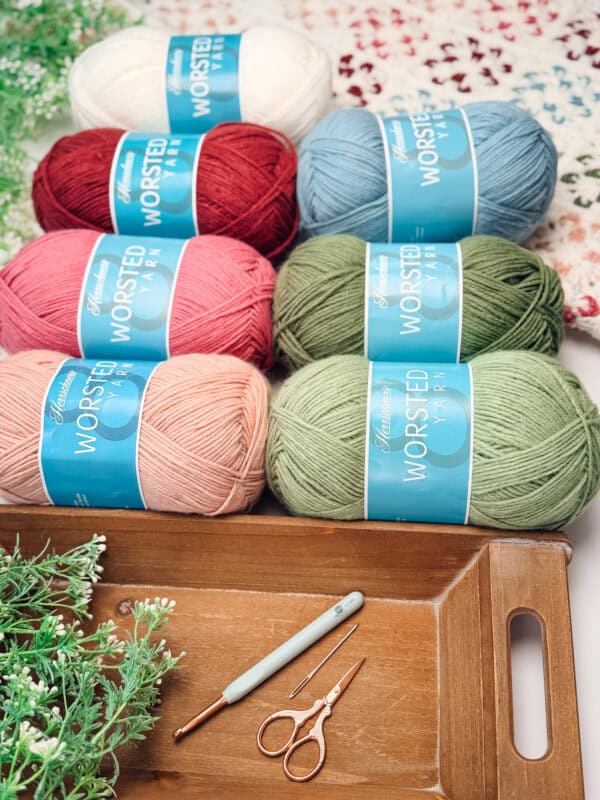
Herrschners Worsted 8
100% Acrylic, 489yds/226g, #4 Worsted Weight
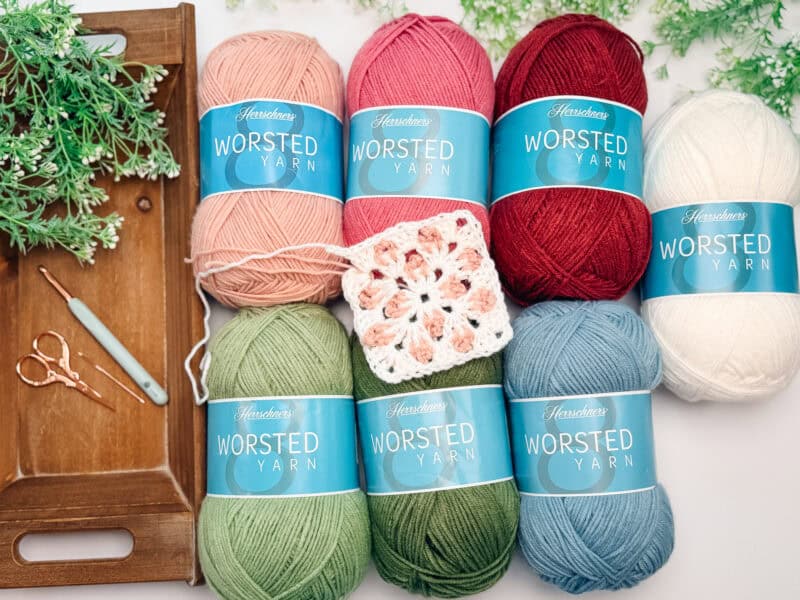
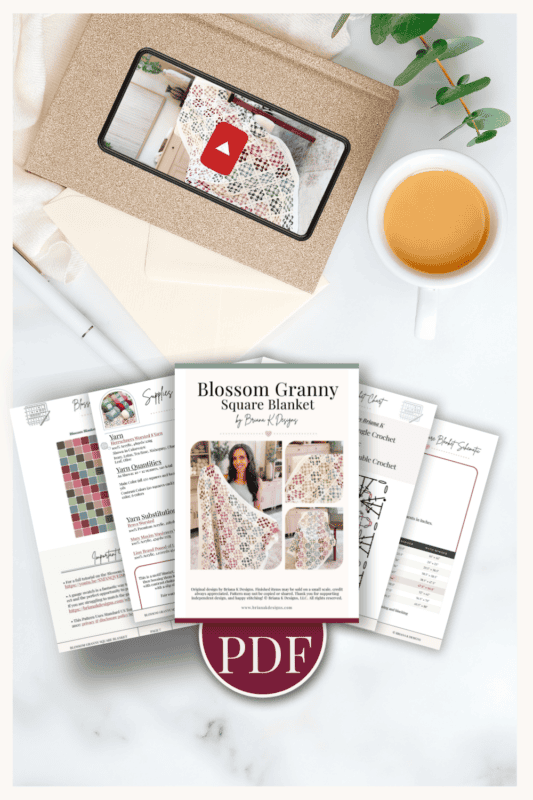
Colorways shown: Ivory, Lotus, Tea Rose, Mahogany, Chambray, Leaf, Olive. Ivory is the main color and carries all 120 squares plus the border. The other six are the contrast colors that make the petals.
Yarn Quantities
For the size shown, 10 squares across by 12 down, 120 squares total:
- Contrast Colors, 20 squares each: 110 yds per color, 6 colors
- Main Color, all 120 squares and the border: 1,750 yds
Crochet Hook
Size US I (5.5mm) Crochet Hook or hook to obtain gauge.
Notions
Scissors
Yarn Needle
Removable Stitch Marker
Tape Measure
Be sure to check out the full pattern tips below
Yarn Substitutions
Any smooth worsted weight acrylic will behave the same way here. A few that work well:
- Brava Worsted, 100% Premium Acrylic, 218yds/100g
- Mary Maxim Maximum Value, 100% Acrylic, 474yds/227g
- Lion Brand Pound of Love, 100% Acrylic, 1,020yds/454g
Remember always to check the gauge and drape when substituting yarns.
Skill Level
Sizing & Finished Measurements
This free pattern is written for the size shown in the photos: 10 squares across by 12 squares down (120 squares total).
- Before the border: 45″ x 54″
- With the border: 47.5″ x 56.5″
That’s a good couch blanket. Big enough to actually cover a person, small enough that it doesn’t drag on the floor when you carry it around the house.
The full PDF adds eight more sizes with the square counts and yardage worked out for each one, from a 16″ Lovey up to a 65.5″ x 88″ Twin.
Abbreviations
ch – chain
ch-sp – chain space
dc – double crochet
hdc – half double crochet
RS/WS – Right Side/Wrong Side
sc – single crochet
sl st – slip stitch
st(s) – stitch(es)
Stsc – stacked single crochet
Third Loop – see video
Gauge
One Blossom Granny Square measures 4.5″ x 4.5″, unblocked.
Gauge matters more on a motif blanket than it does on most projects, because every square multiplies the difference. At 10 squares across and 12 down, a quarter inch of drift in each square adds up to roughly 2.5″ in width and 3″ in length. That said, nothing here has to fit a body, so there’s no wrong answer. If your square comes out larger, go down a hook size. Smaller, go up.
Tips
How to Crochet A Gauge Swatch
- Working a gauge swatch will let you know if you will have the correct sizing for this pattern. It will also help you practice the stitches used in this project and improve your stitch work for a flawless look.
- Are you struggling to match the gauge? Check out the blog post on What is Crochet Gauge and How To Fix It
Special Stitches Used in This Pattern
Stacked Single Crochet (Stsc): Do not chain at the beginning of the row or round. Insert your hook into the first stitch, yarn over, and pull up a loop. Yarn over and pull through both loops on the hook. This will look like a single crochet, but you’re not done yet. Insert your hook into the vertical bar below, yarn over, and pull up a loop. Yarn over and pull through both loops on the hook. Full walkthrough here: How to Crochet the Stacked Single Crochet
Clean Sc: Ch 1 and work 1 sc to begin. Insert your hook into the left bar of the sc just made, then insert into the next space along the edge. Yarn over and pull up a loop, then pull through the first loop on the hook. Yarn over and pull through the remaining two loops on the hook. Repeat for each stitch. This is the stitch that gives the border a clean starting edge, and there’s a full tutorial here: How to Crochet a Straight Edge

Important Pattern Notes
How the Blossom Granny Square Blanket Is Made
This is a motif blanket, which is a fancy way of saying you make a whole lot of little squares and then boss them into a blanket.
Each flower granny square starts in a magic ring with the main color and grows outward over five rounds. The trick is what happens on the contrast rounds.
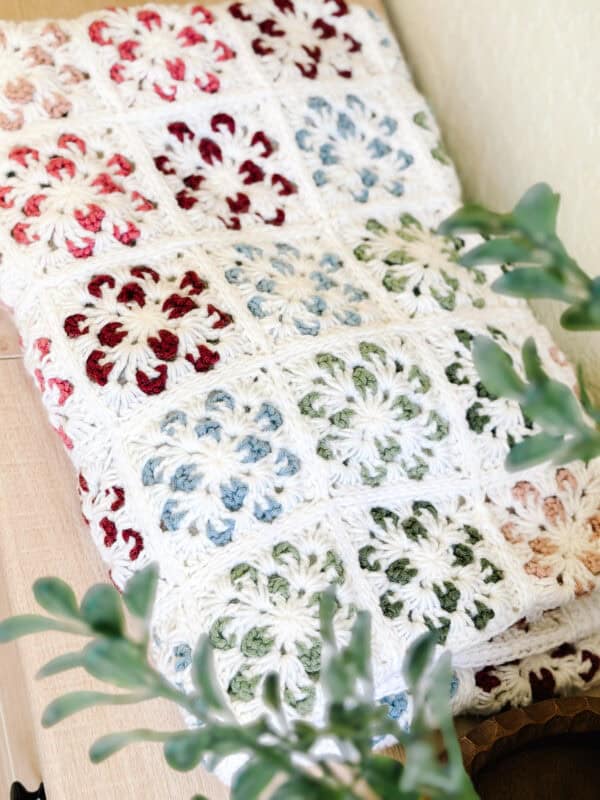
Instead of building a flower and then attaching it, you work chains that arc over the double crochets from the round below. On the next round, you work behind and around those chains, which pushes them forward and leaves them sitting proud of the fabric as petals. The flower is a byproduct of the construction, not an extra step bolted onto it.
Because the square is only five rounds, it moves fast, and because the join happens as you go, the blanket assembles itself while you work. Finish with a border, and you’re done.
How to Join Granny Squares Without Sewing Them Together
Most people abandon a granny square blanket not because of the squares. It’s the moment they finish the squares and realize the actual work hasn’t started yet.
Joining as you go removes that entirely. You make your first square, fasten off, and weave in the ends. Every square after that gets worked to the end of its final round and then, instead of fastening off, gets slip stitched straight onto the square beside it. With the right sides facing you, you go through the back loop of the stitch on the finished square and the back loop of the matching stitch on the new one, then pull through everything on the hook.
Going through the back loops only keeps the seam flat. If you catch the whole stitch instead, you’ll get a visible ridge standing up on the front, which some people love and some people really don’t. On this blanket, the back loop version keeps the seams quiet so the flowers stay the loudest thing on the fabric.
If you’d rather seam at the end with a needle, you can. Just fasten off every square and sew them together in rows. It’s more work, but it’s a completely valid choice if you like having a big pile of squares to arrange before you commit.
Plan Your Colors Before You Buy a Single Skein
Six contrast colors across 120 squares sounds like it’ll sort itself out. It doesn’t. What usually happens is you improvise for the first thirty or forty squares, feel good about it, and then somewhere around square sixty you notice all the Mahogany ended up in one corner and there’s a green stripe running diagonally through the middle that you never planned.
Doing it on graph paper works. It also takes a while and involves a lot of erasing.
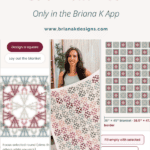
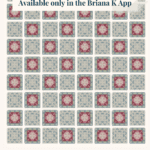
So I built the Color Plotter right into the flower granny square blanket pattern. Design as many squares as you want and save them all, then pick the ones you actually want in the blanket. Lay them out vertically, horizontally, diagonally, or hit scatter and let the app decide. There’s a button that lays it out exactly like the sample if you’d rather skip the decisions entirely.
Which brings up the thing you’re already doing math about. Pick one of the nine size presets, from a lovey up to a twin, or type in your own across and down and make something nobody’s made before. The calculator tells you how big it finishes with the border, and gives you a shopping list for exactly what you planned before you buy a single skein.
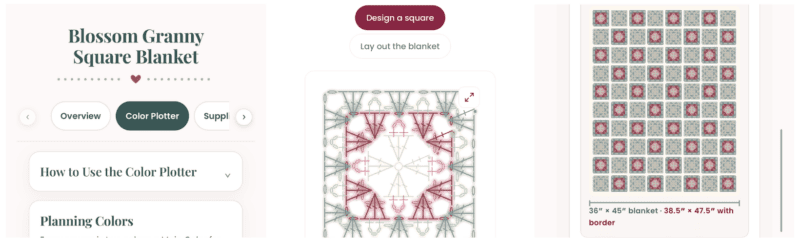
This part isn’t on the blog. The Color Plotter lives inside the Briana K app, and the only way in is the unlock code that comes with the full pattern PDF. Buy the pattern once, use the code, and it’s yours. There’s no subscription and no monthly fees.
Subscribe, Like & Watch on YouTube
Also in the Briana K App
Included with your purchase. Check off every row as you go. See how it works
In the app
ROW 12Pearly sc across
ROW 13Saffron sc across
ROW 14Driftwood sc across
Get the pattern
Blossom Granny Square Blanket
Relax and crochet with no ads. Beautifully formatted for printing and taking with you anywhere.
Add your email in the box below to unlock this pattern to view on the blog for free. I’m thrilled to share this amazing crochet pattern with you! Please don’t copy, paste, or distribute this pattern. Prefer an ad free experience? Purchase a digital PDF file for a small fee from one of my online stores. I appreciate your support and readership. You are why I can keep doing what I love and sharing it with others. Thank you from the bottom of my heart.
Getting a Clean, Straight Border
Borders on motif blankets are where good work goes to look wobbly. The edge of a joined blanket isn’t a smooth line. It’s a run of stitches and chain spaces sitting at slightly different heights, and if you just start crocheting into it, you’ll get a scalloped ripple you didn’t ask for.
The first border round of this flower granny square blanket fixes that. It’s worked in Clean Sc, which builds each stitch off the bar of the one before it, so the round comes out as an even line instead of following the bumps underneath. Work into each stitch and each chain space all the way around, and put 3 stitches in each corner, with the middle one sitting right at the corner point. Drop a removable stitch marker in your first stitch so you can find it again.
The remaining four rounds are half double crochets worked in the third loop, the horizontal bar behind the top of each stitch. Working there pushes a soft ridge to the front and gives the border a woven look that reads as deliberate. It’s optional. If you work into the top of the stitches as normal, you get a flatter, plainer border that also looks good.
Washing and Caring for an Acrylic Blanket
Acrylic melts. That’s not a figure of speech, and it’s the single most important thing to know before you go near this blanket with an iron. Never press one directly to acrylic. If you want to block, hover a steamer or an iron 2 to 3 inches above the surface, pin the blanket gently to shape, and let it dry completely before you move it.
Wet blocking works too. Soak it in cool water, squeeze the water out gently without wringing, roll it in a towel, then lay it flat and shape it.
Is blocking necessary? No. Is it worth it? If your tension shifted partway through, or if the petals are sitting flatter than you want, yes. Blocking opens up the flowers and evens out squares that came off the hook at slightly different sizes. Just know that blocking isn’t permanent. Blocking isn’t permanent. A blanket that gets used and washed will relax back over time, so it’s something you redo rather than do once.
For washing, machine wash cold or warm on gentle and tumble dry low. Skip the fabric softener, since it flattens the texture over time and the texture is the whole point here. Wash it alone or with like colors the first time, especially with the deeper shades like Mahogany. Acrylic softens with washing, so this blanket is built to be used rather than folded on a shelf.
Join The Kindest Community
Join our vibrant community of crafters on Facebook today. Whether you enjoy crafting with others or simply have burning questions, we’ve got you covered – join us now!
Blossom Granny Square Blanket FAQs
How many flower granny squares do I need for a blanket?
For the size shown here, 120 squares in a 10 by 12 layout, which finishes at 47.5″ x 56.5″ with the border. That number changes completely depending on how big you want it and how big your squares come out. A lovey needs 9. A twin needs 266. The honest way to figure it out for your own project is to make one square, measure it, and divide your target width and length by that measurement. The full PDF charts all nine sizes if you’d rather not do the math.
How much yarn does a flower granny square blanket take?
For the size shown, 1,750 yards of the main color and 110 yards of each of the six contrast colors, which is 2,410 yards total. The main color does the heavy lifting because it appears in every square and carries the entire border. Contrast colors barely make a dent, which is why this pattern is such a good use for leftover skeins. If you substitute a different yarn, work out your total in yards rather than skeins, since skein sizes vary wildly between brands.
Can I use a different yarn weight or work from my stash?
Yes to both. Nothing about a blanket has to fit a body, so there’s no wrong answer here. Bulky yarn and a bigger hook give you a chunkier square and a much faster finish. Go the other way with a DK or sport weight and a smaller hook, and you’ll get a smaller, more delicate square, which means you’ll need more of them to reach the same finished size. Cotton gives you a crisper, heavier fabric. A scrap stash gives you a blanket that looks like your last two years of projects, which is its own kind of lovely.
Whatever you pick, make one flower granny square first and measure it. That number is what tells you how many squares you need, since the layout in this pattern is built around a 4.5-inch square. The one real rule is to use the same yarn weight and hook throughout, so all your squares come out the same size and line up when you join them.
Do I really have to block it?
No. This is a blanket, not a garment, and it’ll look good straight off the hook. Blocking is worth doing if your tension drifted and your squares came out uneven, or if you want the petals to sit more open than they naturally do. If you skip it, the blanket will still even out with use and washing. Just remember: if you do block, acrylic needs steam hovering above it, never an iron pressed onto it, and blocking isn’t permanent on a blanket that gets used and washed.
Why does the pattern use a stacked single crochet instead of a chain?
Because a starting chain leaves a gap and a visible seam line running up the work. The stacked single crochet builds a stitch out of two half stitches worked into each other, so it stands at the same height as a double crochet without the hole. On a square with only five rounds, where every round starts in a visible spot, that difference is very noticeable. It takes about three squares to stop thinking about it and start doing it automatically. That said, if you have a way you like to start a round, use it. Chain, chainless starting double, standing double crochet, whatever you reach for, just count it as your first stitch so your stitch counts still land where they should.
Can I make this bigger or smaller than the size shown?
Absolutely, and it’s one of the easiest patterns to resize because the square never changes. You just make more or fewer of them. Decide on your layout, count the squares, and multiply your yardage accordingly. The free pattern here covers the 10 by 12 layout in full. The PDF includes eight more layouts, with square counts, measurements, and yardage for each.
How long does this blanket take to make?
This flower granny square blanket takes about 25 to 35 hours for the size shown, which sounds like a lot until you remember it’s 120 individual squares, and none of them take long on their own. This isn’t a one-weekend project. It’s a carry-it-around-with-you project. Most people find they hit a rhythm somewhere in the first twenty squares, and it gets considerably faster after that.
Printable Version
This pattern is free to read here on the blog. The ad-free printable PDF is available in the Briana K Designs shop on Etsy and Ravelry.
brianakdesigns.com
Blossom Granny Square Blanket Free Written Pattern
Written for the size shown, 10 squares across by 12 down, 120 squares total.
Blossom Granny Square
Rnd 1 (RS):
With Main Color work inside a Magic Ring: Stsc, [ch 2, 3 dc] 3 times, ch 2, 2 dc, sl st to the top of the Stsc with Contrast Color to join. | 12 dc and 8 chains
Rnd 2:
With Contrast Color, *ch 4, skip the ch-2 space, sc between the next 2 dc sts, ch 3, sc between the next 2 dc sts; repeat from * around, sl st to the first ch in the rnd with Main Color to join. | 8 sc and 28 chains
Rnd 3:
With Main Color, working around the chains from Rnd 2, work (Stsc, ch 2, 3 dc) into the ch-2 space from Rnd 1, ch 1, *working into the next ch-2 space from Rnd 1 work (3 dc, ch 2, 3 dc), ch 1; repeat from * around, then work 2 dc into the first ch-2 space from Rnd 1, sl st to the top of the Stsc with Contrast Color to join. | 24 dc and 12 chains
Rnd 4:
With Contrast Color, skipping the ch-1 spaces from Rnd 3, *ch 4, [sc in the space between the next dc sts, ch 3] 3 times, sc in the space between the next dc sts; repeat from * around, sl st to the first ch in the rnd with Main Color to join, fasten off Contrast Color. | 16 sc and 52 chains
Rnd 5:
With Main Color, working around the chains from Rnd 4, work (Stsc, ch 2, 3 dc) into the ch-2 space from Rnd 3, ch 1, *working into the next ch-1 space from Rnd 3 work 3 dc, ch 1, working into the next ch-2 space from Rnd 3 work (3 dc, ch 2, 3 dc), ch 1; repeat from * around, work 3 dc into the last ch-1 space from Rnd 3, ch 1, then work 2 dc into the first ch-2 space from Rnd 3, sl st to the top of the Stsc to join. | 36 dc and 16 chains
This completes the granny square. For the very first square, fasten off and weave in ends. For each remaining granny square, do not fasten off; use the join-as-you-go method below.
Joining, Slip Stitch Seam
With RS facing, insert your hook from front to back through the back loop of the stitch on the completed square, then insert your hook from front to back through the back loop of the corresponding stitch on the square being joined. Yarn over and pull through all loops on the hook to complete a slip stitch.
Repeat across the edge of the square, working through the back loops of both squares to create a neat, flat seam. Fasten off after joining and begin the next square.
Border
Worked around the outer edges of the RS of the blanket. Join yarn at any corner.
Rnd 1:
Clean Sc evenly all the way around the edges of the blanket (place a stitch marker in the first st to mark the first st of the rnd), working into each st and each ch-sp, while also placing 3 sts in each corner (the center st of the 3 is your corner point), sl st to the top of the first sc to join.
Rnds 2 to 5:
Working in the third loop for each st of the rnd, Stsc in first, *hdc in each until next corner, (hdc, ch 2, hdc) in corner; repeat from * around, sl st to the top of Stsc to join.
Finishing
Fasten off and weave in all ends, taking care to secure them neatly. Block if you’d like the petals to open up and the squares to even out.
More Crochet Patterns You’ll Love
If the granny square rabbit hole has you now, these are the ones to go to next:
🥂 Cheers, and happy crocheting!
Get the Blossom Granny Square Blanket Pattern
The full written pattern for the size shown is right here on this page, free, forever.
If you want it without ads, in a printable PDF, with the other eight sizes, the schematic, the stitch chart, the layout diagram, and the unlock code for the interactive version and color planner in the app, you can get the paid pattern here.
Watch the video tutorial on YouTube
For crafting with friends, come join the Briana K Community on Facebook. Share your color combos, ask questions, and cheer on everyone else as they count their way to 120 squares.
Well, That Was Fun! What’s Next?