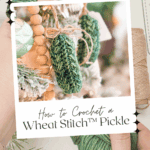

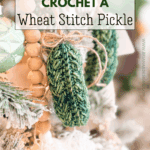
Get ready to sprinkle some tradition, charm, and a whole lot of silliness onto your holiday décor with the Wheat Stitch™ Crochet Pickle Ornament! Whether you’re embracing the classic Christmas Pickle legend or simply adding a quirky handmade touch to your tree, this adorable little project is quick, textured, and undeniably irresistible.
Disclosure: This post contains affiliate links. Please read my disclosure for more info.
Worked in my signature Wheat Stitch™, this tiny treasure is perfect for last-minute gifting, white elephant surprises, ornament exchanges, teacher presents, or—let’s be honest—just making your tree extra cute. And because it works up in a flash, don’t be surprised if you end up making a whole jar of pickles. (Consider this your official warning!)
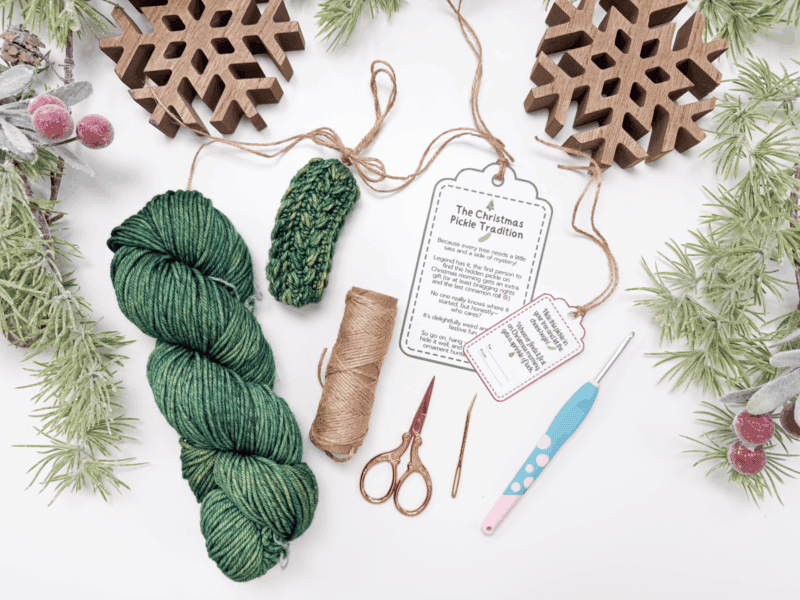
Wheat Stitch Crochet Pickle Ornament Supplies
Yarn
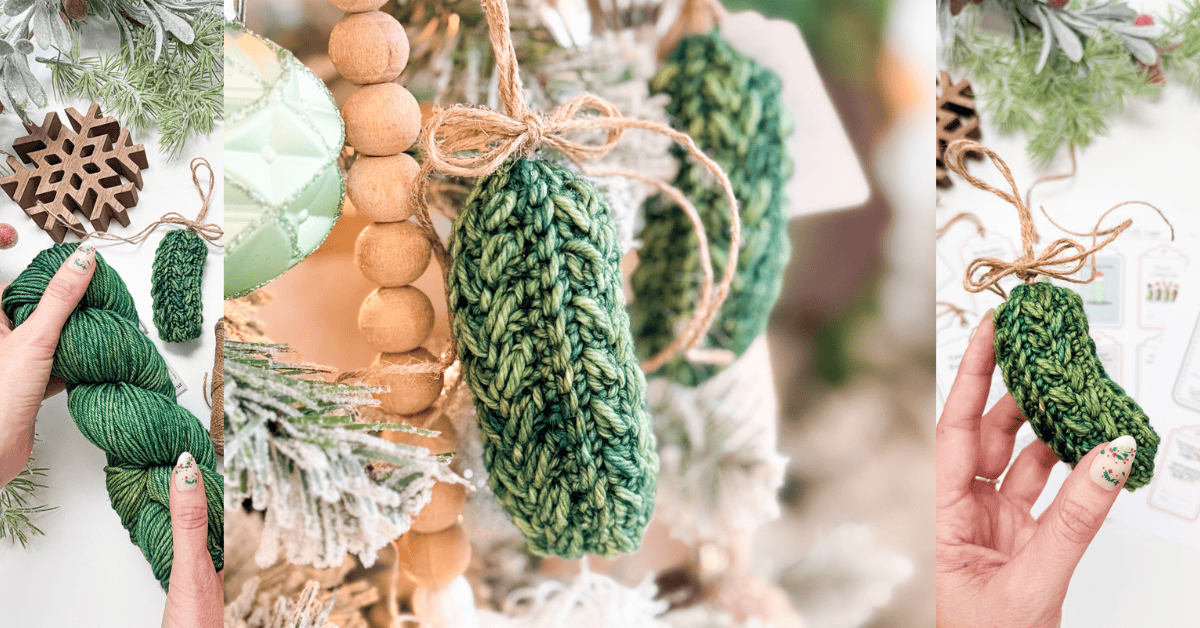
Malabrigo Rios
100% Superwash Merino Wool, 210yds/100g
Shown in Colorway Fresco Y Seco
Yarn Quantities
25 yards per pickle
Yarn Substitutions
Lion Brand Heartland – 100% Acrylic; 251yds/142g
Herrschners Worsted 8 Heathers – 100% Acrylic; 489yds/226g
Mary Maxim Maximum Value – 100% Acrylic; 474yds/227g
Herrschners Supreme Worsted – 100% Acrylic; 169yds/100g
Herrschners Worsted Sparkle – 92% Acrylic/8% Polyester; 489yds/226g
Remember always to check the gauge and drape when substituting yarns.
Crochet Hook
Size US G (4.0mm) Crochet Hook or hook to obtain gauge.
Notions
Scissors
Yarn Needle
Removable Stitch Marker
Fiberfill
Twine
Skill Level
Advanced Beginner
What you’ll love about this pattern.
❤️ A fun 4-row repeat keeps things simple and soothing. Perfect for holiday stitching between sips of cocoa (or eggnog — no judgment here).
❤️ Perfect for gifting, swapping, or surprising your friends. Whether you’re keeping the pickle tradition alive or starting a new one, this tiny legend always gets a laugh.
❤️ Beginner-friendly with a big payoff. Minimal shaping, quick seams, and easy embellishments mean you’ll be hanging your pickle on the tree in no time.
One Size
Pickle measures approximately 4.25″ tall, but this is easily adjusted and customized.
Abbreviations
blo – back loop only
ch – chain
RS – right side
sc – single crochet
sl st – slip stitch
st(s) – stitch(es)
WS – wrong side
Gauge
Not critical for this pattern.
15 sts and 13 rows = 4″ by 4″ in wheat stitch pattern.
How to Crochet A Gauge Swatch
Working a gauge swatch will help you determine if you have the correct sizing for this pattern. It will also help you practice the stitches used in this project and improve your stitch work for a flawless look.
Are you struggling to match the gauge? Check out the blog post on What is Crochet Gauge and How To Fix It
Construction
The Wheat Stitch Crochet Pickle Ornament is delightfully simple—and delightfully silly—just as a Christmas pickle should be!
Here’s how it comes together:
- Start with a chain: You’ll begin by creating a foundation chain that forms the length of your pickle.
- Work a 4-row Wheat Stitch repeat: Crochet a soft, textured rectangle using the easy 4-row repeat. This gives the pickle its signature “bumpy” charm.
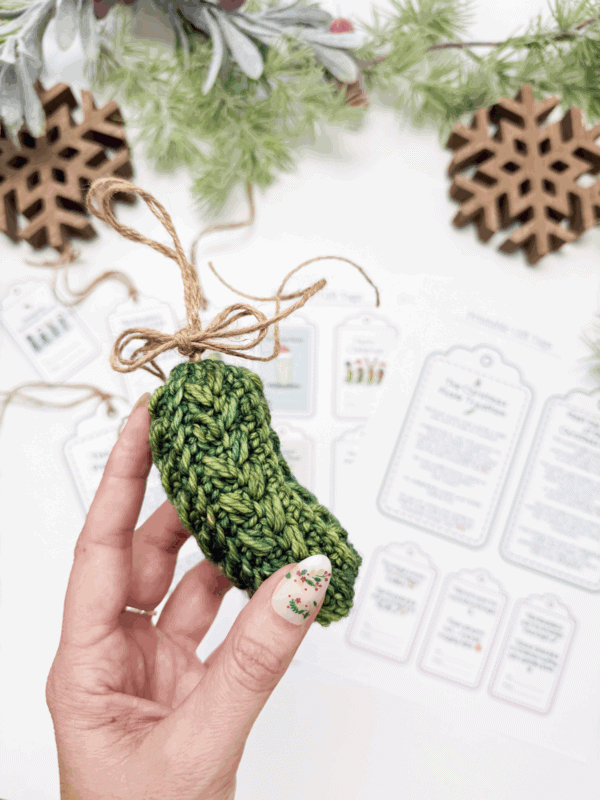
- Form the pickle tube: Once your rectangle is complete, bring the long edges together and seam to create a tube. (Hello, pickle shape!)
- Close the top & add a hanging loop: Seam the top closed and attach a twine loop so it can hang proudly on your Christmas tree.
- Stuff & close the bottom: Add a small amount of stuffing for structure, then seam the bottom shut.
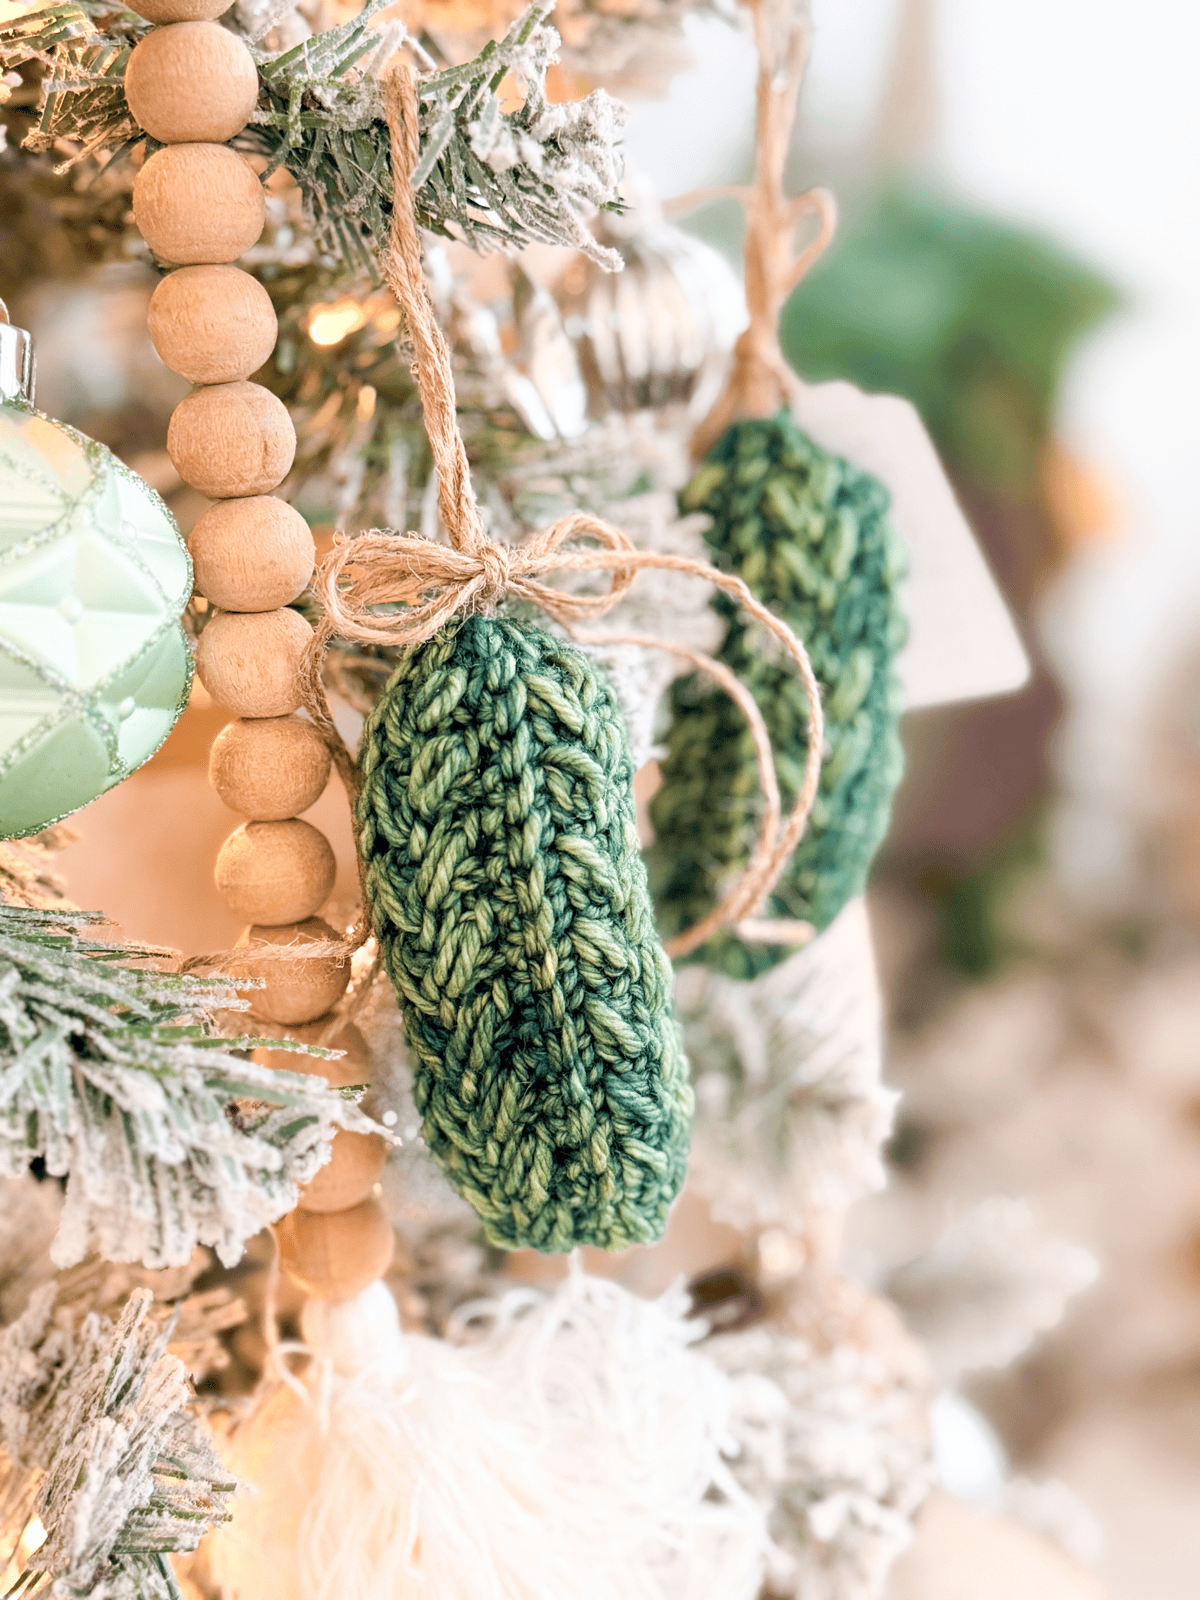
- Boom — you’ve officially crocheted a holiday legend! Hang your pickle and enjoy the season!
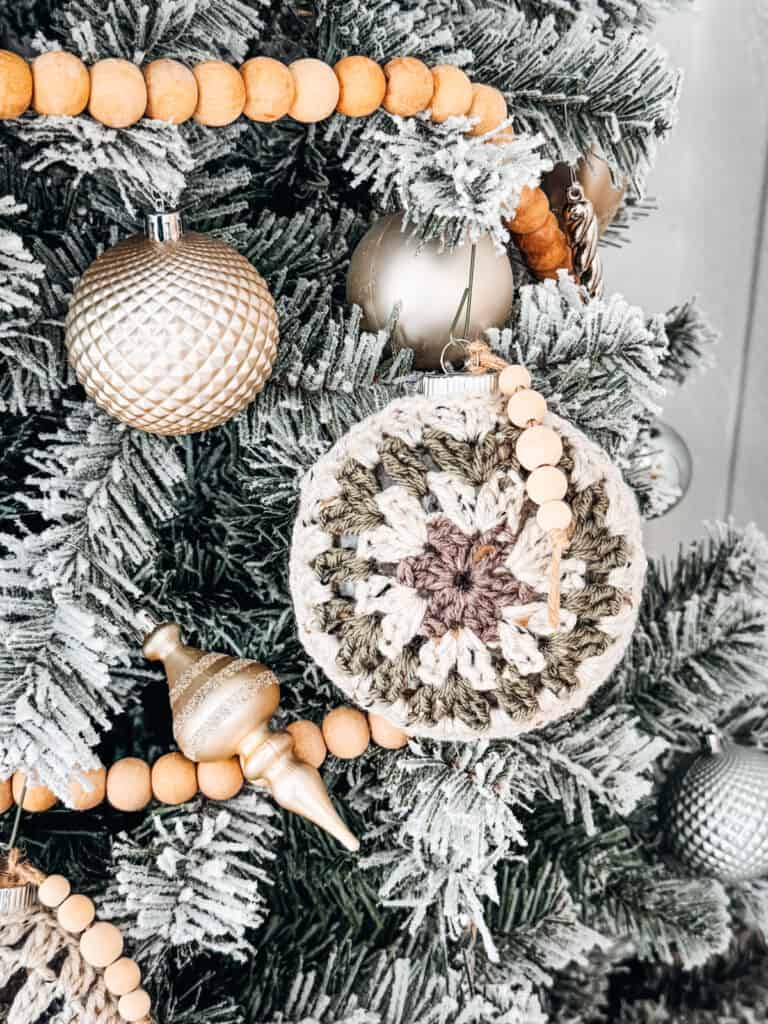
Love quick and festive projects? Whip up a few Snowy Wheat Stitch Ornaments or Granny All the Way Ornaments to add more yarny flair to your tree!
Special Stitches
Puff Stitch: Yarn over and insert your hook into the stitch/space; yarn over again and pull up a long loop; yarn over and insert your hook into the same stitch/space; yarn over again and pull up a long loop (5 loops on the hook). Yarn over and pull through the first 4 loops; yarn over and pull through remaining loops.
Pattern Notes
- A ch 1 at the beginning of a row is not counted as a stitch.
- Using a stitch marker at the beginning (or end) of the row is recommended.
- Weave in your ends neatly on the wrong side.
- This Pattern Uses Standard US Terminology. I use affiliate links and follow GPSR Compliance: privacy & disclosure policy here.
? FAQs About the Wheat Stitch Crochet Pickle Ornament Pattern
What skill level is this pattern?
This is a beginner-friendly project. And if you need help with the Wheat Stitch, I have a full tutorial here: How to Crochet The Wheat Stitch™.
How long does one pickle take to make?
Most crocheters can whip one up in 20–40 minutes—perfect for last-minute gifts or ornament exchanges.
Do I need special yarn?
Nope! Any worsted-weight yarn works beautifully. Greens, tweeds, and even sparkles all make adorable pickles.
Is there a printable version of the pattern?
Yes! A beautifully formatted PDF is available in the Briana K Etsy and Ravelry shops. (And the full PDF comes with adorable printable tags!)
Can I sell items made from this pattern?
Absolutely — feel free to sell your finished pickles! I just ask that you credit me as the designer.
Subscribe & Like
Video Tutorial for the Wheat Stitch Crochet Pickle Ornament
Relax & Crochet
Upgrade to the Printable PDF
Beautifully formatted to print and relax while crocheting. The paid pattern includes:
The Ad-Free PDF can be purchased on Etsy or Ravelry.
Click the box below to unlock this exclusive subscriber content for free. Add your email and create a password. If you are having trouble, reset your password or log in to the Grow Portal.
I’m thrilled to share this amazing crochet pattern with you! Please don’t copy, paste, or distribute this pattern. Prefer an ad-free experience? Purchase a digital PDF file for a small fee from one of my online stores. I appreciate your support and readership. You are why I can keep doing what I love and sharing it with others. Thank you from the bottom of my heart.
Written Wheat Stitch Crochet Pickle Ornament Pattern Instructions
Join The Kindest Community
Join our vibrant community of crafters on Facebook today. Whether you enjoy crafting with others or simply have burning questions, we’ve got you covered – join us now!
Joining
There are two ways to join your crochet pickle:
Slip Stitch Join:
With the wrong side facing out, slip stitch through the stitch on your current row AND the stitch from your first row. Repeat along the edge for each stitch. Fasten off, leaving a long tail (approx 15 inches), and flip to the right side, facing out.
Sewing Join:
Alternatively, fasten off, leaving a long tail (approx 20 inches). With the right side facing out, sew the long sides together using a whipstitch or mattress seam.
Top & Bottom Seaming:
To make the twine loop for hanging your pickle: Cut two 14-inch pieces of twine. Hold them together and fold in half. Then tie a knot at the open ends to create a loop, then set it aside.
Using the longer yarn tail from your seam, weave the tail through the inside of the pickle from one end to the other. This brings a tail to the other end and helps you gently shape the pickle with a slight curve by pulling on it.
Next, weave around the top edge of the pickle. Before pulling the top closed, first insert the twine loop knot inside the pickle. Then pull the top tight around the twine to secure it in place. Finally, weave in the ends and fasten off.
Lightly stuff your pickle with fiberfill. (Don’t overstuff!)
Using your yarn needle and the bottom tail, weave around the opening and pull to close. Weave in the end and fasten off.
Finishing
Time to give your pickle some personality!
Add a touch of flair by tying on a ribbon, a bow, or any other crafty accessory you have on hand.
Subscribe to my YouTube channel
Whether it’s hanging on the tree or tucked into a gift, your pickle is ready to spread a
little holiday mischief and cheer. Wishing you a dill-lightful and merry holiday season! ?
For more fantastically festive fun, check out these designs:
🧦 Granny All the Way Stockings
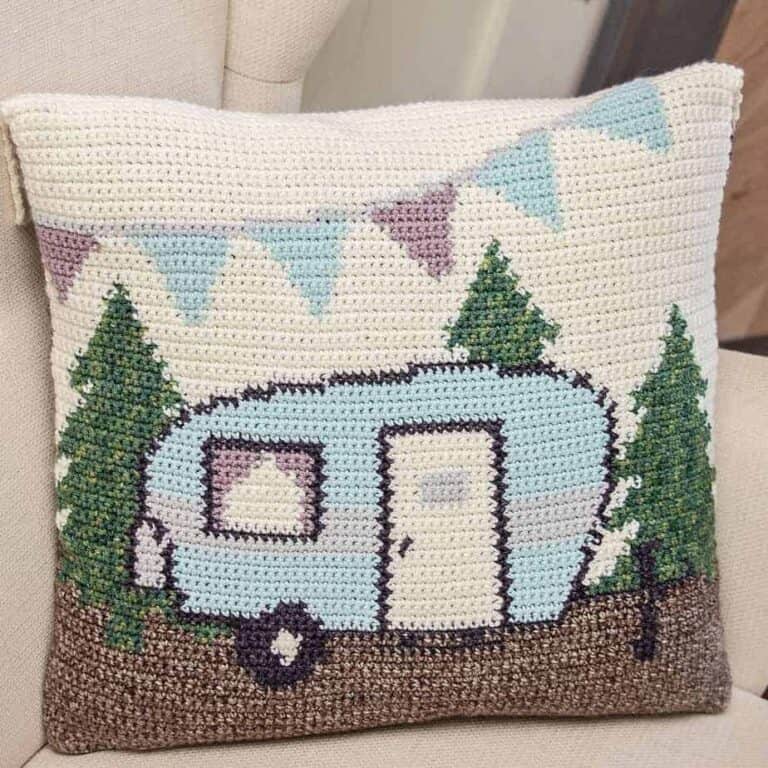
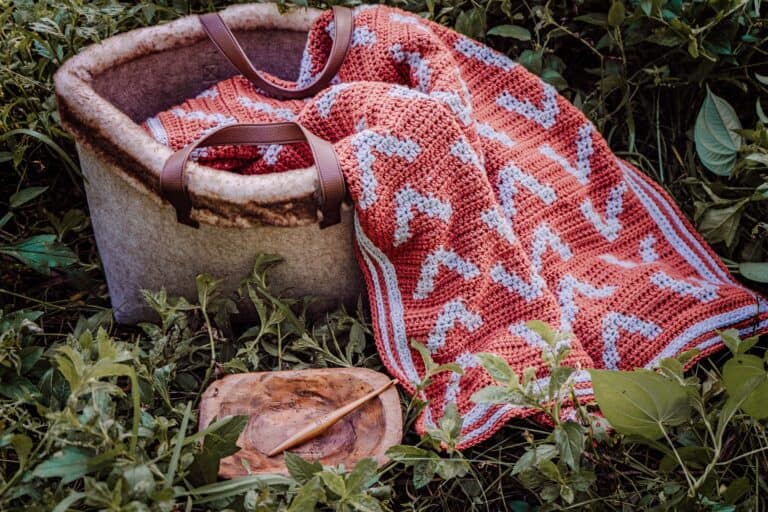
❄️ Let It Snow Pillow & Blanket
Cheers, and happy crocheting!
Well, That Was Fun! What’s Next?