
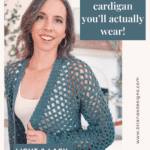
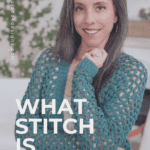
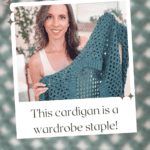
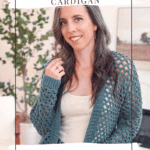
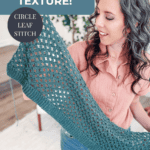
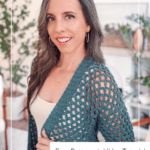
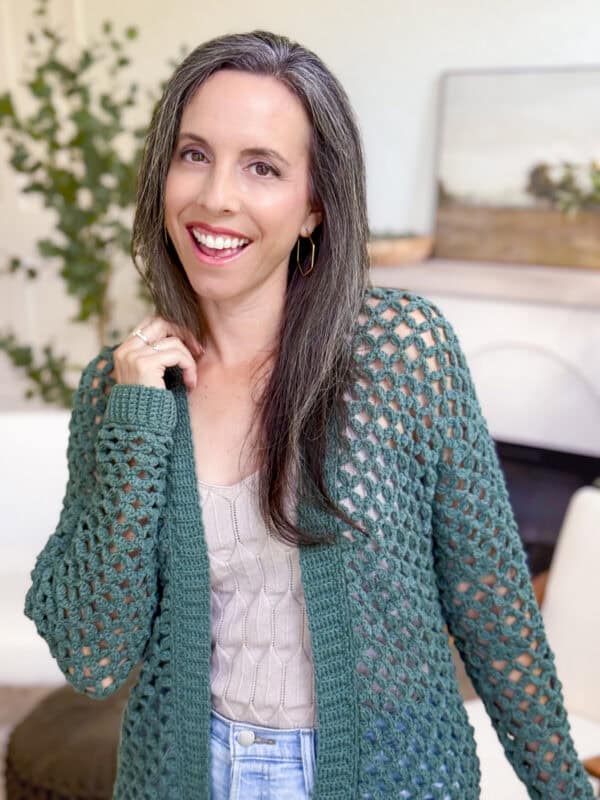
Ribbing runs around every single edge of this crochet lace cardigan. The hem, both cuffs, and the entire front opening. That is not a decorative choice; it’s why the finished piece hangs straight instead of slowly stretching into something you quietly stop reaching for.
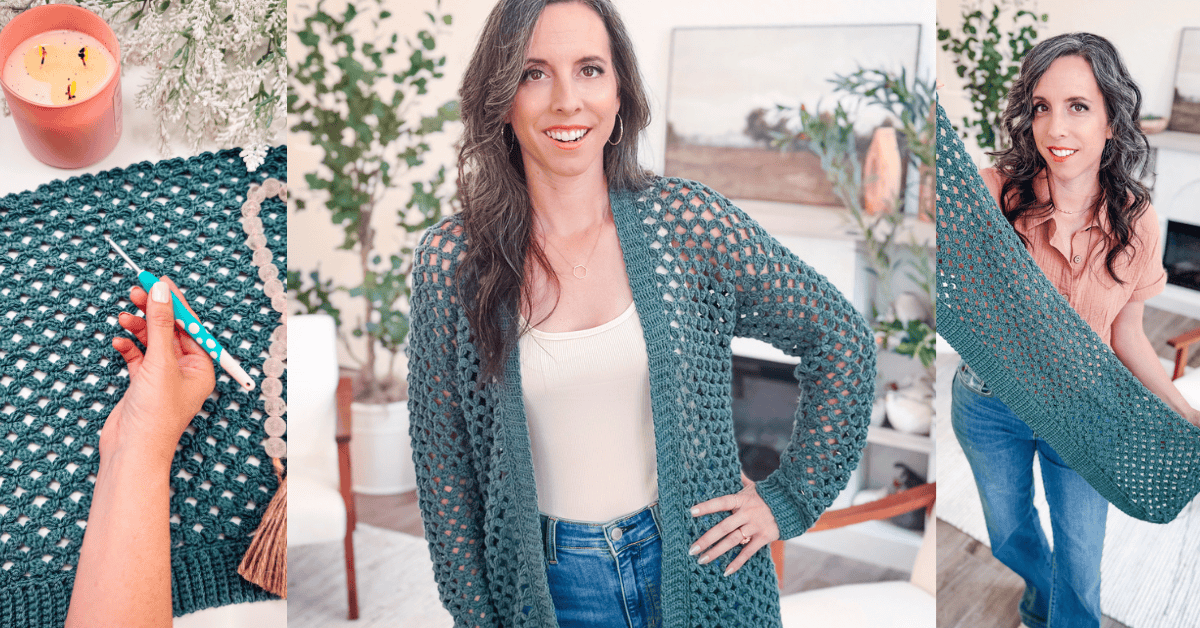
I made the Circle Leaf Market Bag first. By the time I finished it, I already knew I wanted this stitch in something I could actually wear, because that texture is far too pretty to keep for tote bags.
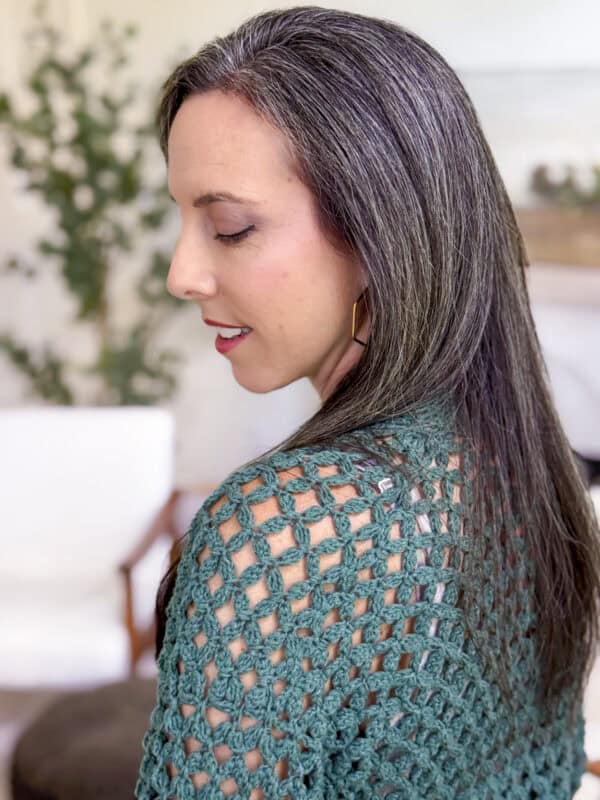
Worked in a sport-weight cotton and acrylic blend on a 4.0mm hook, the Circle Leaf Stitch opens right up and reads as lace rather than texture. You end up with a fabric that looks like a great deal of work and wears like a summer layer.
There is no closure, so it simply hangs open. The body measures 15 inches to the underarm, and the finished length runs 23 to 26.5 inches depending on your size, putting it somewhere between the hip and upper thigh on most people.
Disclosure: This post contains affiliate links. Please read my disclosure for more info.
Before You Hook: Circle Leaf Lace Cardigan Pattern Details
🧶 Yarn Used: Hobbii Acacia
⚖️ Yarn Weight: #2 Sport Weight
🧵 Featured Stitch: Circle Leaf Stitch
🪝 Hook Size: US G (4.0mm) Crochet Hook
📏 Sizes: XS to 5X, finished bust 32 (36, 40, 44, 48) (52, 56, 60, 64) inches
🩷🩷🩷🤍 Difficulty level: Intermediate
🕐 Approx Crochet Time: Around 15-35 hours depending on your size and pace
🏷️ Project Type: An open-front cardigan for layering, worked in panels with seamed shoulders and ribbing around every edge.
Save for Later • Get a Summary • Pick Up Where You Left Off
Why You Will Love This Free Crochet Lace Cardigan Pattern
- Nine sizes, XS through 5X, with a finished bust from 32 to 64 inches. Not grouped sizes, nine separate sets of numbers.
- Ribbing at the hem, the cuffs, and all the way around the front opening, which is what keeps the edges from stretching out over time.
- No buttons, no ties, no closure to fuss with. It hangs open and layers over whatever you already have on.
- Sleeves are worked directly onto the armholes in the round, so there are no sleeve seams to sew.
- The length adjusts in multiples of 2 rows, so you can crop it or take it down toward duster length without changing anything else.
- A full video tutorial walks through the stitch and the construction.
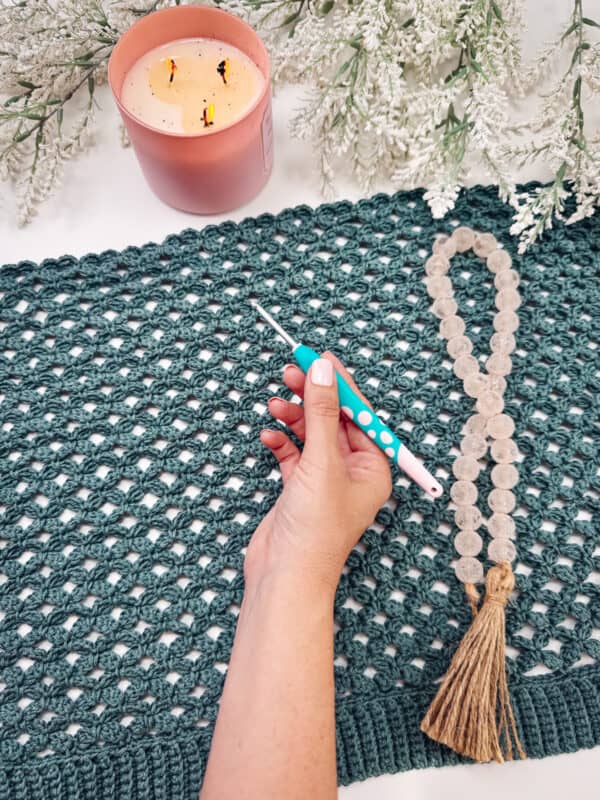
Circle Leaf Lace Cardigan Supplies
Yarn
Hobbii Acacia
51% Acrylic, 49% Cotton, 273yds/100g
Shown in Colorway: Teal
The cotton in the blend gives the clusters enough body to hold their shape, and the acrylic keeps the fabric soft rather than stiff. In an open stitch that matters more than usual, because every cluster is on display and there is nothing packed around it to hide behind.
Yarn Quantities
980 (1080, 1180, 1290, 1400) (1520, 1640, 1770, 1900) yds
4 (4, 5, 5, 6) (6, 6, 7, 7) skeins
Buy your full amount in one go so your dye lots match. An open lace fabric shows a lot count shift far more than a dense one does.
Yarn Substitutions
Premier Cotton Fair, 52% Cotton, 48% Acrylic, 317yds/100g
Bernat Softee Cotton, 60% Cotton, 40% Acrylic blend, 254yds/120g
Crochet.com Comfy Sport, 75% Pima Cotton, 25% Acrylic, 136yds/50g
Remember always to check the gauge and drape when substituting yarns.
Crochet Hook
G (4.0mm) Crochet Hook or hook to obtain gauge.
Notions
Scissors
Yarn Needle
Cat Removable Stitch Marker
Tape Measure
Skill Level
The Circle Leaf Stitch is built from chains, single crochet, and clusters, so nothing in it is beyond a confident beginner. The cluster placement does take a little getting used to, though. Work a swatch until you can place them without giving it your full attention, and you have handled the fiddliest part of the whole project.
Sizes
XS (S, M, L, 1X) (2X, 3X, 4X, 5X)
To fit chest: 32 (36, 40, 44, 48) (52, 56, 60, 64)”
Finished bust: 34 (38.5, 43.5, 48.25, 53) (57.75, 62.5, 67.5, 72)”
Body to underarm: 15” and adjustable
Full length: 23 (23.5, 24, 24.5, 25) (25.5, 26, 26.5, 26.5)”
Sleeve length: 17”
How Much Ease Should You Choose?
This cardigan is drafted with positive ease, so the finished bust runs a couple of inches larger than the chest size it is meant to fit. Compare your actual bust measurement against the finished bust numbers above rather than against the size letter.
For a more tailored look, pick a size with less ease or even go down one. For a slouchy, oversized look, size up for extra drape. Measure with a tape measure and ignore your ready-to-wear size, which has almost nothing to do with the number you need here.
Abbreviations
blo: back loop only
ch: chain
rem: remaining
RS/WS: right side/wrong side
sc: single crochet
sk: skip
sl st: slip stitch
st(s): stitch(es)
Stsc: stacked single crochet
St Cluster: stacked cluster
Stdc: stacked double crochet
tr: treble crochet
yo: yarn over
Gauge
8 sts and 8 rows = 4” by 4” in Circle Leaf Stitch pattern, unblocked, with a 4.0mm hook.
Swatch. I know. But this is a garment across nine sizes, and half a stitch over 4 inches turns into inches of difference across a bust.
How to Crochet A Gauge Swatch
Chain 31, which gives a swatch larger than the gauge measurement. Work Row 1 of the Bottom Body, then repeat Rows 2 and 3 until you have 11 rows total. Do not fasten off. Measure the stitches across and the rows up the height, then adjust your hook as needed.
Are you struggling to match the gauge? Check out the blog post on What is Crochet Gauge and How To Fix It
Special Stitches
Stsc: DO NOT chain at the beginning of the row. Insert your hook into the first stitch, yarn over, and pull up a loop. Yarn over and pull through both loops on the hook. (This will now look similar to a single crochet stitch, but we aren’t done yet.) Insert your hook into the vertical bar below, yarn over, and pull up a loop. Yarn over and pull through both loops on the hook.
Stacked Double Crochet (Stdc): Do NOT chain; insert hook into next stitch, yo, pull up a loop, yo and pull through both loops, [insert hook in the vertical bar below, yo, pull up a loop, yo and pull through both loops on the hook] twice.
Stacked Cluster (St cluster): *Ch 3, [yo and insert your hook into the 3rd ch from the hook, yo and pull up a loop, yo and pull through two loops] twice, yo and pull through all the loops on the hook; repeat from * one more time.
Important Pattern Notes
How the Circle Leaf Lace Cardigan Is Made
This cardigan is worked from the bottom up. You start with the ribbed hem, then work the body in one piece to the underarm. From there, the work splits into the first front panel, the back panel, and the second front panel, and the shoulders are seamed.
The sleeves are worked directly onto the armholes in the round and taper toward the wrist. Last, add ribbing at the cuffs and all the way around the front opening.
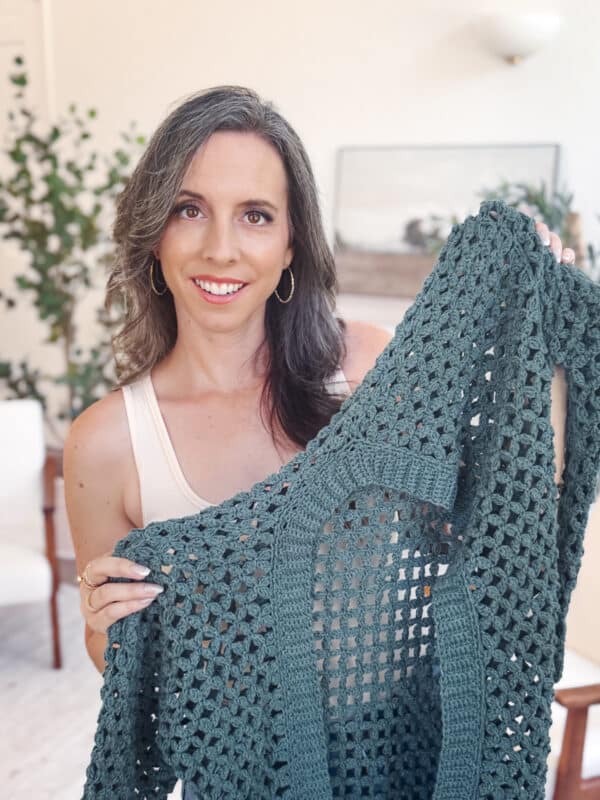
Why the Ribbing Runs Around Every Edge
An open lace fabric has almost no memory. Every cluster is surrounded by air, so very little holds the fabric back when it wants to grow. Hang a garment like that on a hanger for a season, and it will keep whatever shape gravity gave it.
Ribbing is the answer, and this cardigan carries it on all four edges. The hem, both cuffs, and the full front opening. Back loop only single crochet worked sideways makes a dense, springy band that pulls back to itself, and each band anchors the lace it borders.
The hem is worth a closer look, because it does double duty. It is worked flat and sideways first, and then you turn the corner and add a clean edge along its long side. That edge becomes the foundation for the body, so you never work into a foundation chain and never fight a tight starting row, which is a real relief on a piece this wide.
The front bands are what keep the two front edges parallel. Without them, an open cardigan with no closure tends to curl inward at the front, and you spend the day tugging at it.
How to Work the Front Ribbing So It Lays Flat
This is the fiddliest part of the pattern and the one place people get stuck, so it is worth reading before you get there.
The setup row is worked into the raw edge of the fabric, not into a set number of stitches. You are spacing stitches along an edge by eye. There is no count to hit, which feels wrong the first time and is genuinely fine.
The rule of thumb is simple. Place enough stitches that the edge lies flat. If it starts to pull in, you need more. If it starts to ripple and wave, you have put in too many.
The corners at the neck are the exception. There you want to skip some edge stitches deliberately, which reduces the number of ribbing rows around the curve and lets it sit nicely instead of bunching. The video shows this part if you would rather watch than read.
One more thing that helps. Lay the cardigan out flat and look at it before you commit to a whole side. It is far easier to rip back six inches of setup row than to discover a waving front edge after you have worked the full band.
Adjusting the Length
The body runs 15 inches to the underarm as written, which gives a finished length of 23 to 26.5 inches depending on your size. That lands around the hip on most people.
To change it, add or subtract rows in the Bottom Body before you split for the panels, and keep it to multiples of 2. The Circle Leaf repeat runs over two rows, so multiples of 2 keep the texture consistent and keep your panel instructions lining up.
Cropping it is easy and costs you nothing. Going the other way is worth a moment of thought, because a longer body eats yarn quickly in the larger sizes and the front bands get longer along with it. Buy an extra skein before you start rather than hunting a matching dye lot later. If you want something properly long and drapey, the Long Summer Duster is drafted for that job from the beginning.
Sleeves work the same way. More or fewer rounds change the length, and if you do not want any taper at the wrist, simply leave out the decrease rounds and work straight. You get a wide, relaxed sleeve, which suits this fabric rather well. Just note that a straight sleeve uses more yarn than a tapered one.
Keeping Track of the Sleeve Decreases
Every other section of this pattern repeats on a rhythm you can feel. The sleeve decreases do not. They are scheduled by size, and the spacing is deliberately uneven: XS decreases every third round, while 4X and 5X mostly decrease every other round.
That means you cannot work these on autopilot the way you can the body. Find the line for your size, and before you start the sleeve, write those round numbers down where you can see them.
A sticky note on the arm of your chair works. So does a note on your phone. Cross each one off as you finish it rather than counting backward later, because counting rounds in an open cluster fabric after the fact is genuinely unpleasant.
Work both sleeves from the same list so they match. This is the one place in the pattern where a small slip shows up as two sleeves that are not the same length.
Subscribe & Like
Relax & Crochet
Upgrade to the Printable PDF
Beautifully formatted to print and relax while crocheting. The paid pattern includes:
The Ad-Free PDF can be purchased on Etsy or Ravelry.
Add your email in the box below to unlock this pattern to view on the blog for free. I’m thrilled to share this amazing crochet pattern with you! Please don’t copy, paste, or distribute this pattern. Prefer an ad-free experience? Purchase a digital PDF file for a small fee from one of my online stores. I appreciate your support and readership. You are why I can keep doing what I love and sharing it with others. Thank you from the bottom of my heart.
Circle Leaf Lace Cardigan Free Crochet Pattern
Row 3: Sc in first, St Cluster, *sc around the center of the St Cluster; repeat from * across, sc in last, turn.
Row 4: Stdc, Cluster, sc around the center of the St Cluster, *St Cluster, sc around the center of the St Cluster; repeat from * across, Cluster, treble crochet in last, turn.
Repeats: Repeat Rows 3 to 4 until there are a total of 30 rows. Do not fasten off.
Tip: The length of this cardigan can be adjusted longer or shorter by adding or subtracting rows in multiples of 2.
Join The Kindest Community
Join our vibrant community of crafters on Facebook today. Whether you enjoy crafting with others or simply have burning questions, we’ve got you covered – join us now!
First Front Panel
Row 1 (WS): Sc in first, St Cluster, *sc around the center of the St Cluster; repeat from * across until there are a total of 6 (7, 8, 9, 10) (11, 12, 13, 14) St Clusters, sc in next and turn, leaving the remaining sts unworked. | 6 (7, 8, 9, 10) (11, 12, 13, 14) St Clusters + 7 (8, 9, 10, 11) (12, 13, 14, 15) sc sts
Row 2: Stdc, Cluster, sc around the center of the St Cluster (from the row below here and throughout), *St Cluster, sc around the center of the St Cluster; repeat from * across, Cluster, treble crochet in last, turn.
Row 3: Sc in first, St Cluster, *sc around the center of the St Cluster; repeat from * across, sc in last, turn.
Repeats: Repeat Rows 3 to 4 until there are a total of 15 (16, 17, 18, 19) (20, 21, 22, 22) rows. Some sizes will end on a Row 3. Fasten off.
Back Panel
Row 1 (WS): Attach yarn to the center of the next St Cluster next to the First Front Panel, sc in first, St Cluster, *sc around the center of the St Cluster; repeat from * across until there are a total of 14 (16, 18, 20, 22) (24, 26, 28, 30) St Clusters, sc in next and turn, leaving the remaining sts unworked. | 14 (16, 18, 20, 22) (24, 26, 28, 30) St Clusters + 15 (17, 19, 21, 23) (25, 27, 29, 31) sc sts
Row 2: Stdc, Cluster, sc around the center of the St Cluster (from the row below here and throughout), *St Cluster, sc around the center of the St Cluster; repeat from * across, Cluster, treble crochet in last, turn.
Row 3: Sc in first, St Cluster, *sc around the center of the St Cluster; repeat from * across, sc in last, turn.
Row 4: Stdc, Cluster, sc around the center of the St Cluster, *St Cluster, sc around the center of the St Cluster; repeat from * across, Cluster, treble crochet in last, turn.
Repeats: Repeat Rows 3 to 4 until there are a total of 15 (16, 17, 18, 19) (20, 21, 22, 22) rows. Some sizes will end on a Row 3. Fasten off.
Second Front Panel
Row 1 (WS): Attach yarn to the center of the next St Cluster next to the Back Panel, sc in first, St Cluster, *sc around the center of the St Cluster; repeat from * across until there are a total of 6 (7, 8, 9, 10) (11, 12, 13, 14) St Clusters, sc in next and turn, leaving the remaining sts unworked. | 6 (7, 8, 9, 10) (11, 12, 13, 14) St Clusters + 7 (8, 9, 10, 11) (12, 13, 14, 15) sc sts
Repeat Rows 2 to 4 and the Repeats from the First Front Panel, working until there are a total of 15 (16, 17, 18, 19) (20, 21, 22, 22) rows. Fasten off.
Shoulder Seams
With the wrong side facing you, fold both front panels inward toward the center back panel. Align the outer edges at the top of each front panel with the corresponding edges of the back panel, and seam across the shoulders to join.
Sleeves
Rnd 1 (RS): Join to the center of a St Cluster just to the right of the center underarm. Work in the Established Stitch Pattern around the opening, placing 16 (17, 18, 19, 20) (21, 22, 23, 23) St Clusters + sc sts, join to the first sc of the round and turn.
Rnd 2 (WS): Sl st to the middle of the St Cluster (Tip: always work sl st on the WS of the fabric), *sc around the center of the St Cluster, St Cluster; repeat from * around and join.
For each size, we will work in stitch pattern for 30 total rounds while also decreasing.
How to decrease:
First Decrease Rnd: Work in st pattern until the underarm area. Cluster 1, sc around the center of the St Cluster, Cluster 1, continue to work in pattern until the end of the rnd, join and turn.
Working into the Decrease Rnd: Work in st pattern until the first single Cluster, skip the Cluster and sc in the next sc st, St Cluster and skip the next single Cluster and sc around the center of the next St Cluster, continue to work in pattern until the end of the rnd, join and turn.
Size XS: decrease on Rnds 3, 6, 9, 12, 15, 18, 21, 24, 27.
Sizes S and M: decrease on Rnds 3, 5, 7, 9, 12, 15, 18, 21, 24, 27.
Size L: decrease on Rnds 3, 5, 7, 9, 11, 13, 16, 19, 22, 25, 28.
Size 1X: decrease on Rnds 3, 5, 7, 9, 11, 13, 15, 17, 19, 22, 25, 28.
Sizes 2X and 3X: decrease on Rnds 3, 5, 7, 9, 11, 13, 15, 17, 19, 21, 23, 26, 29.
Sizes 4X and 5X: decrease on Rnds 3, 5, 7, 9, 11, 13, 15, 17, 19, 21, 23, 25, 27, 29.
Continue working in the Established Stitch Pattern until there is a total of 30 Sleeve Rounds (this includes Rnd 1), or desired length.
Tip: To adjust for sleeve length, work more or fewer rounds. If you do not want tapered sleeves, omit the decreases.
Cuff Ribbing
Setup Rnd 1: Sl st to the middle of the St Cluster, *sc around the center of the St Cluster, St Cluster, ch 5; repeat from * around, join.
Setup Rnd 2: Ch 1 (does not count as a st), sc in each st around, join.
Row 1: Ch 6, sc in the second chain from hook and across the remaining chs, sl st 2 sts on the sleeve edge (these do not count as sts), turn. | 5 sts
Row 2: Skip the two sl sts from the sleeve edge, blo sc in each st across, turn.
Row 3: Ch 1 (turning chain does not count as a stitch), blo sc in each st across, sl st 2 sts on the sleeve edge, turn.
Repeats: Repeat Rows 2 to 3 around the sleeve edge. Join the last row to the first by slip stitching through the back loops of both rows.
Front Ribbing
Setup Row Around Front Opening: With the right side of the fabric facing, join your yarn to the bottom front corner of the opening, ch 1, sc 1, *insert your hook into the left bar of the sc just made, then insert into the next space on the edge of the fabric (we want to space these evenly along the edge without it being too tight), yarn over and pull a loop through the fabric and also through one loop on the hook. Yarn over and pull through two loops on the hook. Repeat from * all the way around the front opening of the cardigan until you are at the opposite bottom corner.
Tips: It is important to place enough stitches along the edge that it lays flat, add more as needed. On the corners of the neck, skip some edge stitches to reduce the amount of rows so it lays nicely. See video.
Row 1: Working around the front opening and in ribbing rows that will join to the main fabric: ch 7, sc in the 2nd ch from hook and across back towards the cardigan body, sl st in next 2 sts, turn. | 6 sc, 2 sl sts
Row 2: Sk 2 sl sts, blo sc 6, turn.
Row 3: Ch 1, blo sc 6, sl st in next 2 sts, turn.
Next Rows: Repeat Rows 2 to 3 for ribbing around the front opening. Fasten off.
Finishing
Weave in all ends, block, and enjoy!
How to Style an Open Front Cardigan
Everyday Casual: Pair it with jeans and a basic tee or tank for a cozy, effortless look.
Layered Comfort: Throw it over leggings and a long tunic for relaxed, at-home comfort.
Chic and Fitted: Wear it over a fitted dress or skirt to add warmth without sacrificing style.
Boho Vibes: Pair it with wide-leg pants, ankle boots, and a floppy hat for a laid-back, creative outfit.
Work Ready: Style it with slacks and a blouse for a professional but comfortable layer at the office.
Seasonal Transitions: Use it as a lightweight jacket in early fall or spring over your favorite basics.
Yarn Talk: Hobbii Acacia
If you’re looking for a yarn that really lets this stitch shine, Hobbii Acacia is a beautiful choice.
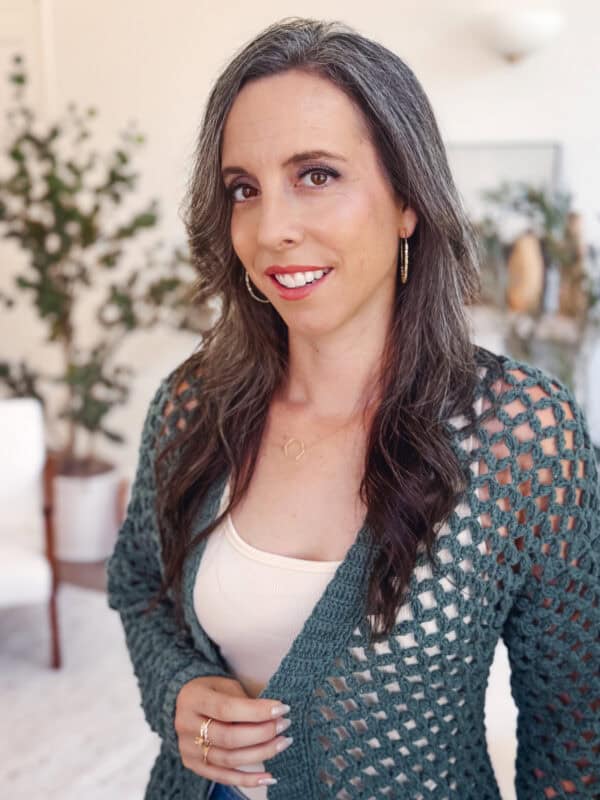
It has that perfect balance of softness and structure, so the lacework holds its shape while draping nicely when worn. The stitch definition is crisp, so you can actually see the Circle Leaf texture, but the finished fabric still feels light and breathable.
If you are substituting, aim for a cotton blend near 273yds/100g and swatch before you commit. Fiber matters as much as thickness here: cotton gives crisp, well-defined clusters, while a wool blend will bloom and blur them.
🌿 Caring for Lace Crochet Garments
Lightweight lace garments are easy to care for. You just need to treat them a little gently to keep them looking their best:
- Hand wash or use a gentle cycle with cold water
- Lay flat to dry to maintain shape and prevent stretching
- Avoid hanging, especially when wet
- Light steam blocking helps open the lace and refresh the fabric
- Store folded rather than hung to preserve structure
❓ Circle Leaf Lace Cardigan FAQs
How much yarn do I need for a lace crochet cardigan?
For this one, see the Yarn Quantities section above for exact yardage by size, which runs from 980 yards at XS up to 1900 yards at 5X. As a general rule, an adult crochet cardigan takes somewhere between 1000 and 2400 yards depending on size, length, and how open the stitch pattern is. Open lace stitches like this one use less yarn than a solid fabric over the same area, because you cover ground with clusters and skipped stitches rather than dense rows. Buy a little more than the pattern calls for in the larger sizes, and buy it all in one go so the dye lots match.
Is this cardigan good for a first garment?
It is a reasonable first garment, yes, and that is partly why it is rated Advanced Beginner rather than higher. There is no neckline shaping to work out and no closure to fit. The panels are worked straight, and the sleeves go directly onto the armhole, so the only real garment skill you need is seaming two shoulders. Work the stitch tutorial and a gauge swatch first so the cluster placement becomes automatic, then take the cardigan one section at a time.
Do I need to seam anything?
Only the shoulders. The body is worked in one piece up to the underarm and then splits into three panels, so there are no side seams. The sleeves are worked in the round straight onto the armhole opening, which means no sleeve seams and no setting in. Two short shoulder seams are the entire sewing commitment.
Can I change the yarn weight?
This pattern was written specifically for a sport weight yarn to keep the drape flowy and the feel light and lacy, and the sizing maths depends on that gauge. Going heavier will give you a warmer, denser fabric and a much larger finished garment, so you would be redrafting rather than substituting. If you want to try it anyway, swatch first and choose your size based on the finished measurements you actually get, rather than the size letter.
What is the difference between this and the Circle Leaf V-Neck Cardigan?
Same stitch, genuinely different garments. This one is the longer, looser piece. It has a straight neckline, ribbing around all four edges, and no closure, so it hangs open and works as a year-round layer. The Circle Leaf V-Neck Cardigan is shorter, with a V-neckline and a tie at the bust, so you can wear it open or closed. Make this one if you want something to throw on over everything. Make that one if you want a shorter summer layer with an actual neckline. Both are free, and both come in all nine sizes.
What is the Circle Leaf Stitch?
The Circle Leaf Crochet Stitch is a visually striking, textured pattern that creates angled, stacked cluster stitches reminiscent of layered leaves or circular petals. Also known as the Diagonal Leaf Grid Stitch, it reminds me of the intricate designs found in Amish wedding quilts. The way the clusters stack and angle across the fabric creates a sense of movement and layered geometry, much like the carefully pieced motifs in traditional quilt patterns. And of course, I have a step-by-step tutorial for how to make it. Visit this post: How to Crochet the Circle Leaf Stitch
More Crochet Patterns You’ll Love
If the Circle Leaf Stitch has you hooked, here is where to go next for more amazing crochet texture.
🥂 Cheers, Happy Crocheting!
Get the Circle Leaf Lace Cardigan Pattern
The full pattern is free right here on the blog, in all nine sizes, supported by ads.
If you would rather have it printed and ad-free, the PDF adds the Circle Leaf stitch charts, the measuring and style guide, and the printable sleeve tally sheets that make those uneven decrease rounds much easier to track.
And if you get stuck, come find us in the Briana K Community on Facebook. Someone has almost always just finished the exact row you are on.
Hook down? Not so fast…
I’d Love to See Yours!
You made something beautiful. Here’s how to keep it, show it off, and inspire the next maker.

What should you make next?
Keep the hook movingReaders Are Loving

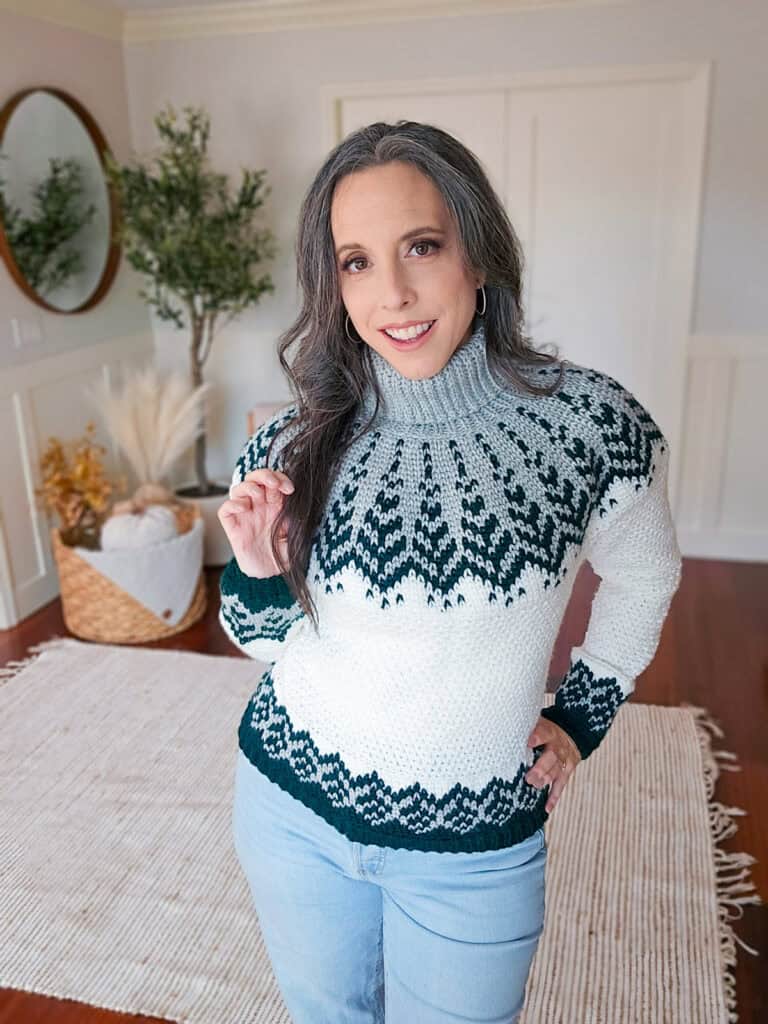 Pine Sweater
 Diamonds Pullover
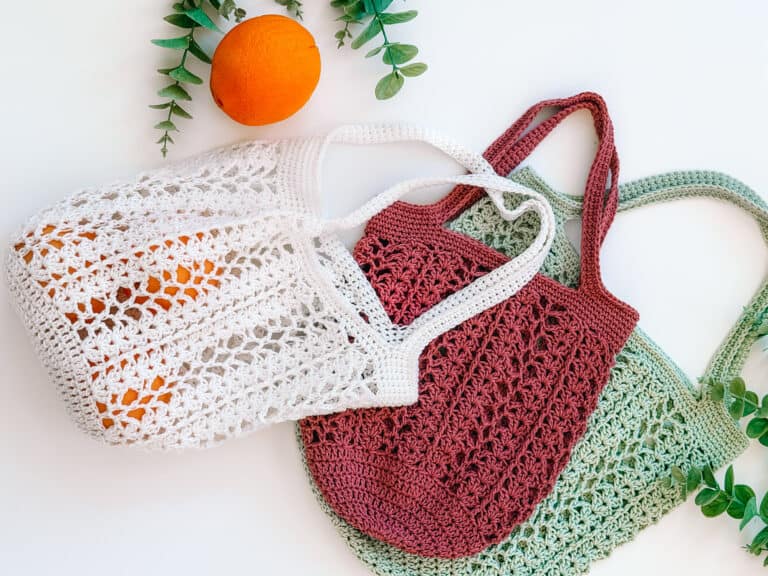 Willow Mesh Bag
 Wheatfield Sun Hat