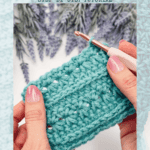
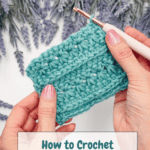
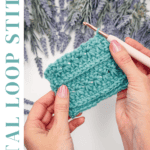
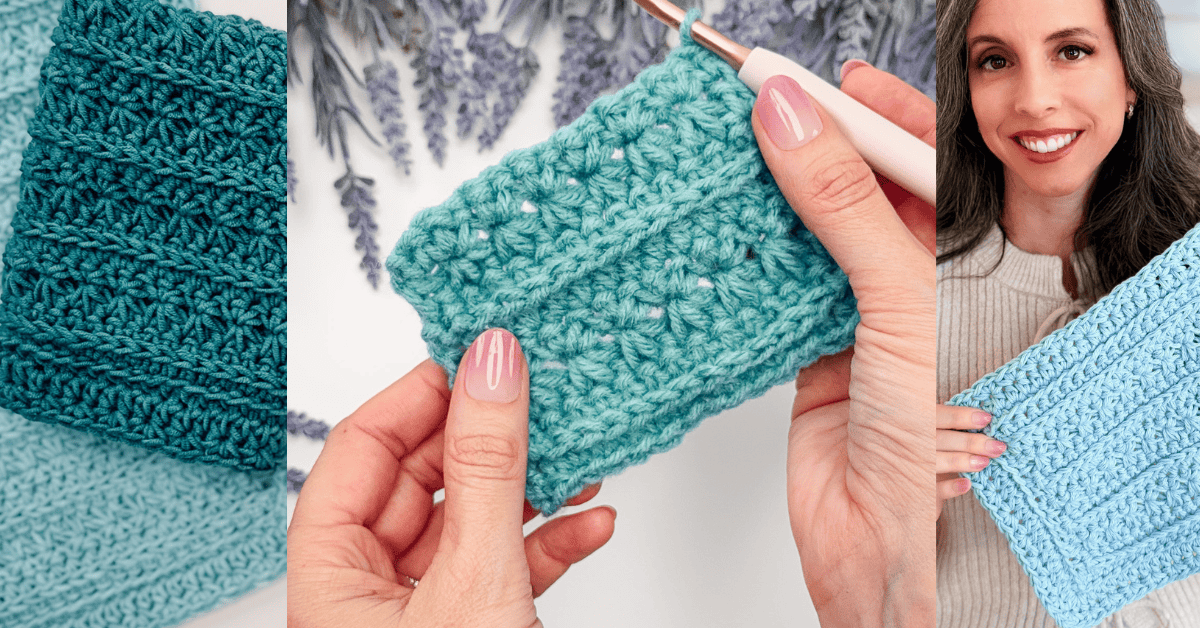
If you love crochet stitches that add beautiful texture and dimension, the Petal Loop Crochet Stitch is one you’ll definitely want to add to your stitch library.
This eye-catching stitch creates delicate looped “petals” across the fabric, giving your crochet projects a soft, floral-inspired texture that looks intricate but is surprisingly approachable once you learn the rhythm.
Disclosure: This post contains affiliate links. Please read my disclosure for more info.
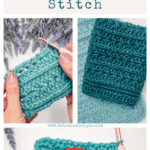
The Petal Loop Stitch is worked using a 4-row repeat in rows, combining simple and unique stitches to create a stunning texture across the surface, resulting in a fabric that’s both decorative and tactile. Whether you’re exploring new crochet stitches, expanding your stitch dictionary, or looking for a relaxing texture to practice, this tutorial will help you master the Petal Loop Stitch and start using it in your own projects.
The Petal Loop Stitch™ was introduced and named by Briana K Designs in 2026.
What you’ll love about the petal loop stitch.

Petal Loop Stitch Crochet Supplies
Yarn
Herrschners Worsted 8
100% Acrylic, 489yds/226g
Yarn Quantities
Yardage will depend on your individual tension and on the chosen Petal Loop Stitch project. For now, some leftover yarn scraps will be enough.
Yarn Substitutions
Brava Worsted – 100% Premium Acrylic, 218yds/100g
Red Heart Super Saver – 100% Acrylic, 389yds/150g
Mary Maxim Maximum Value – 100% Acrylic, 474yds/227g
Remember always to check the gauge and drape when substituting yarns.
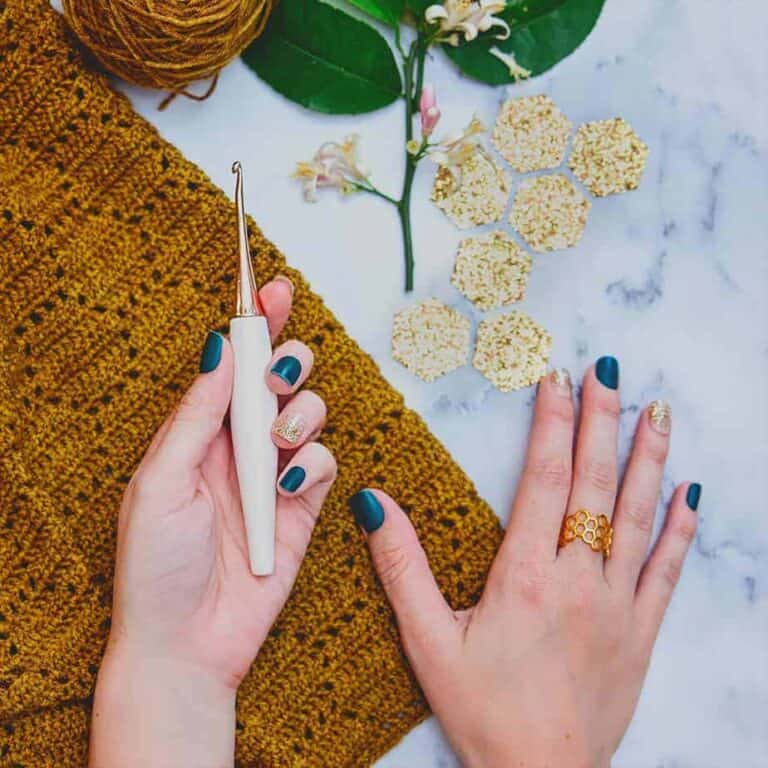
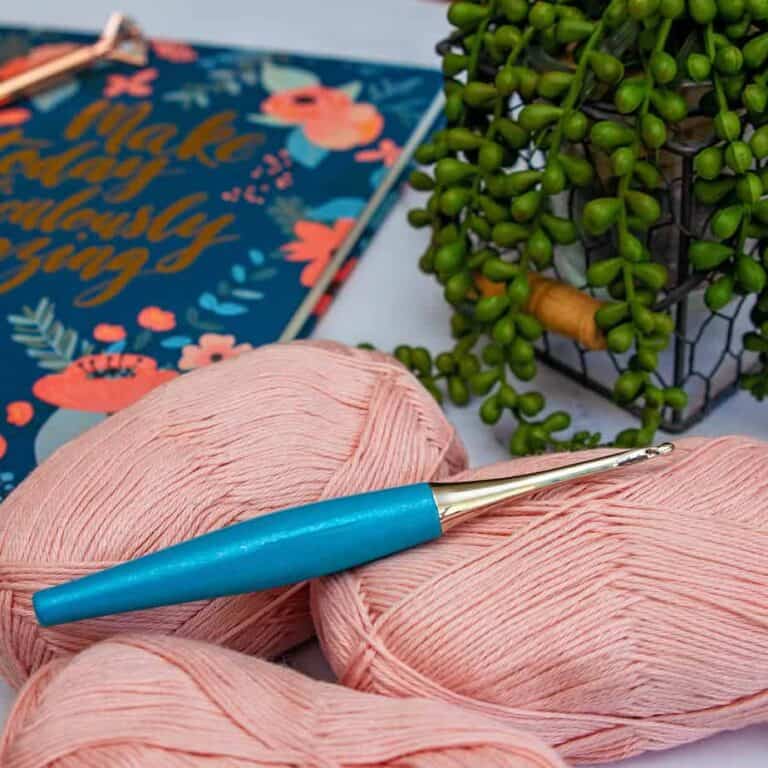
Crochet Hook
Size US H (5.0mm) Crochet Hook or hook to obtain gauge.
Notions
Scissors
Yarn Needle
Cat Removable Stitch Marker
Tape Measure
Skill Level
Abbreviations
ch – chain
hdc – half double crochet
RS/WS – right side/wrong side
sc – single crochet
sl st – slip stitch
st(s) – stitch(es)
Stsc – Stacked Single Crochet
Gauge
Not at all important for this tutorial!
How to Crochet A Gauge Swatch
Working a gauge swatch will let you know if you will have the correct sizing for this pattern. It will also help you practice the stitches used in this project and improve your stitch work for a flawless look.
Are you struggling to match the gauge? Check out the blog post on What is Crochet Gauge and How To Fix It
Construction
This Petal Loop Crochet Stitch tutorial is worked flat in rows, making it easy to practice.
We’ll start by chaining a multiple of 2, then work a row of hdc, followed by a row of sc in the 3rd loop. Then, we’ll add a row of the unique 3-petal loop stitch! Don’t worry – I’ll walk you through it step-by-step. The last row of the 4-row repeat is a row of sc. Those 4 rows will be repeated until desrired height, or per the directions of the chosen Petal Loop Stitch pattern.
If you like crochet stitch tutorials, check out the Tutorials section of the blog!
Special Stitches
Stacked Single Crochet (Stsc): Do NOT chain, insert hook into next stitch, yo, pull up a loop, yo and pull through both loops, insert hook in the vertical bar below, yo, pull up a loop, yo and pull through both loops on the hook.
3-Loop-Petal: Insert the hook into the back loop of the previously worked star (or stitch) and pull up a loop. Pull up one loop in each of the next two stitches of the previous row, for a total of four loops on the hook. Yarn over and draw through all four loops to complete the stitch.
Pattern Notes
- This pattern substitutes a traditional chain on the edges for a Stacked Single Crochet.
A ch 1 at the beginning of a single crochet row is unnecessary. - The ch 1 at the beginning of a row does not count as a stitch.
- Using a stitch marker at the beginning (and possibly the end) of the 3-petal st rows is recommended.
- This Pattern Uses Standard US Terminology. I use affiliate links and follow GPSR Compliance: privacy & disclosure policy here.
Frequently Asked Questions
🌸 Is the Petal Loop Crochet Stitch beginner-friendly?
The Petal Loop Stitch is typically considered easy to intermediate, depending on your comfort level with unique stitches and pattern-reading skills. If you’re comfortable with basic stitches and following a repeating pattern, you’ll likely pick it up quickly.
🌸 What projects work best with the Petal Loop Stitch?
This stitch works beautifully for projects that highlight texture, including:
- Washcloths and dishcloths (the Petal Loop Stitch Washcloth is a great way to practice!)
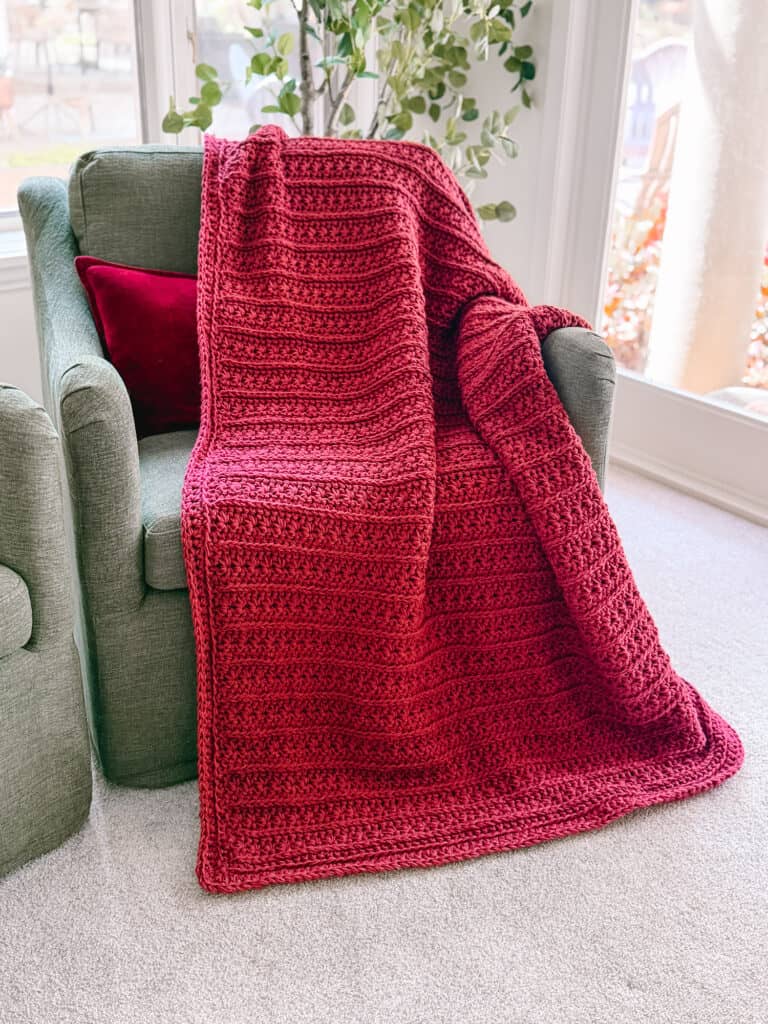
- Crochet blankets (Of course, there’s a Petal Loop Stitch Blanket pattern!)
- Scarves and cowls
- Spa sets and bath accessories
- Textured pillows or home décor
- Garments
Smaller projects like washcloths are a great way to practice the stitch before using it in larger designs.
🌸 Why is my stitch count inconsistent?
That could happen for a few different reasons. My first suggestion is to count at the end of every row – the stitch count will be the same for all rows. My next suggestion is to place a stitch marker in the first and last stitch of each row. Sometimes the stacked sc is miscounted because it looks like two stitches (they’re stacked on top of each other). Make sure you’re counting your ch-1 in the 3-petal loop rows as a stitch, and keep it a little looser than normal (because you have to work back into it on the next row). Keep practicing!
🌸 What yarn works best for this stitch?
Any yarn in any weight or fiber will work! That being said, highly textured or fuzzy yarns may hide the flowery details in the 3-petal loop rows.
🌸 Can I use this stitch in larger projects?
Absolutely! Once you learn the repeat, the Petal Loop Stitch works wonderfully in larger designs, such as blankets, sweaters, and textured accessories. I’ll be releasing new patterns soon, too!
Is the Petal Loop Stitch hard to learn?
🌸 No, not at all! We’re using a combination of simple and slightly modified simple stitches to create this stunning texture. And, if you love the look of the crochet star stitch but wish it were a little easier to work, the Petal Loop Stitch offers the same beautiful texture with a smoother, more approachable rhythm.
Subscribe & Like
Video Tutorial for the Petal Loop Crochet Stitch
Click the box below to unlock this exclusive subscriber content for free. Add your email and create a password. If you are having trouble, reset your password or log in to the Grow Portal.
I’m thrilled to share this amazing crochet pattern with you! Please don’t copy, paste, or distribute this pattern. Prefer an ad-free experience? Purchase a digital PDF file for a small fee from one of my online stores. I appreciate your support and readership. You are why I can keep doing what I love and sharing it with others. Thank you from the bottom of my heart.
Petal Loop Crochet Stitch Written Instructions
Petal Loop Stitch as Shown in Video
Starting Sts in multiples of 2
Row 1 (RS):
Start by creating a slip knot and putting it on your hook.
Ch 14.
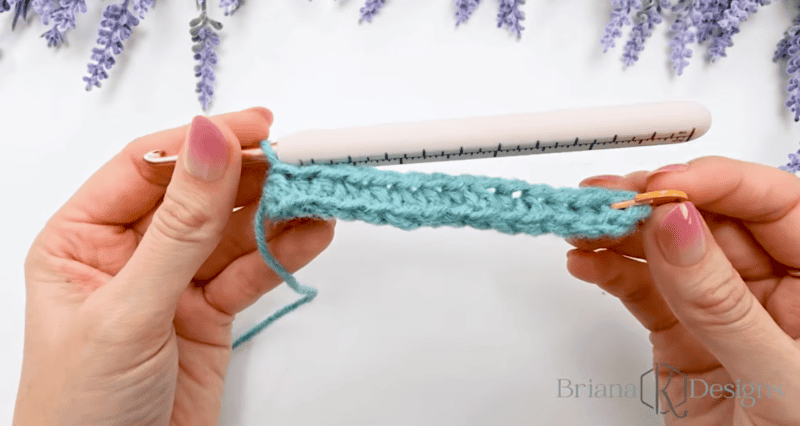
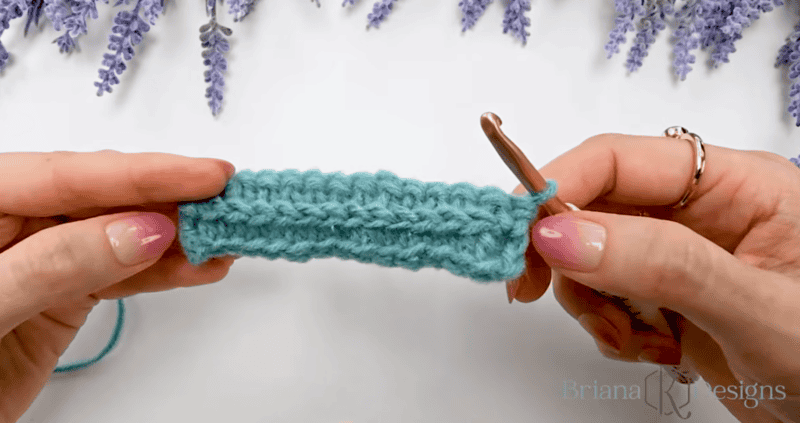
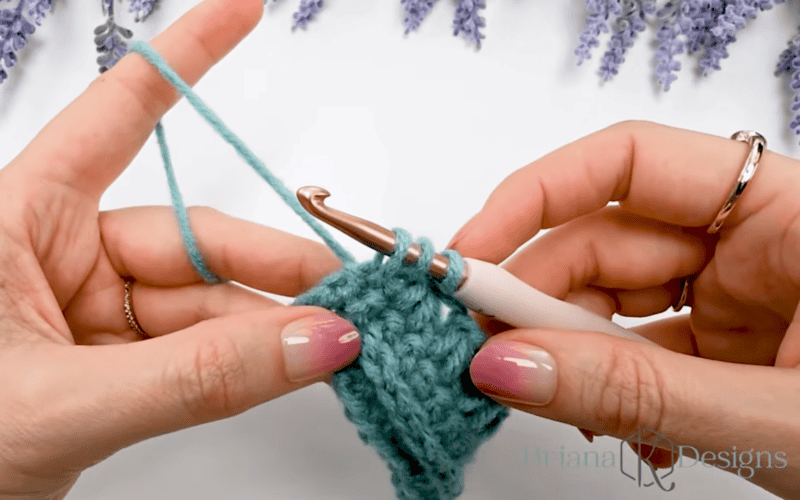
In the back bumps of the chain, stsc in the first, hdc in the remaining sts across, turn. | 14 sts
* I recommend putting a stitch marker in the top of your stsc so you don’t confuse where the top of the stitch is.
At the end of the row, this is what your work will look like.
Row 2 (WS):
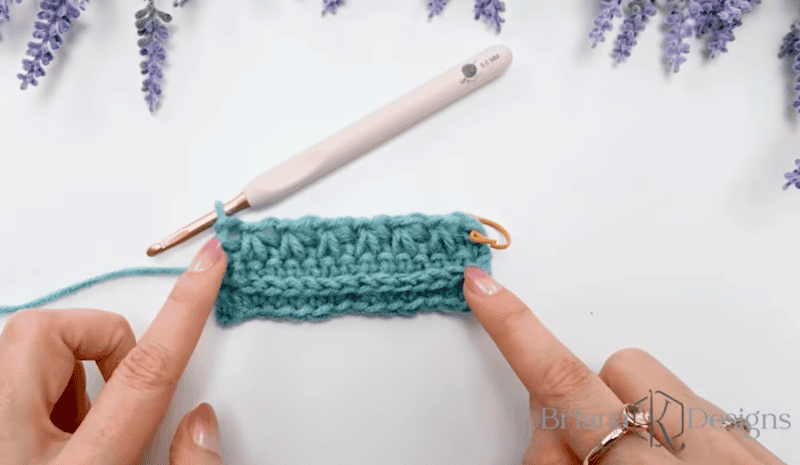
Ch 1 (does not count as a st here and throughout), sc (under both loops) in the first st, working in the third loop sc in each st across until the last st, sc (under both loops) in the last, turn. | 14 sts
This image shows where the third loop is:
This image shows what your Row 2 will look like after you turn to start Row 3:
Row 3:
Stsc in first, insert your hook into the loop on the back of the Stsc, yo and pull up a loop, insert your hook into the next st, yo and pull up a loop, insert into the next st, yo and pull up a loop (4 loops on the hook), yo and pull through all the loops on the hook, ch 1, *insert into the loop on the back of the previous st, yo and pull up a loop, [insert your hook into the next st, yo and pull up a loop] twice (4 loops on the hook), yo and pull through all the loops on the hook, ch 1; repeat from * across to last st, insert into the loop on the back of the previous st, yo and pull up a loop, insert your hook into the last st, yo and pull up a loop (3 loops on the hook), yo and pull through all the loops on the hook, turn.
That’s a lot! Let’s break this down, step-by-step!
We’re going to work some “creative stitches” – basically, we’re going to make a 3-leg star modification.
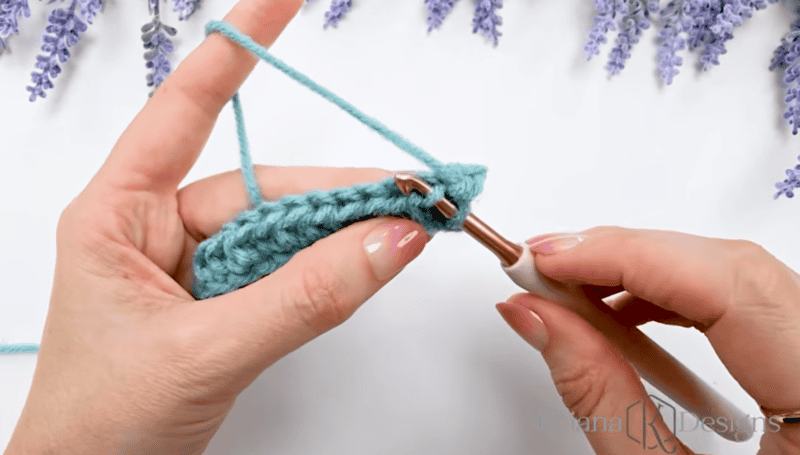
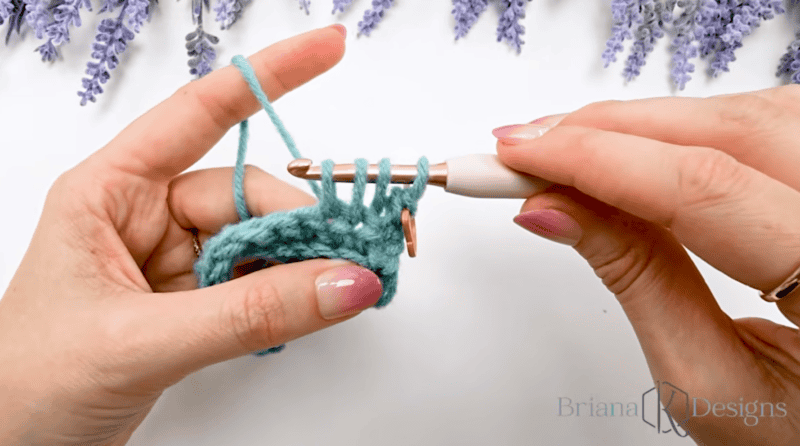
Step 1: Start with a stsc in the first st. Then, put your hook at the back of the work and find the loop hanging out on the back of the stitch leg. Insert your hook into that loop.
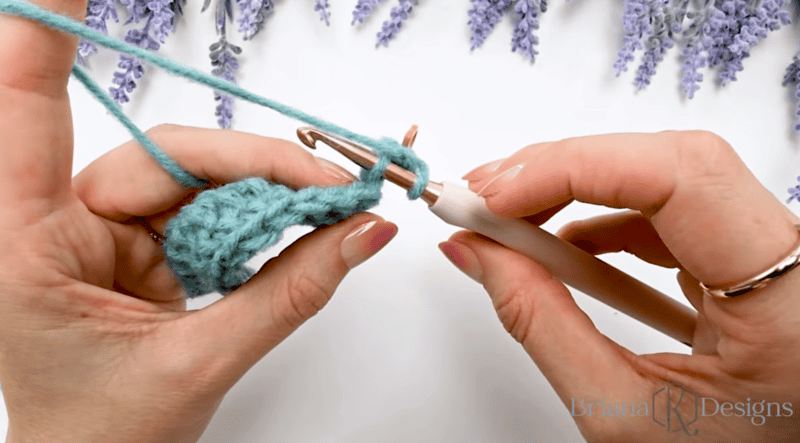
Yarn over and pull up a loop (2 loops on your hook).
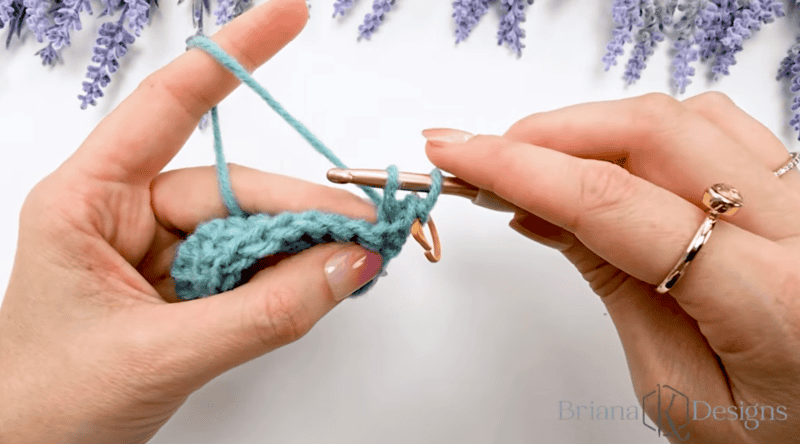
Step 2: Insert your hook into the next stitch. Yarn over and pull up a loop (3 loops on your hook).
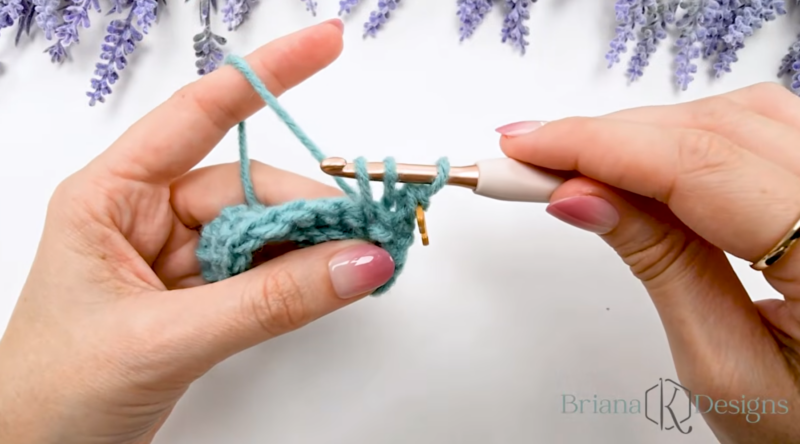
Step 3: Insert your hook into the next stitch. Yarn over and pull up a loop (4 loops on your hook).
* Notice that I’ve pulled each loop up to the height of the first loop on the hook.
Step 4: Yarn over, and pull through all 4 loops on the hook.
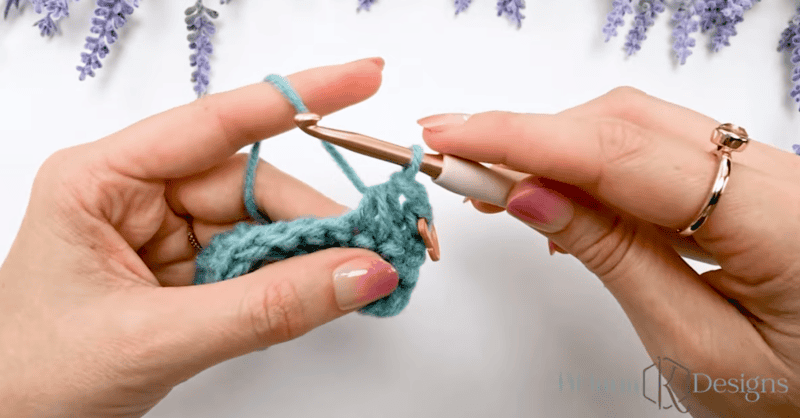
Step 5: Ch 1.
* HINT: Keep these chains a little looser than you normally would – you will be working back into them on Row 4. Your future self will thank you!
You just made one 3-loop petal stitch! Now, let’s make another one!
Once again, putting your hook towards the back of the work, insert your hook into the loop at the back leg of the stitch. Yarn over, and pull up a loop (2 loops on the hook).
Insert your hook into the next stitch. Yarn over and pull up a loop (3 loops on the hook).
Insert your hook into the next stitch. Yarn over and pull up a loop (4 loops on the hook).
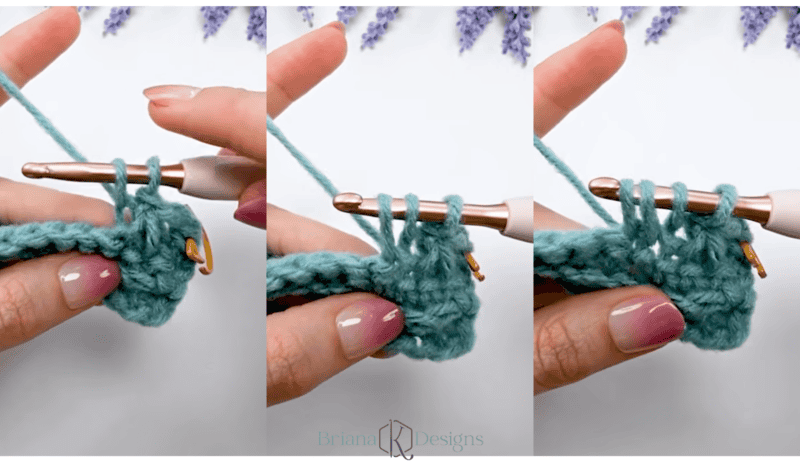
Yarn over and pull through all 4 loops. Ch 1. This is your repeat across the row until the last stitch.
When I’m doing this stitch, I simplify it in my head for each step: Insert through the loop on the back, yarn over and pull up; next st, yarn over and pull up; next stitch, yarn over and pull up; ch 1. It’s very rhythmic, and it keeps me on track!
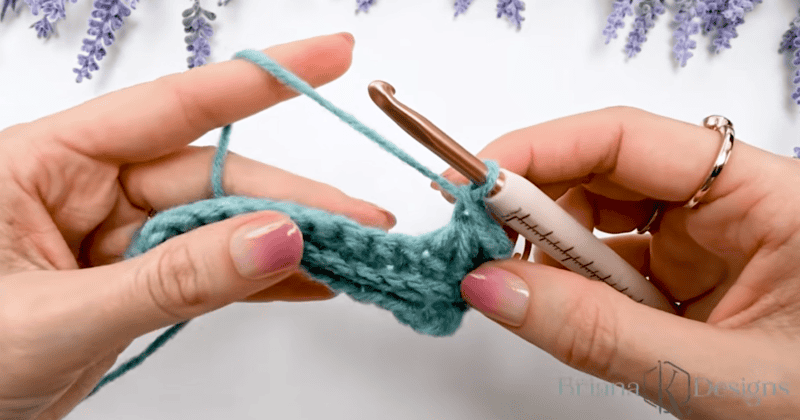
Once you get to the end of the row and you have 1 stitch left, you will do a 2-loop petal stitch:
Insert your hook into the loop at the back leg of the stitch. Yarn over, and pull up a loop (2 loops on the hook).
Insert your hook into the last stitch, yarn over, and pull up a loop (3 loops on the hook).
Yarn over and pull through all 3 loops. Row 3 is done!
Row 4:
Ch 1, sc in the first, 2 sc in the next st, *skip 1, 2 sc in the next; repeat from * across until the last 2 sts, skip 1, sc in the last, turn.
* You’re working into the ch-1 from the previous row!
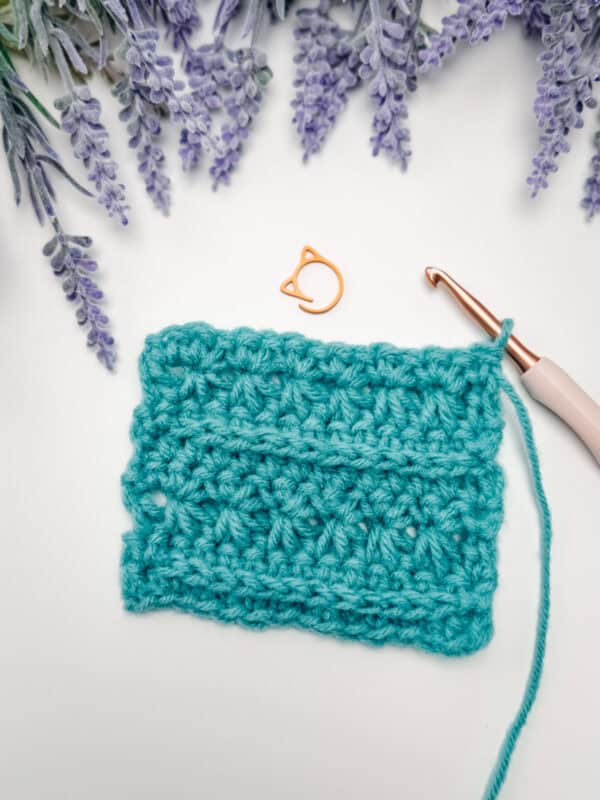
Here’s what your 4 rows will look like (from the RS):
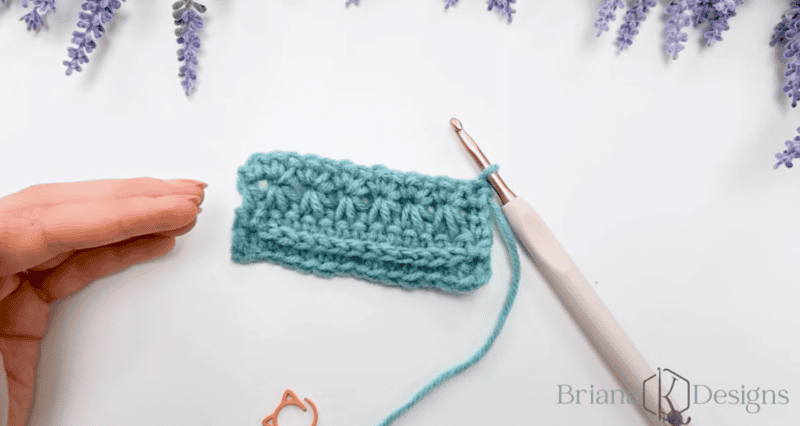
Do you see your little flowers growing?
Repeats
Repeat Rows 1-4 until the desired height.
(Your repeat of Row 1 is the same set of instructions; you’re just working it into the row below, and not the beginning chain.)
So…
Row 5:
Stsc in the first, hdc in the remaining sts across, turn. | 14 sts
Row 6:
Ch 1 (does not count as a st here and throughout), sc in the first st, working in the third loop sc in each st across until the last st, sc in last, turn.
Row 7:
Stsc in first, insert your hook into the loop on the back of the Stsc, yo and pull up a loop, insert your hook into the next st, yo and pull up a loop, insert into the next st, yo and pull up a loop (4 loops on the hook), yo and pull through all the loops on the hook, ch 1, *insert into the loop on the back of the previous st, yo and pull up a loop, [insert your hook into the next st, yo and pull up a loop] twice (4 loops on the hook), yo and pull through all the loops on the hook, ch 1; repeat from * across to last st, insert into the loop on the back of the previous st, yo and pull up a loop, insert your hook into the last st, yo and pull up a loop (3 loops on the hook), yo and pull through all the loops on the hook, turn.
Row 8:
Ch 1, sc in the first, 2 sc in the next st, *skip 1, 2 sc in the next; repeat from * across until the last 2 sts, skip 1, sc in the last, turn.
Join The Kindest Community
Join our vibrant community of crafters on Facebook today. Whether you enjoy crafting with others or simply have burning questions, we’ve got you covered – join us now!
You did it! You learned something new!
Once you’ve done the 4-row repeat a few times, it becomes intuitive. That crochet muscle memory takes over, and things just flow.
To add a finished look to your project so the top matches the bottom, repeat Rows 1 and 2 one more time, then add your favorite border! I like to use my Clean sc straight edge along all sides for a polished, simple feel.
I hope you’ve enjoyed this tutorial, and you give the Petal Loop Stitch a try! You might just discover your new favorite textured crochet stitch!
Crochet Patterns That Use the Petal Loop Stitch
Petal Loop Ornament
Striped Petal Loop Blanket
Petal Loop Lanyard & Keychain
Petal Loop Stitch Nesting Trays
Petal Loop Stitch Blanket
Petal Loop Stitch Trivet
Petal Loop Stitch Washcloth
Cheers, and happy crocheting!
Well, That Was Fun! What’s Next?