


Twenty-five yards. I set that little wound-off ball aside, thinking I’d use it for a swatch or a sample — definitely not a real project. Then I started fidgeting with it between filming sessions, looped it around my head a few times to check the length, and somewhere between “just testing the stitch” and “wait, this actually looks good,” this free Wheatfield Crochet Tie Headband pattern came to be.
Disclosure: This post contains affiliate links. Please read my disclosure for more info.
Before You Hook: Crochet Pattern Details
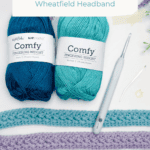
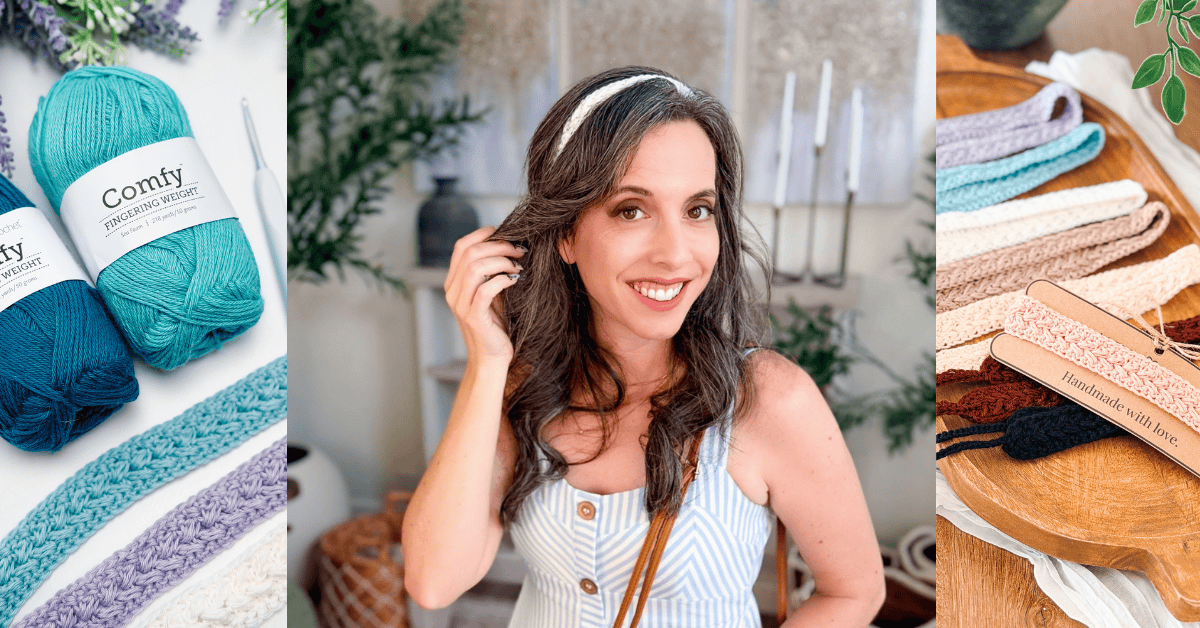
🧶 Yarn Used: WeCrochet Comfy Fingering (75% Pima Cotton / 25% Acrylic, 218 yds/50g)
⚖️ Yarn Weight: Fingering (weight 1)
🧵 Featured Stitch: Wheat Stitch™ (modified puff worked around a single crochet)
🪝 Hook Size: US G (4.0mm) Crochet Hook, or hook to obtain gauge
Save for Later • Get a Summary • Pick Up Where You Left Off
I’ll be honest: I almost didn’t bother writing it up. It’s four rows. It uses one special stitch I’ve built a whole collection around. But then I started wearing it literally every day — with a messy bun on school-run mornings, tucked under my hair at the back for a sleeker look, or tied in a bow when I wanted it to feel a little more dressed up. The i-cord ties are the part that makes it work. No seaming, no elastic, no guessing at sizes. You just tie it to fit your head, every single time.
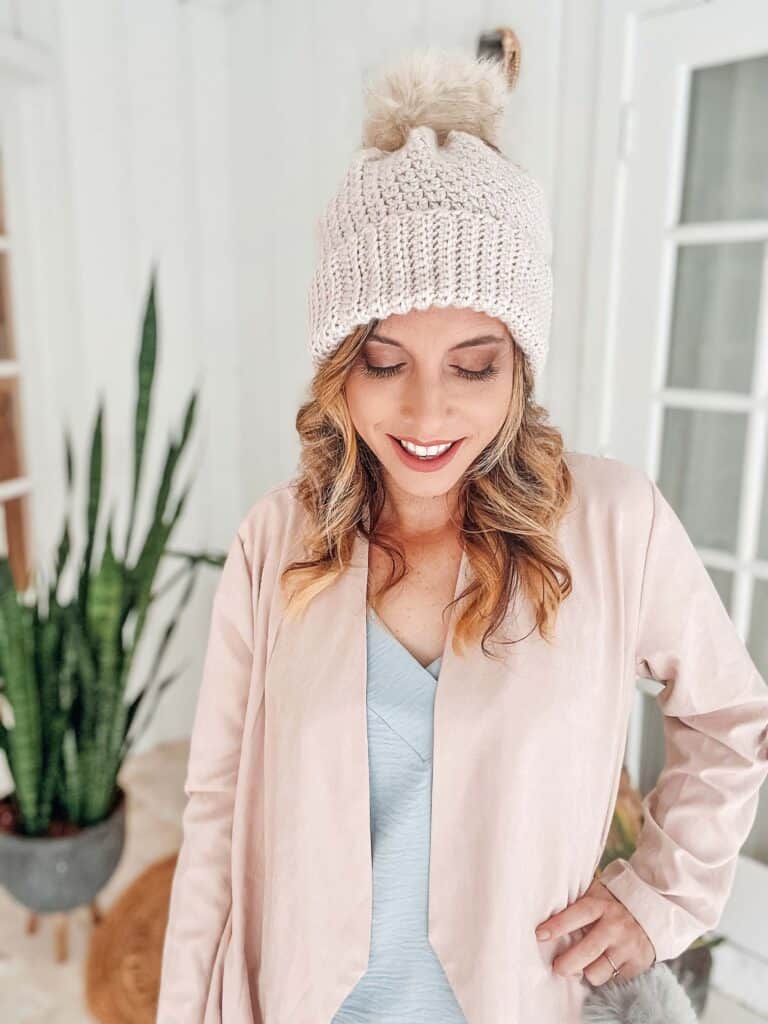
If you’ve been crocheting with me a while, you already know the Wheat Stitch. It’s a modified puff worked around a single crochet that creates this raised, braided-looking texture. This stitch looks like it took real effort, and it genuinely didn’t. The Wheatfield Headband uses the same 4-row repeat in fingering-weight cotton, so the finished band is lightweight, breathable, and soft enough to wear year-round without overheating.
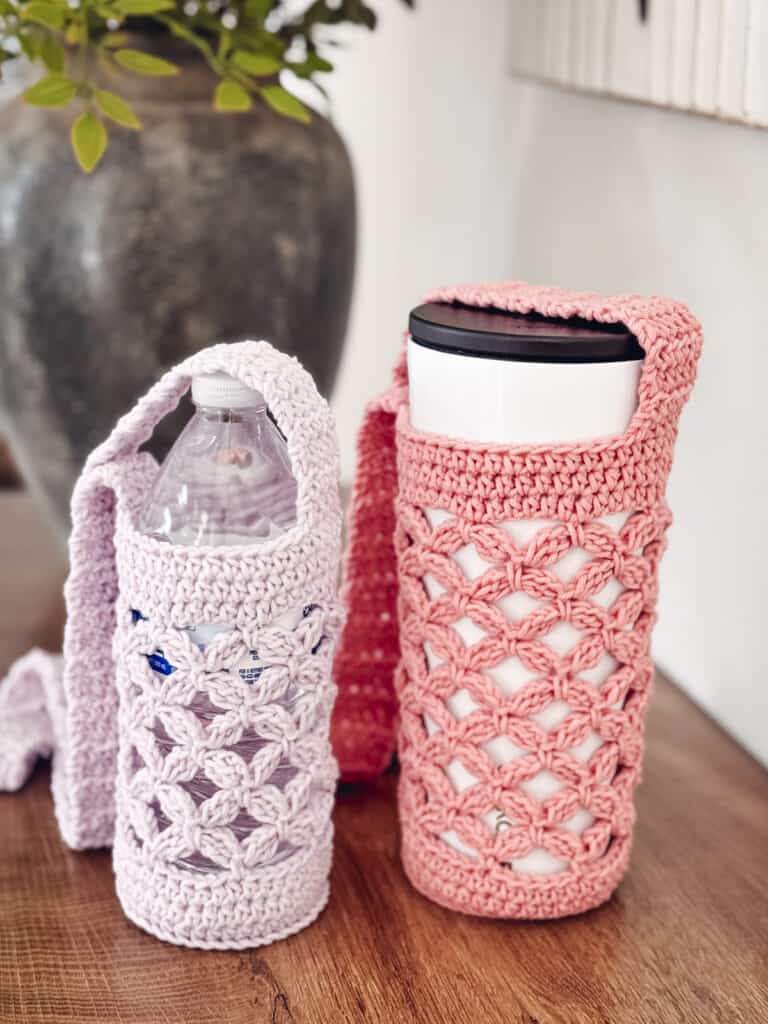
If you love the fun texture my signature stitch adds to smaller accessories, make sure to check out the Wheatfield Sun Hat, the Wheat Stitch Water Bottle Holder, and the Wheat Stitch Keychain & Lanyard.
Why You’ll Love This Wheatfield Headband

Wheatfield Crochet Headband Supplies (What You Need)
Yarn
WeCrochet Comfy Fingering
75% Pima Cotton / 25% Acrylic
218 yds / 50g
Cotton stays the top pick for year-round wear — it holds shape, doesn’t stretch out, and is soft enough to sit on your head all day. If you’re substituting acrylic, note that it can stretch over time with repeated wear, especially in a thinner headband format like this.
Yarn Quantities
You only need 25 yards per headband, so this is an ideal project for yarn you have left over from other projects.
Yarn Substitutions
Cascade Ultra Pima Fine — 100% Pima Cotton, 136 yds/50g
Rococo Linen Multi — 36% Viscose / 34% Cotton / 30% Linen, 297 yds/100g
Sandscapes — 100% Fine Superwash Virgin Wool, 328 yds/100g
Remember always to check the gauge and drape when substituting yarns.
Crochet Hook
Size US G (4.0 mm) crochet hook or hook to obtain gauge.
Notions
Scissors
Yarn Needle
Removable Stitch Marker
Tape Measure
Skill Level
You need to know chain, single crochet, and slip stitch. The Wheat Stitch (a modified puff) is explained in the pattern and shown in the video tutorial. If you’ve worked a puff stitch before, this will feel completely familiar. If you haven’t, the 4-row format gives you plenty of repetition to get comfortable with it fast.
Sizing
One size / fully adjustable
Finished measurements: 16” length x 1” width, ties 10–11” each (as written)
The band body is intentionally shorter than a full head circumference — you want a 2–4″ gap at the back, which is where the ties connect. To find your starting chain length, measure your head at the point where the band will sit, then subtract 2–4 inches. That’s your target body length. Chain a multiple of 2 plus 1 to reach it.
Abbreviations
blo – back loop only
ch – chain
RS/WS – Right Side/Wrong Side
sc – single crochet
sl st – slip stitch
st(s) – stitch(es)
Gauge
Not critical for this pattern.
How to Crochet A Gauge Swatch
Because you’re chaining to a custom length rather than working to a set stitch count, slight differences in tension mostly just affect how the puff stitches look, not whether it fits. For more on gauge generally, see this post: What Is Crochet Gauge and How To Fix It.
Special Stitches
The Wheat Stitch (Modified Puff)
The Wheat Stitch is a modified puff stitch worked around a single crochet rather than directly into a stitch. Here’s how it works:
- Yarn over and insert your hook into the stitch or space.
- Yarn over and pull up a long loop.
- Yarn over, insert into the same stitch or space; yarn over, and pull up another long loop (5 loops on the hook).
- Yarn over and pull through the first 4 loops, then yarn over and pull through the remaining loops.
That’s the complete puff. In the pattern, you skip a stitch, work a single crochet in the next, then work the puff into the skipped stitch. This creates the staggered, raised texture that looks like braided wheat and gives the pattern its name. There’s a full written and video tutorial available — I’ve built the entire Wheat Stitch collection around this one repeat.
I-Cord Ties
The ties are worked as an i-cord directly from each short end of the headband. An i-cord is a narrow tubular cord worked on a very small number of stitches — in this case, from the center of the short end. You work to 10–11″ or your preferred length. The result is a rounded, tidy tie that doesn’t curl or flatten. And, of course, I have a tutorial for an i-cord!
If you’d rather skip the i-cord, the pattern includes a foundation single crochet (FSC) option as an alternative (see Pattern Notes for more details). Both give you a secure, adjustable tie finish.
Construction
The headband is worked flat in rows, starting with a simple foundation chain customized to your head measurement. The body is four rows total, using the Wheat Stitch repeat to build that raised, braided texture across the panel.
Once the band is finished, you’ll shape the short ends so the corners round out cleanly — it’s a small finishing detail that makes the whole thing look polished and intentional. Then i-cord ties get added at each end, worked out to whatever length feels right for your preferred tie style.
Total stitching time once you’ve got the stitch down is well under an hour!
Wheatfield Crochet Tie-Back Headband FAQs
🧶 Can I sell headbands made from this pattern?
Yes! Finished items made from Briana K Designs patterns can be sold on a small scale. Credit to Briana K Designs is not required but is always appreciated. The pattern itself cannot be copied, shared, or redistributed — only the finished items you make from it. If you’re selling at markets or in an Etsy shop, the Wheatfield Headband batches really well: 25 yards per piece, one-size-adjustable, and the texture photographs beautifully in natural light.
🧶 What is the Wheat Stitch?
The Wheat Stitch is a modified puff stitch that’s worked around a single crochet rather than directly into a stitch. You skip one stitch, single crochet into the next, then work the puff into the skipped stitch — pulling up two sets of loops in the same spot and closing them together. The result is a raised, elongated cluster that looks braided, almost like the head of a wheat stalk standing up from the fabric. It’s a 2-row repeat that creates a 4-row visual pattern (setup, puff row, puff row, close), and once you’ve worked it a few times, it becomes very automatic. You can find the full Wheat Stitch family of patterns — earwarmer, scarf, beanie, and more — on the Briana K Designs How to Crochet the Wheat Stitch page.
🧶 How do I measure my head for the chain length?
Use a flexible measuring tape and measure around your head at the point where the band will actually sit — typically just above the ears and across the forehead. Your chain length should be about 2–4 inches shorter than that full circumference. The body of the headband is not meant to go all the way around; the gap at the back is where the i-cord ties take over. Start with the default chain listed in the pattern below for the sample size (body: 16″), then adjust by 2-stitch increments if needed. Because gauge is not critical here, a stitch or two in either direction won’t make or break the fit — the ties handle the rest.
🧶 Can I make this without an i-cord?
Yes — the pattern includes a foundation single crochet (FSC) option as an alternative to the i-cord ties. The FSC gives you a sturdy, flexible chain-like edge with a bit of stretch, and it’s simpler to execute if you’re not yet comfortable with the i-cord technique. The visual result is slightly different — a flatter, chain-based tie rather than the rounded tubular cord — but both function the same way. The i-cord is worth learning if you haven’t yet; it’s a technique that shows up in all kinds of accessories and is genuinely quick once you have it.
🧶 What yarn weight works best for a crochet tie headband?
Fingering weight (weight 1) is the sweet spot for this headband style. It’s light enough to wear year-round without bulk, thin enough that the band sits flat and doesn’t tip or slide, and the extra yardage per skein means one ball goes a very long way. The Wheat Stitch adds enough visual weight that the band doesn’t look flimsy. Worsted weight would make a chunkier, wider-feeling band — totally wearable but a different look, and the ties would need to be shorter to balance the scale. Sport weight (weight 2) is a good middle ground if you want a slightly thicker band without going full worsted.
🧶 How long does it take to make?
Once you’re comfortable with the Wheat Stitch, the body of the headband takes about 30–45 minutes. The i-cord ties add another 15–20 minutes each depending on your speed. Total time from yarn to wearable is typically 60–90 minutes for a first make. After that, most people find they can finish one while watching a movie. The 4-row body is genuinely quick; the i-cord ties take up most of the remaining time, but they’re mindless work once you’re going.
🧶 Can beginners make this?
The pattern is rated Advanced Beginner, which means it’s accessible to anyone who knows how to chain and single crochet, but it introduces one technique that might be new: the modified puff stitch. If you’ve never worked a puff stitch before, watch the video tutorial before starting — seeing it done once is worth ten paragraphs of written explanation. The i-cord is similarly easy to follow along with in the video. If you’d rather skip both special techniques entirely, you could use a simple chain for the ties and substitute plain single crochet rows for the wheat stitch rows — you’d lose the texture, but you’d have a wearable headband with completely basic stitches.
🧶 Can I sell headbands made from this pattern?
Yes! Finished items made from Briana K Designs patterns can be sold on a small scale. Credit to Briana K Designs is not required but is always appreciated. The pattern itself cannot be copied, shared, or redistributed — only the finished items you make from it. If you’re selling at markets or in an Etsy shop, the Wheatfield Headband batches really well: 25 yards per piece, one-size-adjustable, and the texture photographs beautifully in natural light.
Pattern Notes
- Using a stitch marker at the beginning (or end) of the row is recommended.
- A ch 1 at the beginning of a row is not counted as a stitch.
- This pattern uses an I-cord for the tie ends. If you’re new to the technique, here’s a full tutorial: https://www.youtube.com/watch?v=CSDtR_Kv_oA
- If you’d rather not work an I-cord, you can substitute a foundation single crochet (FSC) instead. It gives you a sturdy, flexible starting row with a bit of stretch, and it skips the separate starting chain.
- How to work a foundation single crochet (FSC): Start by ch 2. Insert your hook into the 2nd ch from the hook, YO, and pull up a loop, leaving 2 loops on the hook. YO and pull through just 1 loop, which makes the ch at the base of the st, leaving 2 loops on the hook. Then YO and pull through both loops to complete the sc. That’s your first FSC. For every st after that, insert your hook under both loops of the ch you made at the base of the previous st, YO and pull up a loop (2 loops on the hook), YO and pull through 1 loop to make the next base ch, then YO and pull through both loops to finish the sc. Keep repeating until you have the number of sts your pattern calls for. The base ch you make at the bottom of each st is where your hook goes for the next one, so keep an eye on those bottom loops as you work.
Subscribe & Like
Wheatfield Free Crochet Tie Headband Video Tutorial

Relax & Crochet
Upgrade to the Printable PDF
Beautifully formatted to print and relax while crocheting. The paid pattern includes:
The Ad-Free PDF can be purchased on Etsy or Ravelry.
Click the box below to unlock this exclusive subscriber content for free. Add your email and create a password. If you are having trouble, reset your password or log in to the Grow Portal.
I’m thrilled to share this amazing crochet pattern with you! Please don’t copy, paste, or distribute this pattern. Prefer an ad-free experience? Purchase a digital PDF file for a small fee from one of my online stores. I appreciate your support and readership. You are why I can keep doing what I love and sharing it with others. Thank you from the bottom of my heart.
Wheatfield Free Crochet Tie Headband Written Crochet Pattern
Ch 1, sc in first, [skip the next st, sc in next, work a puff st into the skipped st] work until the last st, sc in last, turn. | 72 sts
Row 4:
Ch 1, sc in each stitch across, fasten off, leaving a long tail end. | 72 sts
How to Wear a Crochet Tie Headband (More Ways Than You Think)
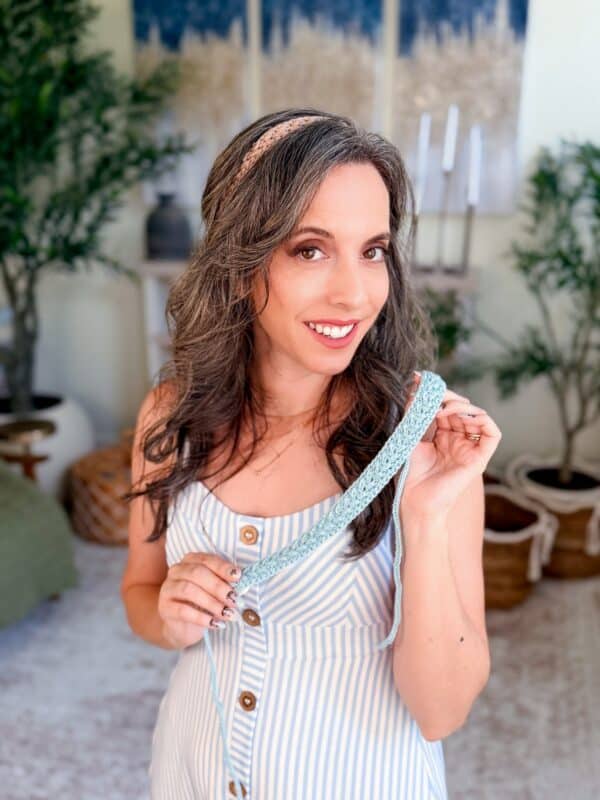
Most headband patterns treat styling like an afterthought. The Wheatfield is designed to be worn multiple ways, and the i-cord ties are a big part of what makes that possible — they give you actual length to work with instead of a stubby knotted end.
A few combinations that work really well:
- Bow on top: Tie it as a bow at the top of your head for a slightly retro look. A tighter, smaller knot reads playful and casual. A fuller loop looks more intentional.
- Clean at the nape: Knot it at the back under your hair so the band sits across the crown and the ties disappear. Easiest polished look, takes 30 seconds.
- Asymmetrical: Tie it off to one side for a knot or bow. Pairs well with hair swept over the opposite shoulder.
- Turban wrap: Wrap the whole band twice around your head and knot or tuck the ends at the front or side. A great option for a no-fuss morning or while growing out bangs.
- Hat band: Tie it around a straw sun hat as a removable accent. The cotton plays really nicely with summer straw.
- Bag accent: Knot it around the strap or handle of a tote or basket bag for a coordinating accessory look.
Using the tail end, thread your yarn needle and create a mock stitch (invisible sc join) on the short edge by working into the opposite side. This will round out and shape the edges.
Repeat on the other short edge, gently pulling to cinch and round the corners. Weave in any remaining ends to secure.
Headband Ties
Attach your yarn in the center of one end of the headband with the right side (RS) facing you. Using the I-cord method, work until the cord measures 10-11″ or your desired length.
Note: Measure and prepare a length of yarn that is approximately 3 times the desired finished length before beginning, as the I-cord will draw up and use more yarn than the finished cord appears to need.
Fasten off, then repeat on the opposite end of the headband.
I-cord tutorial: https://www.youtube.com/watch?v=CSDtR_Kv_oA
Join The Kindest Community
Join our vibrant community of crafters on Facebook today. Whether you enjoy crafting with others or simply have burning questions, we’ve got you covered – join us now!
Finishing
Weave in all ends securely and wear! These make thoughtful handmade gifts for friends, coworkers, or teachers, and are perfect for stocking your next market table too.
How to Care For a Cotton Crochet Headband
Cotton crochet accessories pick up more from daily wear than you’d think — dry shampoo, hair product, sunscreen. Knowing how to wash this one properly keeps it looking like you just made it.
For Comfy Fingering and similar cotton blends, hand washing is the gentlest option. Cool water with a small amount of mild detergent, no wringing or twisting. Press the water out gently, reshape it into a flat shape, and lay it to dry. Hanging it will stretch the length; the dryer (especially on high) will shrink it. Flat drying takes maybe an hour with good airflow.
If you substitute with a superwash wool like Sandscapes, you can machine wash cold on gentle, but still lay flat to dry. Regular (non-superwash) wool will felt if it is exposed to heat or agitation — hand wash only, cool, reshape, flat-dry, never the dryer.
Acrylic substitutes are the most wash-and-dry-friendly: machine-wash cold, tumble-dry low. The trade-off is that acrylic headbands tend to stretch over time with repeated wear and washing, especially in a narrow style like this. Cotton holds its shape the longest.
Making a Stack of Wheatfield Headbands (Craft Fair and Gift Giving)
This free headband pattern is perfect for filling market table fast. Twenty-five yards per headband means you can cut a full skein into individual headband-size portions, line them up, and batch-make the whole lot in a single afternoon. A 218-yard skein of Comfy Fingering yields about 8 headbands. One skein, one afternoon.
The one-size-adjustable format is a market seller’s dream — you don’t need multiple size options, no sizing chart required, and customers can try one on and know immediately if the tie length works for them. The texture is eye-catching in both solids and tonals, and the thin 1″ profile means it takes up almost no booth space.
For gifting, the same logic applies. No measuring the recipient’s head, no asking awkward size questions. Pair a couple of headbands in coordinating colors and tie them together with a piece of twine for a finished, thoughtful gift that takes almost nothing to assemble.
(If you plan to sell finished headbands, just remember that finished items are permitted under Briana K Designs’ terms — credit is appreciated but not required. And if you want ready-to-print headband tags, grab the full PDF on Etsy! There are some included in the pattern!)
More Crochet Patterns You’ll Love
If you liked the subtle Wheat Stitch texture of this free headband, you’re going to want more for the cooler months:
- Wheat Stitch Earwarmer — The same stitch in 7 sizes, from newborn to adult large. Great for colder months.
- Wheat Stitch Scarf — A longer project that shows off the repeat across a wider panel.
- Wheat Stitch Beanie — The matching hat for a coordinated set.
- Wheat Stitch Pocket Shawl — A beautifully textured crochet wrap with pockets perfect for warm layers.
- Wheat Stitch Dog Sweater — Because dogs deserve to be cozy, too.
Cheers, and happy crocheting!
Well, That Was Fun! What’s Next?