

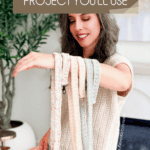
I can’t tell you how many times I’ve made something cute… and then never actually used it. So when I sat down to make a crochet keychain wristlet, I honestly thought it would just be a quick little project. Something simple to use up some yarn scraps and give my hands something to do. I wasn’t expecting to actually use it every single day!
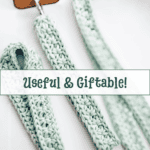
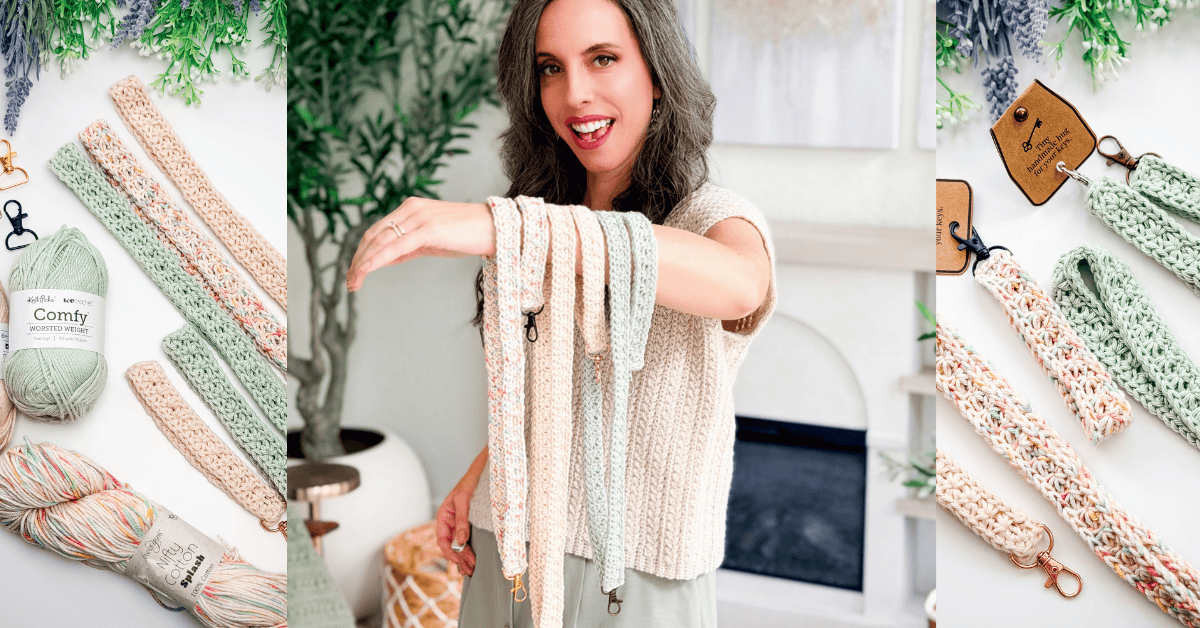
The Petal Loop Lanyard & Keychain is one of those easy crochet keychain wristlet patterns that comes together fast, use just a small amount of yarn, and actually end up being useful in real life. Whether you’re making a crochet lanyard to keep track of your name tag for work or a crochet keychain wristlet for your keys (because somehow they always disappear?) to grab on your way out the door, this is the kind of small crochet project that just fits into your routine.
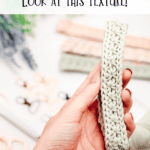
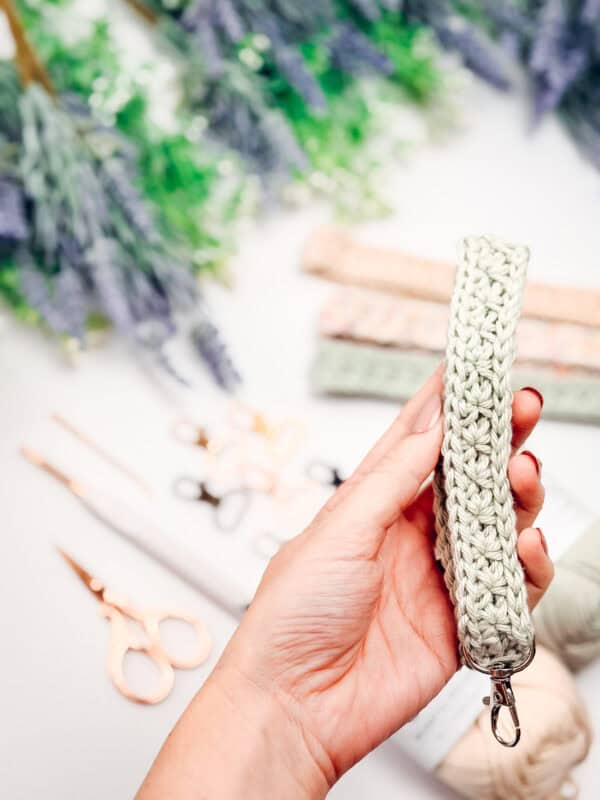
The petal loop stitch adds a soft, textured detail that keeps things interesting without slowing you down, and once you get into the rhythm, it’s a really relaxing stitch to work. It’s beginner-friendly, easy to memorize, and perfect if you’re in the mood for a quick crochet project you can finish in one sitting. And yes, it’s easier than the start stitch. 😅
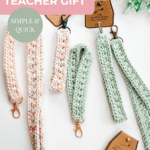
And if you’ve got end-of-year gifts on your mind, these make such a good option for teachers. They’re quick to make, easy to customize with different colors, and actually useful—which makes them feel a little more thoughtful than something picked up last minute.
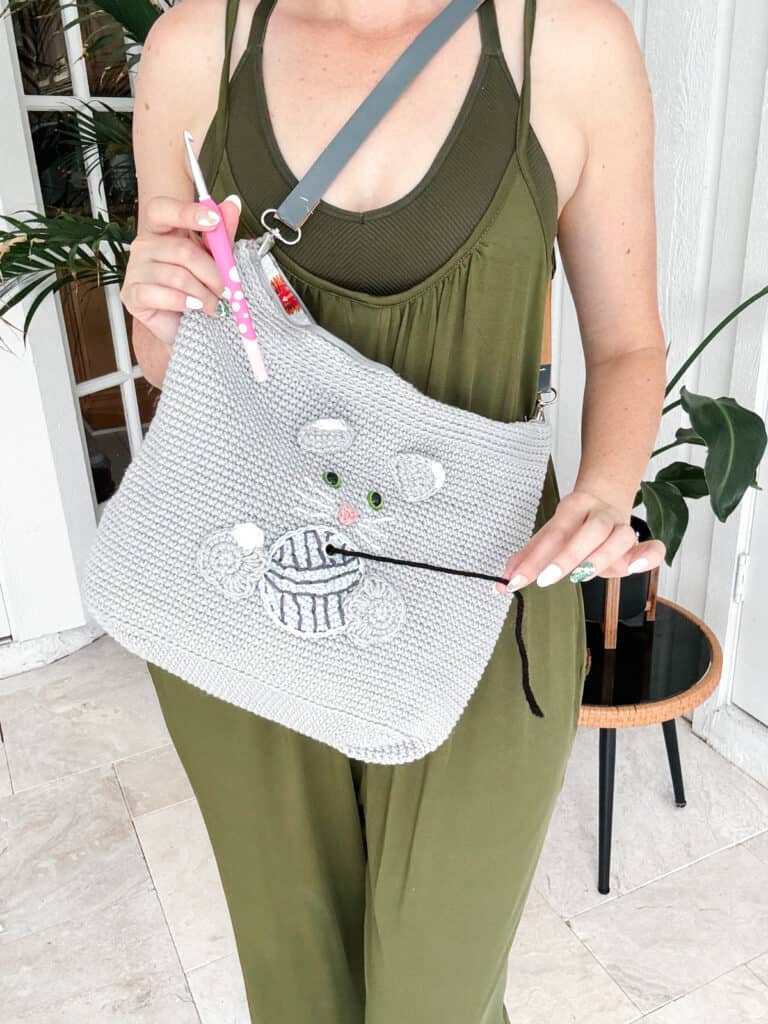
For more practical and quick projects (also perfect for gifting), check out the Wheat Stitch Lanyard & Keychain, the Circle Leaf Water Bottle Holder, and the Soap Saver Bag (you can fill it with sweets or gift cards for teachers)!
Disclosure: This post contains affiliate links. Please read my disclosure for more info.
Why You’ll Love This Crochet Keychain Wristlet Pattern
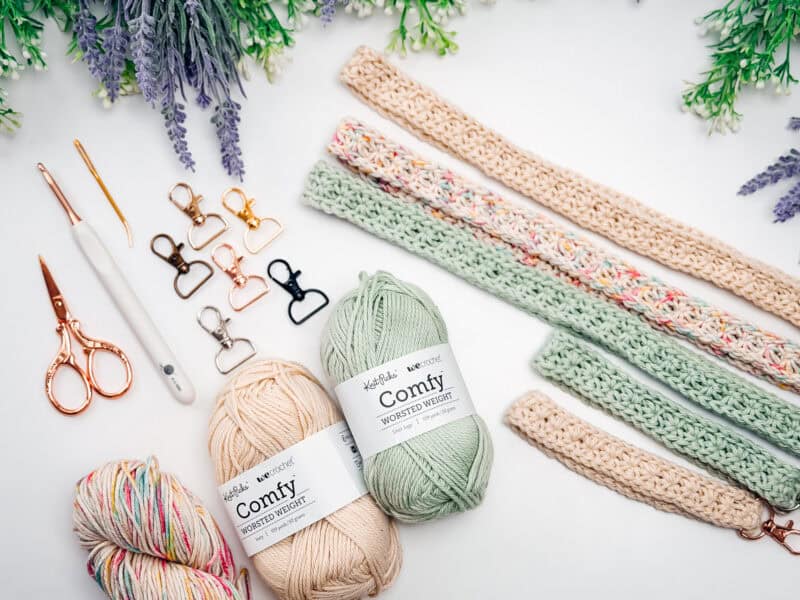
Crochet Keychain Wristlet Supplies (What You’ll Need)
Yarn
WeCrochet Comfy Cotton Worsted
75% Pima Cotton/25% Acrylic
109yds/50g
Cascade Nifty Cotton Splash
100% Cotton
185yds/100g
Yarn Quantities
20 (25, 30, 35) yds
Yarn Substitutions
Herrschners Cottage Cotton – 60% Cotton/40% Acrylic, 207yds/100g
Village Yarn Craft Cotton – 100% Cotton, 115yds/71g
Remember always to check the gauge and drape when substituting yarns.
Crochet Hook
Size US G (4.0mm) Crochet Hook or hook to obtain gauge.
Notions
Scissors
Yarn Needle
Cat Removable Stitch Marker
Swivel Clasp
Skill Level
Don’t let the skill level intimidate you!
Sizing
4 Sizes
Key Fob (Wristlet, Short Lanyard, Full Lanyard)
Abbreviations
ch – chain
RS/WS – right side/wrong side
sc – single crochet
sl st – slip stitch
st(s) – stitch(es)
Stsc – Stacked Single Crochet
Gauge
Gauge is not critical for this pattern.
How to Crochet A Gauge Swatch
Working a gauge swatch will let you know if you will have the correct sizing for this pattern. It will also help you practice the stitches used in this project and improve your stitch work for a flawless look.
Are you struggling to match the gauge? Check out the blog post on What is Crochet Gauge and How To Fix It
Special Stitches
Stacked Single Crochet (Stsc): Do NOT chain, insert hook into next stitch, yo, pull up a loop, yo and pull through both loops, insert hook in the vertical bar below, yo, pull up a loop, yo and pull through both loops on the hook.
3-Loop-Petal: Insert the hook into the back loop of the previously worked star (or stitch) and pull up a loop. Pull up one loop in each of the next two stitches of the previous row, for a total of four loops on the hook. Yarn over and draw through all four loops to complete the stitch.
2-Loop-Petal: Insert the hook into the back loop of the previously worked petal (or stitch)
and pull up a loop. Pull up one loop in the next st/space, for a total of three loops on the
hook. Yarn over and draw through all three loops to complete the stitch.
Clean Sc: Insert your hook into the left bar of the sc st, then insert into the next row edge space. YO and pull up a loop, then pull through the first loop on the hook. YO and pull through the remaining two loops on the hook.
For a step-by-step tutorial for this straight-edge stitch, visit: How to Crochet a Straight Edge
Construction
This lanyard & keychain crochet pattern is as straightforward as it gets.
You’ll start by working flat in rows, building the length first. The simple two-row repeat makes it easy to settle in quickly, and the petal loop stitch adds just enough texture to keep things interesting without slowing you down. It’s the kind of project you can pick up, put down, and come right back to without having to re-learn what you were doing
Once your piece is the length you want, you’ll add a slip stitch border all the way around. This gives it that clean, finished look and helps it hold up to everyday use (because this is something you’ll actually be using, not just admiring).
After that, it’s just a matter of attaching your hardware, and that’s when it really comes together. Whether you turn it into a lanyard, a keychain wristlet, or both, you end up with something simple, functional, and ready to go.
The petal loop stitch is lots of fun (and simpler than the traditional star stitch). For more of that stunning texture, try the Petal Loop Washcloth, Nesting Trays, and Blanket!
Crochet Lanyard vs. Keychain Wristlet vs. Key Fob — What’s the Difference?
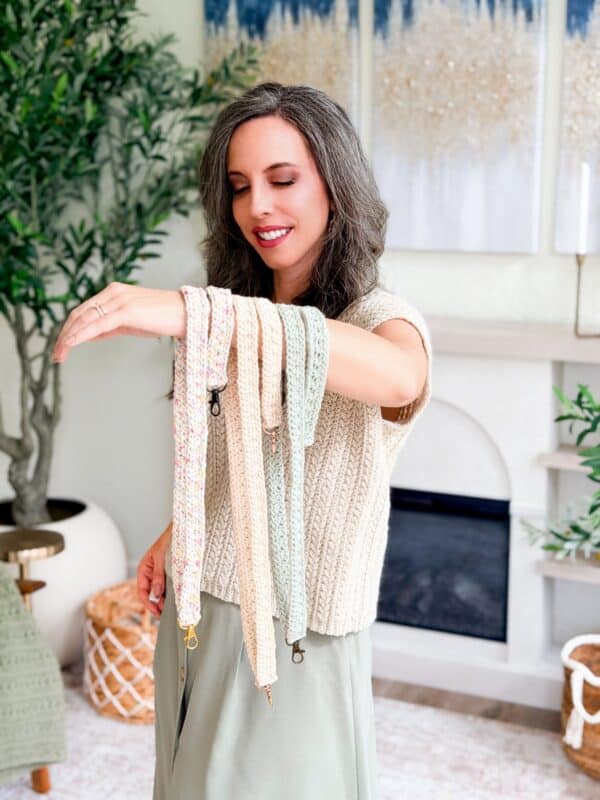
These terms get used all the time interchangeably, and honestly, there’s no universal definition, but here’s how I think about them and how I sized the four versions in this pattern:
Key Fob — the shortest version. It’s meant to attach to a bag, zipper pull, or existing keyring without adding much length. Great for adding a pop of texture to something you already carry.
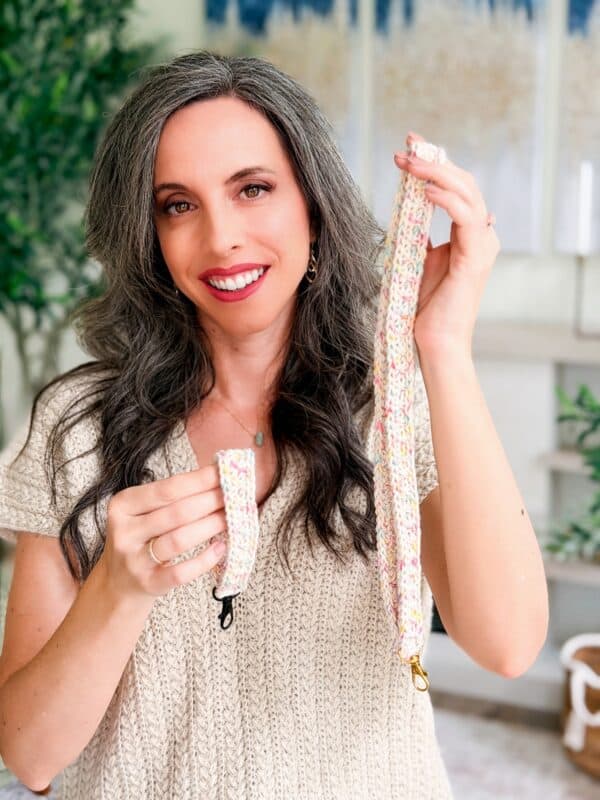
Keychain Wristlet — this one loops comfortably around your wrist. Long enough to slip on and off easily, short enough that it’s not in the way. This is the version I reach for most, it’s the one I actually use every day.
Short Lanyard — hits around chest height when worn around the neck. Good for badge holders who need quick access but don’t want a full-length lanyard swinging around.
Full Lanyard — the traditional around-the-neck length. Great for work environments where you need your ID or keys visible and accessible throughout the day.
In this pattern, all four sizes use the exact same stitch repeat, you’re just adjusting your starting chain. So once you’ve made one, making all four is just a matter of counting.
Pattern Notes
- This Pattern Uses Standard US Terminology. I use affiliate links and follow GPSR Compliance: privacy & disclosure policy.
Crochet Lanyard & Keychain Wristlet FAQs
Is this a good crochet project for beginners?
🗝️ Yes! The simple two-row repeat makes this a great step up from basic stitches, and it’s easy to settle into once you get going. It’s also a nice, low-pressure project if you just want something relaxing on your hook. To learn more about the Petal Loop Stitch, visit: How to Crochet the Petal Loop Stitch.
Are these good for teacher gifts?
🗝️ Absolutely! These make great end-of-year teacher gifts! They’re quick to make, easy to customize in color, and practical enough for everyday use. It’s a simple, handmade option that still feels thoughtful and personal.
How Many Can You Make in a Day? (Great for Bulk Teacher Gift Making)
🗝️ This is the question I always get around the end of May, and I love it because the answer is actually really encouraging.
A key fob or wristlet takes most crocheters under 30 minutes. A full lanyard runs closer to 45 minutes to an hour, depending on your pace.
And here’s the thing, the gift list adds up faster than you’d expect. Elementary school kids might have one teacher, but there’s also the librarian, the lunch ladies, the art teacher, the PE teacher, the school nurse… it’s a longer list than it looks. And if you’ve got a middle or high schooler? Add 6 or 7 subject teachers on top of all of that.
So if you’re making a set for everyone who’s made a difference this year, here’s a realistic breakdown:
At 2–3 wristlets per hour, a weekend of casual crocheting — with breaks, errands, and life happening, can absolutely get you there.
A few tips for batch-making these efficiently:
- Pre-cut your yarn into individual project amounts before you start. It sounds small but it genuinely speeds things up.
- Make them assembly-line style — finish all the bodies first, then do all the borders, then attach all the hardware at once.
- Use different colors for each teacher or department. It takes the same amount of time and makes each gift feel personal even when you’re making them in bulk.
If you want to add something extra, pair each lanyard with the Soap Saver Bag filled with a gift card or some candy, it turns a quick handmade item into a really thoughtful little set.
What kind of yarn works best?
🗝️ This pattern works well with a variety of yarns. Cotton yarn is a great option for durability, especially for everyday use, but you can easily use leftover yarn from your stash. And you can use any weight! A thinner yarn will yield a thinner, narrower lanyard or keychain, so keep that in mind.
Can I adjust the size?
🗝️ Sure! Since you build the length first, it’s easy to customize to fit your needs. Go shorter for a keychain or longer for a lanyard.
How do you care for a crochet lanyard or keychain?
🗝️ Since these get used often, it’s best to keep care simple. Hand wash or use a gentle cycle if needed, then lay flat to dry. Cotton yarn will hold up especially well over time and with regular use.
What Can You Make With a Crochet Keychain Wristlet? (More Than You Think)
🗝️ Honestly, when most people think of a crochet lanyard or keychain wristlet, they think keys. And yes, obviously keys. But once you start making these, you realize how many little everyday problems they solve.
Here’s what people actually use them for:
Keys — the classic. Slip it over your wrist when you’re running out the door and you’ll never dig through your bag again.
Work or school ID badge — a full-length lanyard is perfect for keeping your badge visible and easy to scan. Way cuter than the plastic ones that come with the job.
Gym card or cruise card — if you’ve ever been on a cruise and had to swipe your card every five minutes, you know why this matters. A short wristlet keeps it right on your wrist.
Spare key organization: make a few key fob versions in different colors and use them to label spare keys around the house. Color-coded and handmade? That’s a win.
Phone wristlet: a longer wristlet can loop around your wrist when you’re running a quick errand and don’t want to carry a bag.
Craft fair and market add-on: these are one of the fastest-selling small items at craft fairs because they’re useful, affordable, and visually appealing in a basket display.
The four sizes in this pattern: key fob, wristlet, short lanyard, and full lanyard, were designed specifically so you can make the right version for the right use without having to do any math.
Love Star Stitch? You’ll Be Obsessed with the Petal Loop Stitch
If you’ve ever been drawn to the texture of the crochet star stitch but struggled with tension or stitch placement, the Petal Loop Stitch is perfect for you!
It creates a similarly rich, textured fabric, but many crocheters find it easier to learn and much more rhythmic once established.
Instead of pulling up multiple loops through the eye and across several stitches (including shared stitches that can be confusing to find), the hook placement for the 3-petal stitch rows is simpler, and builds texture in a way that feels more natural as you move across each row.
Subscribe & Like
Video Tutorial for the Petal Loop Stitch Lanyard & Keychain
Relax & Crochet
Upgrade to the Printable PDF
Beautifully formatted to print and relax while crocheting. The paid pattern includes:
The Ad-Free PDF can be purchased on Etsy or Ravelry.
Click the box below to unlock this exclusive subscriber content for free. Add your email and create a password. If you are having trouble, reset your password or log in to the Grow Portal.
I’m thrilled to share this amazing crochet pattern with you! Please don’t copy, paste, or distribute this pattern. Prefer an ad-free experience? Purchase a digital PDF file for a small fee from one of my online stores. I appreciate your support and readership. You are why I can keep doing what I love and sharing it with others. Thank you from the bottom of my heart.
Petal Loop Stitch Lanyard & Keychain Written Crochet Pattern
Lanyard/Keychain Body
Rnd 1 (WS):
Border
Working around the outer edge of the lanyard, sl st in each st (chaining 1 on the corners) along all 4 sides to create a clean border. Fasten off, leaving a long tail.
Join The Kindest Community
Join our vibrant community of crafters on Facebook today. Whether you enjoy crafting with others or simply have burning questions, we’ve got you covered – join us now!
Seaming
Insert one end of the fabric through the desired hardware clasp. With your yarn needle and long tail, stitch the open ends together. Slide the clasp so it rests against the seamed edge. Now, sew along the edge of the clasp to secure it firmly in place. See video for more details.
Finishing
Fasten off and weave in all ends, taking care to secure them neatly along the textured stitches for a clean, seamless look.
This project is quick and useful, and it doesn’t take much yarn or time to end up with something you’ll actually use. And once you’ve made one, it’s really easy to go, “okay… I’ll just make another real quick,” especially when you’ve got leftover yarn sitting around.
The Petal Loop Lanyard & Keychain crochet pattern is one of those designs that just makes sense to have in your rotation. It’s simple, but it’s a good one—and those are usually the ones that stick.
Looking for more quick, stash-busting friendly projects?
Double Bloom Easy Crochet Scrunchie
Wheat Stitch Fingerless Mittens
Granny All the Way Ornaments
Stash Buster Motif Shawl
Just a Rectangle Bag
Cheers, and happy crocheting!
Well, That Was Fun! What’s Next?