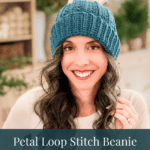
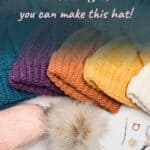
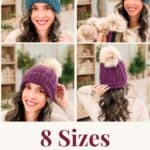
The Petal Loop Crochet Beanie is a free crochet beanie pattern in eight sizes, from Newborn to Adult Large, so everyone in the family can have one. It’s simple and full of texture, with rows of soft little petals across the body and a ribbed brim that builds right alongside them.
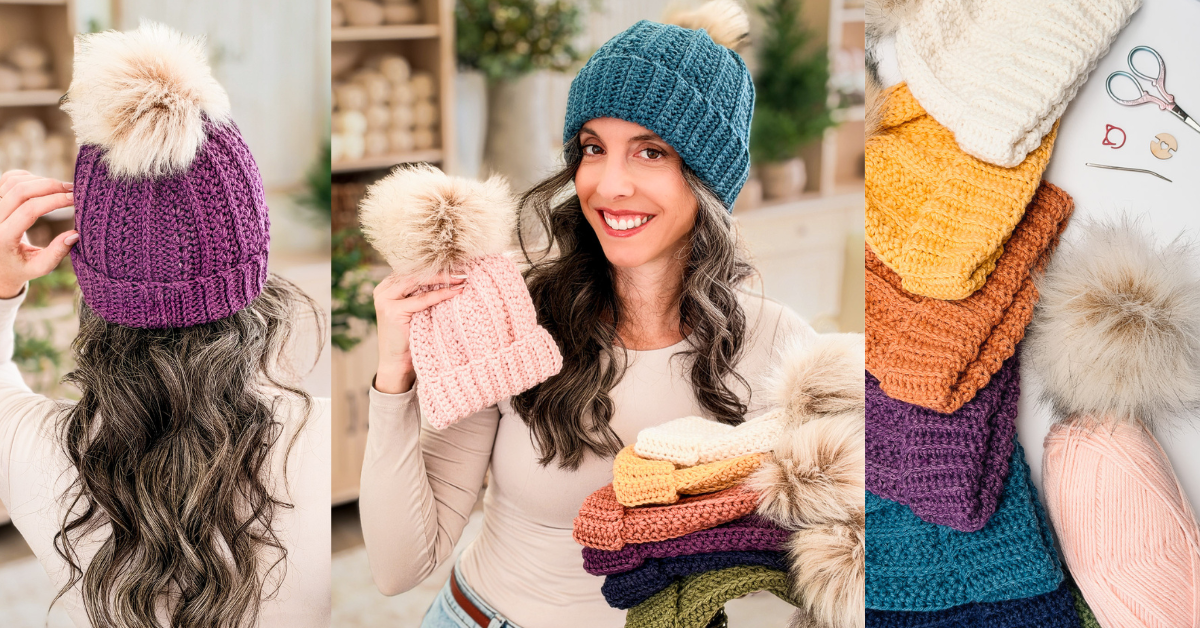
I love the Petal Loop Stitch so much that as soon as I came up with it, I knew it needed to be a hat. I wanted something simple that was still full of texture, and I knew it had to come in every size.
There’s no increasing and no decreasing. You work the hat flat, side to side, so if you can make a rectangle, you can make this hat. Once it’s long enough, you join the edges, cinch the crown closed with your tail, and add a faux fur pom-pom if you’d like.
Choose a regular brim or a taller fold-up brim, depending on whoever’s wearing it.
Disclosure: This post contains affiliate links. Please read my disclosure for more info.
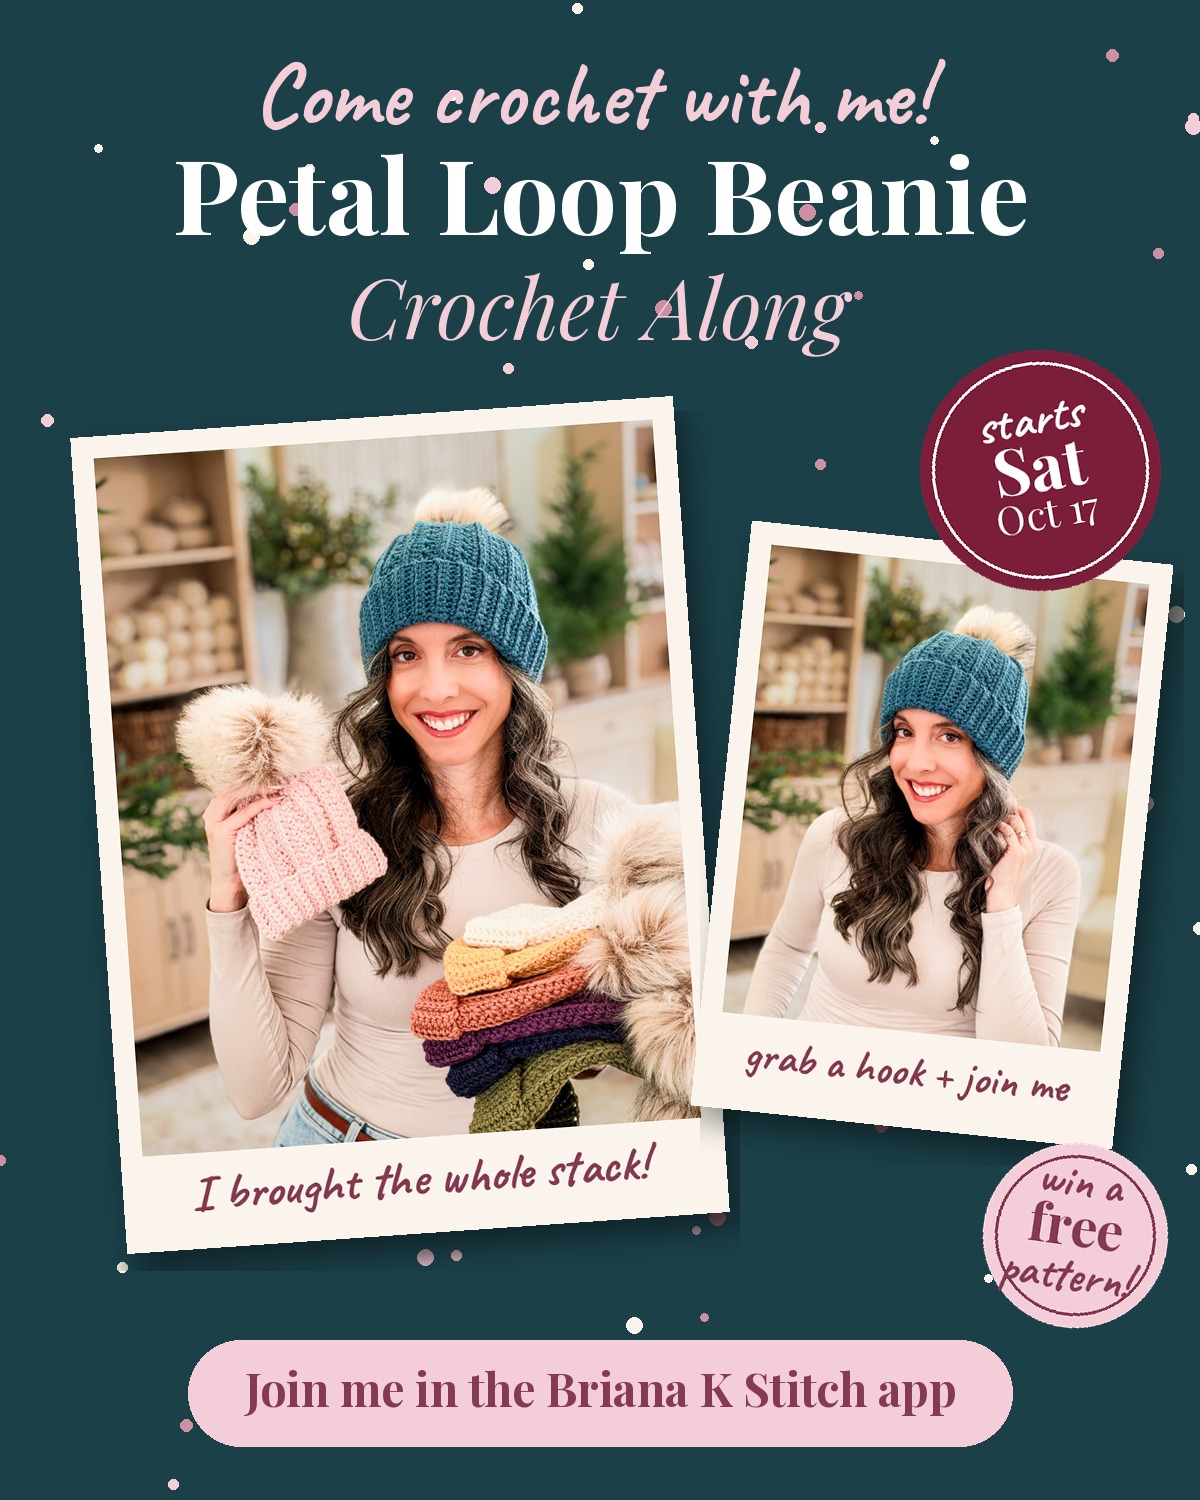
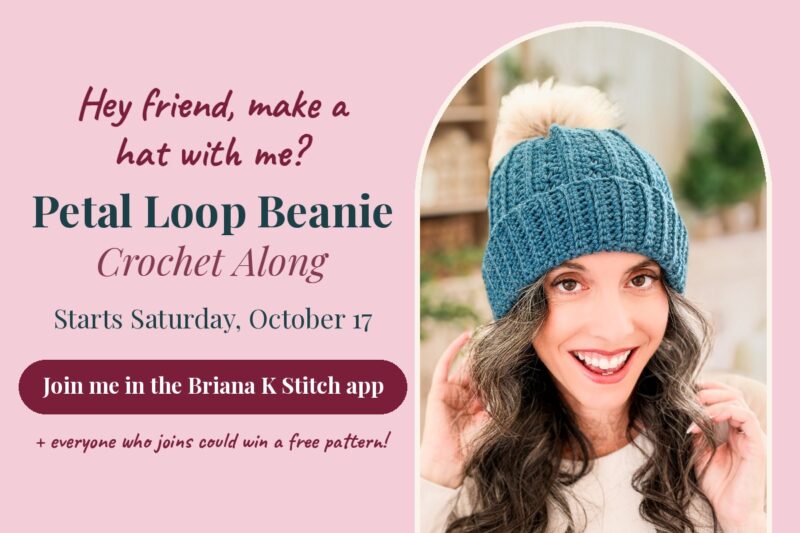
Join the Petal Loop Crochet Along
Want some company while you make your beanie? Join the Petal Loop Crochet Along! It starts Saturday, October 17, runs for two weeks, and anyone can join.
The pattern is free right here on the blog, and the crochet along happens in the Briana K Stitch app, so that’s the easiest place to find it and crochet along with everyone.
Grab your yarn and your H hook, pick your size, and come crochet with us!
Get all the details on how it works and how to join on the Petal Loop Beanie Crochet Along page.
Before You Hook: Petal Loop Crochet Beanie Details
🧶 Yarn Used: Premier Anti-Pilling Select (50% Anti-Pilling Acrylic, 50% Nylon, 185yds/100g)
⚖️ Yarn Weight: #4, Worsted
🧵 Featured Stitch: Petal Loop Stitch™
🪝 Hook Size: US H (5.0mm) Crochet Hook, or hook to obtain gauge
📏 Sizes: Newborn (Baby, Toddler, Child, Teen) (Adult Small, Adult Medium, Adult Large), to fit heads from 12 to 24″. All 8 sizes are free here on the blog, with the ad-free PDF and app version available to purchase.
🩷🩷🩷🤍 Difficulty level: Intermediate
🕐 Approx. Crochet Time: About 1 to 2 hours for the Newborn size, and longer as the sizes go up, depending on how fast you crochet.
🏷️ Project Type: A textured crochet beanie worked flat in rows from side to side, with a ribbed brim built into every row, sized for babies, kids, teens, and adults.
Save for Later • Get a Summary • Pick Up Where You Left Off
Why You’ll Love the Petal Loop Crochet Beanie
- Worked flat in rows. It’s a rectangle first and a hat second, so there are no rounds to count.
- Petals and ribbing in one row. The brim builds as you go, with no separate band to add at the end.
- Two ways to join. Seam it as you crochet the last row, or slip stitch it closed afterward.
- Two brim styles. Choose a regular brim, or a fold-up brim for extra warmth over the ears.
- Eight sizes. One pattern covers everyone from a newborn to an adult.
- Video help. The step-by-step video walks you through every stitch.
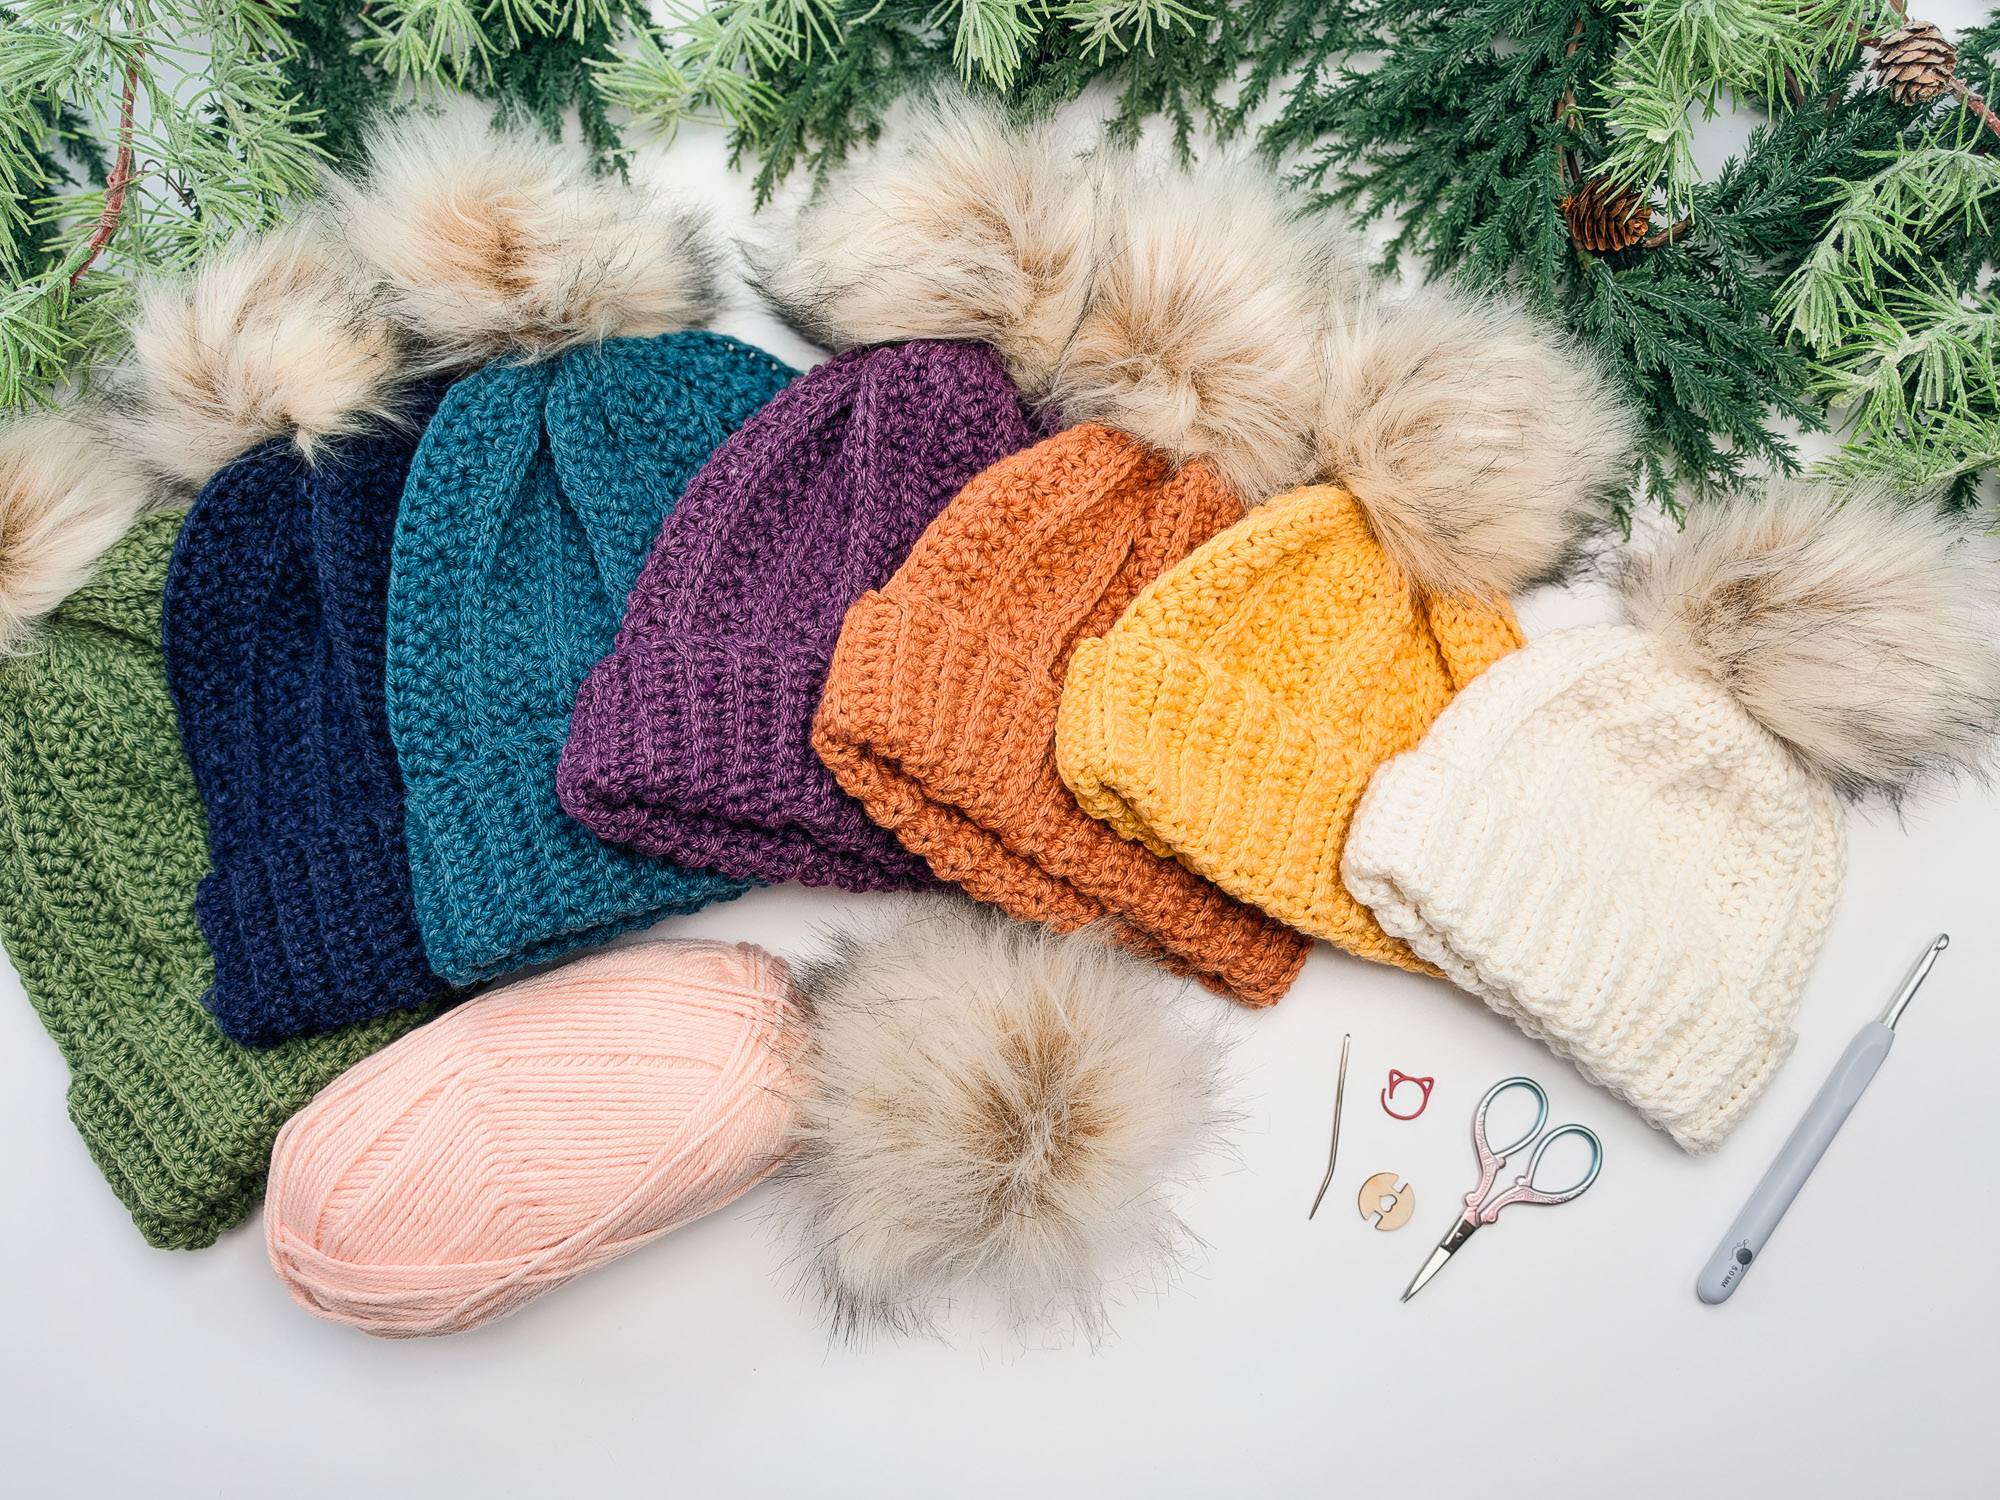
Petal Loop Crochet Beanie Supplies
Yarn
Premier Anti-Pilling Select: 50% Anti-Pilling Acrylic, 50% Nylon, 185yds/100g, #4 Worsted Weight
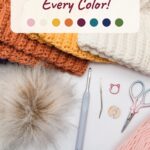
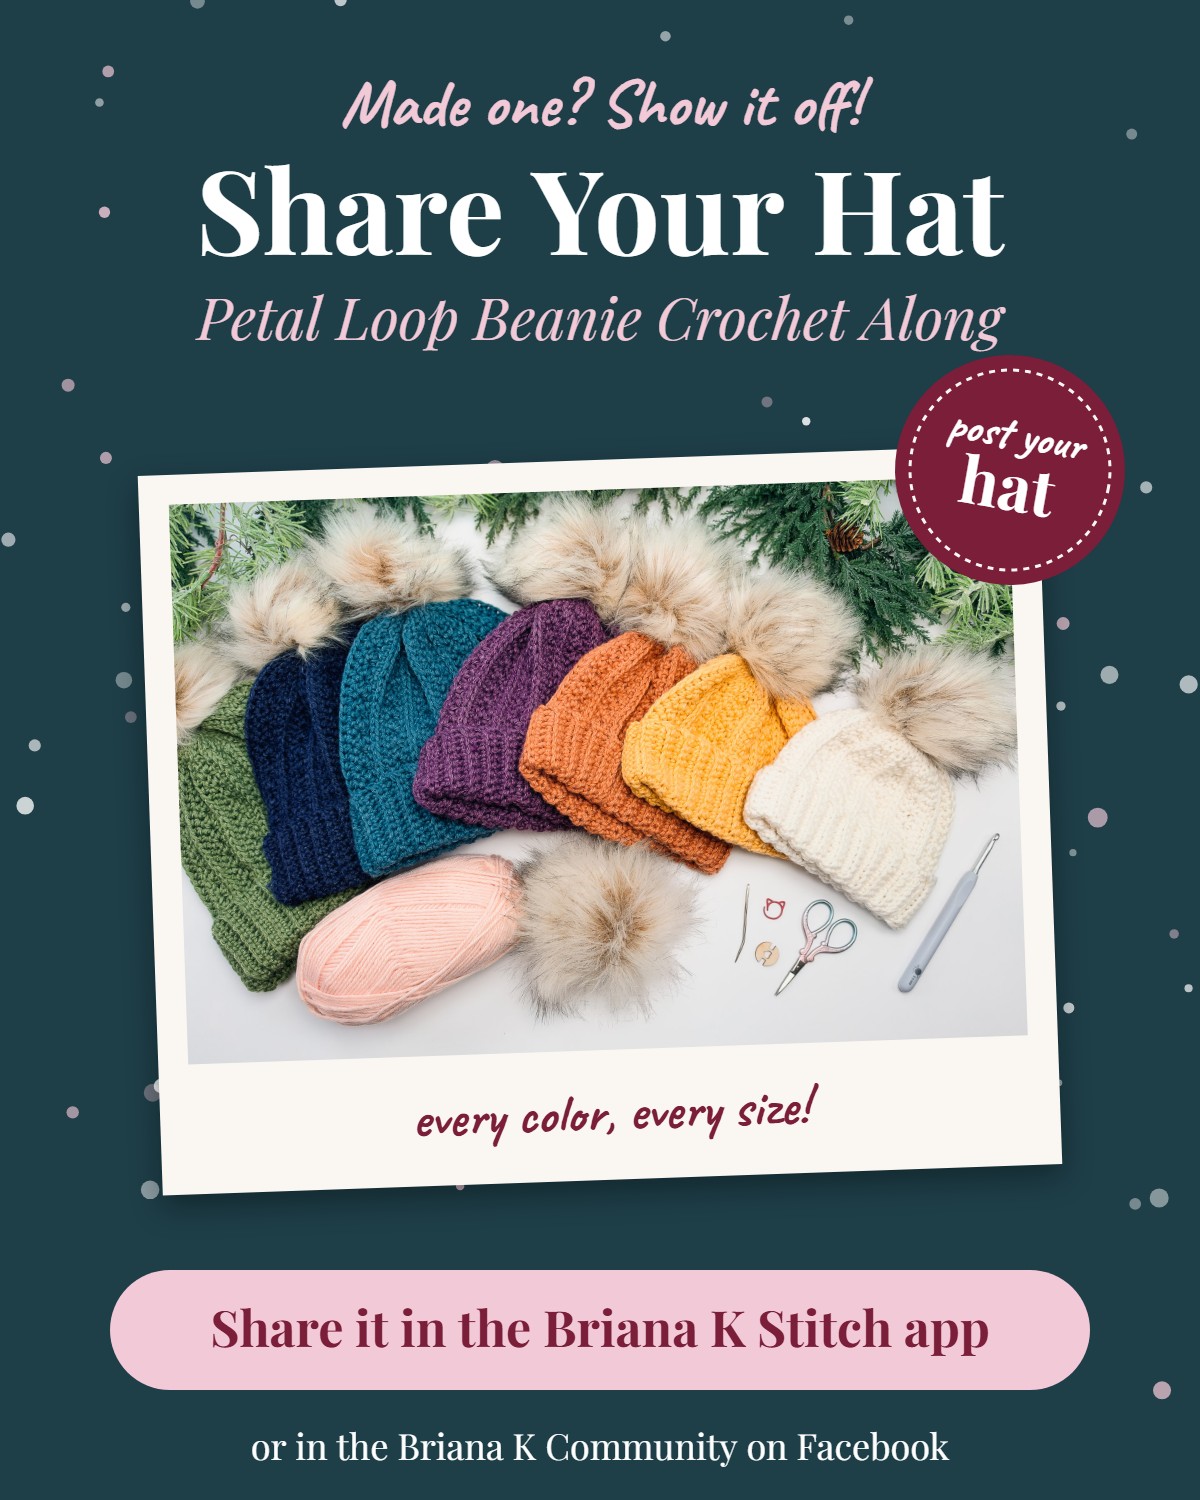
Colors shown: Blush, Creme, Goldenrod, Marmalade, Currant, Ocean, Midnight, and Nori.
Yarn Quantities
Regular brim: 80 (90, 110, 125, 140) (160, 180, 205) yds; 1 (1, 1, 1, 1) (1, 1, 2) skeins
Fold-up brim: 105 (125, 155, 170, 185) (205, 235, 265) yds; 1 (1, 1, 1, 2) (2, 2, 2) skeins
Yardage includes about 10% extra.
Crochet Hook
US H (5.0mm) Crochet Hook, or hook to obtain gauge
Notions
Scissors
Yarn Needle
Removable Stitch Marker
Measuring Tape
Faux Fur Pom-Pom (optional)
Pom-Pom Button (optional)
Be sure to check out the full pattern tips below
Yarn Substitutions
- Premier Anti-Pilling Everyday Worsted: 100% Acrylic, 180yds/100g, #4 Worsted Weight
- Herrschners Supreme Worsted: 100% Acrylic, 169yds/100g, #4 Worsted Weight
- Brava Worsted: 100% Premium Acrylic, 218yds/100g, #4 Worsted Weight
- Mighty Stitch Worsted: 80% Acrylic, 20% Superwash Wool, 208yds/100g, #4 Worsted Weight
Do a gauge swatch to know if a yarn substitute will work for you.
Skill Level
Intermediate. The video teaches all the special stitches, and once the 4-row repeat clicks, it’s a relaxing, rhythmic make. If you’d like to try the stitch on something small first, the Petal Loop Stitch Washcloth Crochet Pattern is a great warm-up.
Petal Loop Crochet Beanie Sizes and Measurements
| Size | To fit head | Finished circumference | Height, regular brim | Height, fold-up brim (unfolded) |
|---|---|---|---|---|
| Newborn | 12 to 14″ | 12″ | 5¾″ | 8½″ |
| Baby | 14 to 16″ | 13½″ | 6½″ | 9″ |
| Toddler | 16 to 18″ | 16″ | 7″ | 9½″ |
| Child | 18 to 20″ | 17″ | 7½″ | 10¼″ |
| Teen | 20 to 22″ | 18″ | 8″ | 10¾″ |
| Adult Small | 21 to 22″ | 18″ | 8½″ | 11¼″ |
| Adult Medium | 22 to 23″ | 19½″ | 9″ | 11¾″ |
| Adult Large | 23 to 24″ | 22″ | 9½″ | 12¼″ |
This hat is crocheted with approximately 0-4″ of negative ease.
Abbreviations
- blo: back loop only
- ch: chain
- hdc: half double crochet
- RS: right side
- sc: single crochet
- sl st: slip stitch
- st(s): stitch(es)
- WS: wrong side
This pattern uses standard US terminology.
Special Stitches
Single Crochet in the Third Loop: Work a single crochet into the horizontal third loop that sits behind the top two loops of the hdc in the row below.
3-Loop-Petal: Insert the hook into the back loop of the previous petal (or the hdc, for the first petal of the row) and pull up a loop. Pull up one loop in each of the next two stitches of the previous row, for a total of four loops on the hook. Yarn over and draw through all four loops to complete the stitch.
2-Loop-Petal: Insert the hook into the back loop of the previous petal and pull up a loop. Pull up one loop in the next st/space, for a total of three loops on the hook. Yarn over and draw through all three loops to complete the stitch.
New to the petals? My Petal Loop Stitch tutorial breaks the stitch down step by step with photos, and I also have a Petal Loop Stitch video.
Gauge
15 sts and 13 rows = 4″ x 4″ in stitch pattern, not blocked. Measure 4″ at the center of your swatch, not edge to edge.
Tips
How to Crochet a Gauge Swatch
- Working a gauge swatch will let you know whether you’ll have the correct sizing for this pattern. It will also help you practice the stitches used in this project and improve your stitch work for a flawless look.
- Are you struggling to match the gauge? Check out the blog post What is Crochet Gauge and How to Fix It for Success.
Important Pattern Notes
How the Petal Loop Crochet Beanie Is Made
This crochet beanie starts as a flat rectangle worked in rows. Once you seam it into a tube, those rows run up and down the hat, from the brim to the crown. Each row does three jobs at once: a few slip stitches at the crown edge, the petal texture through the middle, and a ribbed border at the brim edge, so you finish the brim as soon as you finish the rectangle.
When the rectangle wraps around the head, you join the short ends into a tube. Then you thread the long tail through the points along the crown edge, pull it closed like a drawstring, and fold up the brim if you made the taller version. A pom-pom on top is optional.
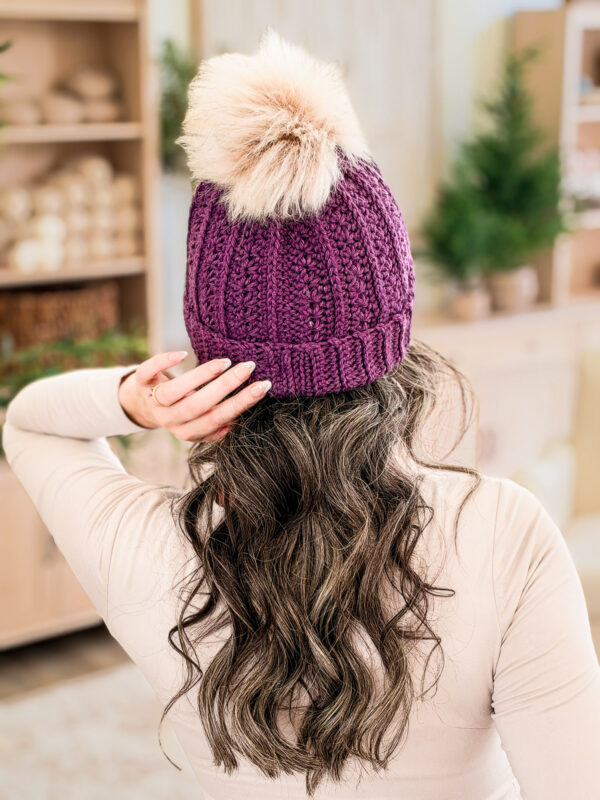
How to Choose the Right Beanie Size
Measure around the widest part of the head, just above the ears and across the forehead, with a soft measuring tape. Then find that number in the To fit head column of the size chart.
You’ll notice the finished hat measures smaller than the head it fits. That’s negative ease, and this beanie has about 0 to 4″ of it. The ribbing stretches to hug the head, which keeps the hat from sliding down over the eyes or blowing off in the wind.
A few size ranges overlap, like Teen and Adult Small. That’s on purpose, because heads don’t come in neat steps. If someone falls in an overlap, go with the smaller size for a snug fit or the larger one for a little more room.
Regular Brim or Fold-Up Brim?
Both brims use the same petal body. The difference is how deep the ribbing runs.
- Regular brim: a shorter, fitted beanie that sits just above the ears and uses less yarn.
- Fold-up brim: a taller hat with a deeper band that folds up onto the right side, giving a double layer over the ears.
The fold-up brim takes a little more yarn in every size, so check the Yarn Quantities above before you buy.
Choosing Yarn for Your Crochet Beanie
The samples are made in Premier Anti-Pilling Select, a #4 worsted-weight acrylic and nylon blend that’s made to resist the fuzzy little balls hats tend to collect from coat collars and scarves.
Any of the substitutions listed above will work, since they’re all #4 worsted weight. Mighty Stitch Worsted has a bit of superwash wool in it if you’d like a warmer hat. Whatever you choose, make a gauge swatch first. Highly textured or fuzzy yarns can hide the petals, so a smooth yarn shows off the stitch best.
Adding a Faux Fur Pom-Pom
The pom-pom is completely optional. If you’d like one, a Pom-Pom Button lets you attach a faux fur pom-pom with no sewing, and it comes off easily, which makes washing much easier because the fur holds up best when cleaned separately. The video tutorial shows exactly how it goes on.
How to Wash and Care for Your Petal Loop Crochet Beanie
- Check your yarn’s ball band before washing, since care can vary by yarn. For the Premier Anti-Pilling Select shown, follow the care symbols on its label.
- If your hat has a faux fur pom-pom, take it off before washing. If it’s on a pom-pom button, it comes off easily, and the fur holds up best when washed separately by hand or spot-cleaned.
- Wash gently in cool water in a mesh laundry bag, or hand-wash with mild soap. Skip the bleach and fabric softener, which can dull the petals.
- Gently press out excess water with a towel, never wringing or twisting, then lay the hat flat to dry.
- To shape, smooth the petals with your fingers while the hat is damp, and pat the brim back into a straight edge. For a rounder crown, dry it over a balloon or a bowl about the size of the wearer’s head.
- If the brim relaxes over time, a quick shot of steam held above it (not touching it) will help it bounce back. Test the steam on your gauge swatch first, since too much heat can permanently soften acrylic.
- Store it folded, not hung on a hook, to keep its shape.
Petal Loop Crochet Beanie FAQs
Is the Petal Loop Crochet Beanie beginner friendly?
It’s rated Intermediate, mostly because most people are new to petal stitches. The shape itself is about as simple as a hat gets: a flat rectangle. If you’re comfortable with single crochet, half double crochet, and working only in the back loop, the video will walk you through the rest. Practicing a few rows on a swatch first is a great way to get the rhythm down.
Why is this crochet beanie worked flat instead of in the round?
Working flat lets the ribbed brim, the petal texture, and the crown edge all happen in the same row. No increases, no round counts, and no separate brim to attach. You just make a rectangle, join it into a tube, and cinch the top.
What’s the difference between the two joining options?
Joining Option 1 joins the last row of the hat directly to the foundation chain, so each stitch finishes and seams in the same motion, and you skip a separate seaming step. Joining Option 2 has you finish the rectangle first, then slip stitch the two edges together. Both give you a closed tube, so pick whichever you enjoy more. The video shows Option 1.
How do I keep the ribbed brim from being too tight?
Keep your back-loop-only single crochet stitches loose. The ribbing is what stretches around the head, and tight stitches there can make the hat fit smaller than the chart. If your gauge is spot-on but the brim still feels snug, loosen up just those border stitches.
Can I sell the hats I make from this pattern?
Yes. You may sell finished items on a small scale, and credit to Briana K Designs is always appreciated. You can’t copy, share, or resell the pattern.
Petal Loop Crochet Beanie Video Tutorial
Follow along with the full Petal Loop Crochet Beanie video tutorial on YouTube, from the first chain to cinching the crown.
Subscribe, Like & Watch on YouTube
Get the Ad-Free PDF and the App Version
Prefer to crochet without ads? The printable PDF has every size in one place, plus the stitch chart and schematic, and your purchase also unlocks the interactive version in the Briana K Stitch app, where you can check off every row and never lose your place. Bought it on Etsy? Open the app, tap Find Past Purchases on the home screen, and enter your Etsy order number to bring it into your library.
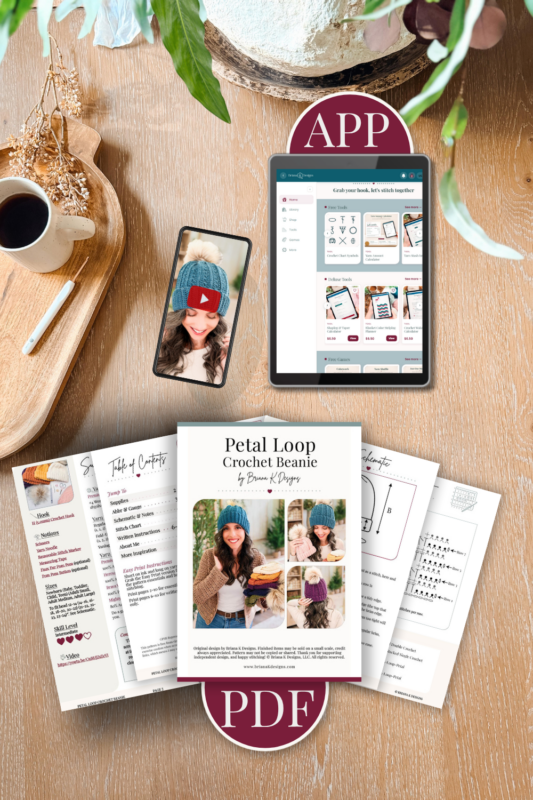
Relax & Crochet with NO Ads
Upgrade to the Printable PDF
Beautifully formatted to print and take with you anywhere. The paid pattern includes:
Add your email in the box below to unlock this pattern to view on the blog for free. I’m thrilled to share this amazing crochet pattern with you! Please don’t copy, paste, or distribute this pattern. Prefer an ad-free experience? Purchase a digital PDF file for a small fee from one of my online stores. I appreciate your support and readership. You are why I can keep doing what I love and sharing it with others. Thank you from the bottom of my heart.
Printable Version
This pattern is free to read here on the blog. The ad-free printable PDF is available in the Briana K Designs shop on Etsy and Ravelry.
brianakdesigns.com
Petal Loop Crochet Beanie Written Pattern
Styling Your Petal Loop Crochet Beanie
Make Matching Hats in Different Sizes
Pick one color and make it in every size you need, or give each person their own shade. Both brim styles share the same petal body, so a fold-up brim for an adult and a regular brim for a toddler still look like a set.
Pick Colors You Love
The samples come in Blush, Creme, Goldenrod, Marmalade, Currant, Ocean, Midnight, and Nori, but any color you love will work. If you’d like to play with combinations before you buy yarn, the color plotter in the Briana K Stitch app lets you try them out first.
Finish It as a Gift
A removable faux fur pom-pom on a pom-pom button makes a finished beanie feel extra special and gives the recipient an easy way to wash the hat.
More Crochet Patterns You’ll Love
Stocking up on cozy makes for the colder months? These are a great place to start:
🥂 Cheers, and happy crocheting!
Hook down? Not so fast…
I’d Love to See Yours!
You made something beautiful. Here’s how to keep it, show it off, and inspire the next maker.
Get the Petal Loop Crochet Beanie Pattern
- Etsy: Petal Loop Crochet Beanie on Etsy
- Ravelry: Petal Loop Crochet Beanie on Ravelry
- Shop: Petal Loop Crochet Beanie in my shop
- YouTube: Petal Loop Crochet Beanie video tutorial

What should you make next?
Keep the hook movingReaders Are Loving
 Wheatfield Headband
 Dog Sweater
 Willow Mesh Bag
 Crochet Book Cover