
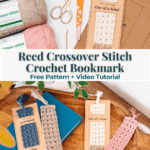
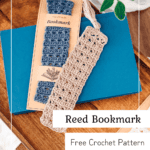
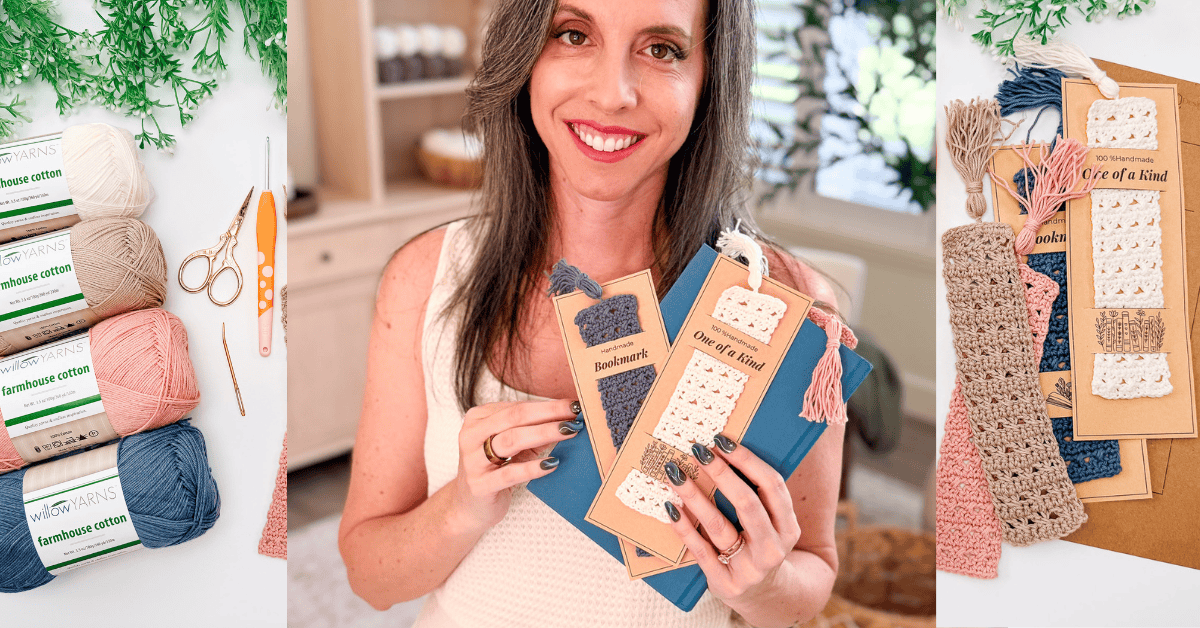
I made my first Reed Crochet Bookmark to use up the tail end of a Willow Yarns Farmhouse Cotton skein I had left over from another project, and I fully expected it to end up in a drawer with all the other cute things I make and never actually use. It did not. It is currently holding my place in a paperback on my nightstand, and I have made about six more since, because they are the kind of project you finish before you realize you started.
Disclosure: This post contains affiliate links. Please read my disclosure for more info.
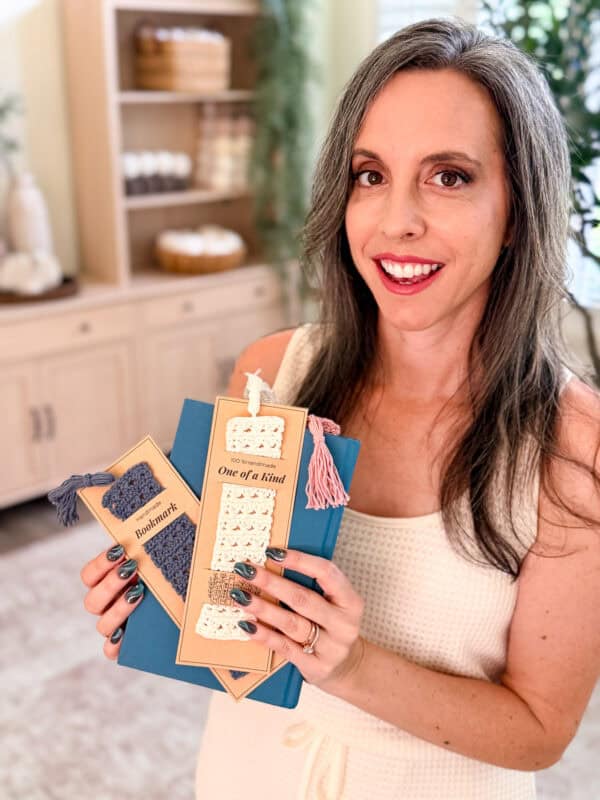
This one is worked in the Reed Crossover Stitch, a simple two-row repeat that gives you that woven, crosshatch texture without any of the fuss you would expect from a stitch that looks this intentional. I made mine in Magnolia, a soft off-white, but I also stitched up Viridian and Dusty Rose because once you make one bookmark, you kind of want the whole set.
I have been designing crochet patterns for over a decade, and the small makes are honestly some of my favorites to write. A bookmark has to earn its keep. It needs to lie flat, survive being shoved in a bag, and look like you meant to make it. This crochet bookmark pattern does all three, and the free version below walks you through every row plus the tassel.
Before You Hook: Crochet Bookmark Pattern Details
🧶 Yarn Used: Willow Yarns Farmhouse Cotton (100% Cotton, 360yds/100g)
⚖️ Yarn Weight: Fingering
🧵 Featured Stitch: Reed Crossover Stitch
🪝 Hook Size: 3.0mm Crochet Hook, or hook to obtain gauge
📏 Sizes: One Size, 7″ by 1.5″, adjustable
🩷🩷🤍🤍 Difficulty level: Easy
🕐 Approx Crochet Time: 30 minutes to 1 hour, a little longer with the tassel
🏷️ Project Type: A quick, beginner-friendly crochet bookmark worked flat in a textured two-row stitch repeat, finished with an optional tassel.
Save for Later • Get a Summary • Pick Up Where You Left Off
Why You’ll Love This Crochet Bookmark Pattern
- It is the fastest thoughtful gift in the book. Pair one with a novel, and you have a present that looks like it took far longer than it did.
- It is a true one-skein, use-up-the-scraps project. Each bookmark takes about 18 yards, or 22 with the tassel, so a single ball makes a whole stack of gifts.
- The Reed Crossover Stitch does the heavy lifting. The texture looks complex, but it is a two-row repeat you will have memorized by the third repeat.
- It is fully adjustable. Add rows for a longer bookmark, remove some for a shorter one, or change the starting chain width. There is no wrong way to size a bookmark.
- Gauge is not critical, which makes it a genuinely relaxing make and a great one to use with a hook and yarn you already have on hand.
Pattern Name Pattern Supplies
Yarn
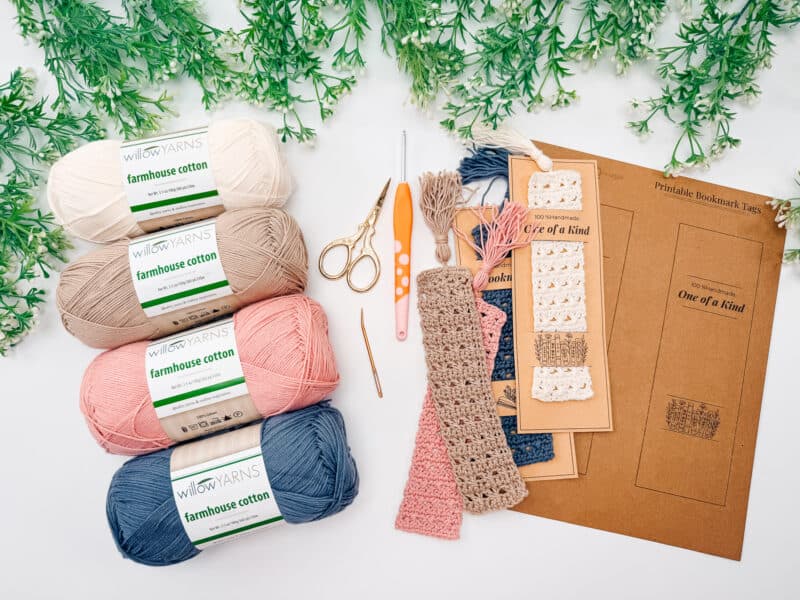
Willow Yarns Farmhouse Cotton
(100% Cotton, 360yds/100g)
This yarn is labeled as a weight #3, but it works up closer to a #1, so keep that in mind if you are substituting. I stitched mine in Magnolia, Viridian, and Dusty Rose. You only need about 18 yards per bookmark, or 22 yards if you are adding a tassel, which means one skein goes a very long way.
Yarn Quantities
18 yds (22yds with tassel)
Crochet Hook
3.0mm Crochet Hook, or hook to obtain gauge
A C (2.75mm) or D (3.25mm) hook will work as gauge isn’t critical.
Notions
Scissors
Yarn Needle
Removable Stitch Marker
Tape Measure
Be sure to check out the full pattern tips below
Yarn Substitutions
Crochet.com Comfy Fingering, 75% Pima cotton and 25% acrylic, 218 yards per 50 grams
Lion Brand Mandala String, 100% acrylic, 350 yards per 100 grams
Remember always to check the gauge and drape when substituting yarns.
Skill Level
If you can chain, single crochet, and double crochet, you already have almost everything you need. The one new-to-you piece might be the stacked single crochet, and there is a full tutorial linked below. Because gauge is not critical and the whole thing is one small rectangle, it is a forgiving project for a newer crocheter and a fast, satisfying one for a seasoned maker.
Sizing & Finished Measurements
The bookmark is designed for one size: 7 inches tall by 1.5 inches wide, which fits most standard paperbacks and hardcovers, with a little tail peeking out the top. That said, this is one of the easiest projects to resize.
- Want it longer? Add two more row repeats until it reaches the length you like.
- Want it wider or narrower? Adjust your starting chain in multiples of 3, plus 2, plus your turning chain.
- Making one for a chunky hardcover or a slim journal? Measure the book, add an inch or two for the top overhang, and stitch to that.
There really is no wrong way to size a bookmark, so treat the measurements as a starting point rather than a rule.
Abbreviations
ch – chain
dc – double crochet
sk – skip
RS/WS – Right Side/Wrong Side
sc – single crochet
st(s) – stitch(es)
Stsc – stacked single crochet
Gauge
Not critical for this crochet bookmark pattern.
Tips
How to Crochet A Gauge Swatch
- Working a gauge swatch will let you know if you will have the correct sizing for this pattern. It will also help you practice the stitches used in this project and improve your stitch work for a flawless look.
- Are you struggling to match the gauge? Check out the blog post on What is Crochet Gauge and How To Fix It
Special Stitches Used in This Pattern
This bookmark is worked in the Reed Crossover Stitch, a two-row repeat that creates a woven, crosshatch texture.
The other stitch worth flagging is the stacked single crochet, or Stsc, which starts each right-side row and serves as a taller edge stitch without leaving a gappy chain. If you have not worked it before, my stacked single crochet tutorial breaks it down step by step. In short, you work a single crochet, then work a second single crochet into the vertical bar of the one you just made, stacking one on top of the other.

Important Pattern Notes
How the Crochet Bookmark is Made
The bookmark starts with a short foundation chain and a single row of single crochet to give you a clean, even base to build on. From there, the whole body is that two-row Reed Crossover repeat: one textured right-side row that forms the little crossed stitches, and one plain single crochet row on the wrong side that resets you for the next repeat.
You simply repeat those two rows until the bookmark reaches your desired length. Because it is worked flat and in a rhythm, it is the kind of project you can pick up during a movie and put down without losing your place. When you reach the top, you fasten off, weave in your ends, and give it a quick block to set the shape.
The tassel is optional, but it is what takes this from a quick strip to something that looks properly finished. I walk through wrapping, tying, and attaching it in the full pattern and the video, so you can add one in about five extra minutes.
How to Block a Crochet Bookmark So It Lies Flat
If there is one step people skip and later regret, it is blocking. A freshly finished bookmark almost always curls a little, especially in cotton, and blocking is what takes it from homemade to polished. It also makes the stitch definition pop, which is the whole point of a textured stitch like this one.
Here is how I do it. Pin the bookmark to a blocking mat at the corners so the edges sit straight and the body lies flat. Lightly mist it with water, or use a cool steam if you have a steamer, holding the steamer a couple of inches away so you do not scorch the fibers. Gently pat the moisture in with your hand, then let it dry completely before you unpin. That last part matters; unpinning too early lets it spring back.
A quick reblock now and then, especially after washing, keeps it looking crisp for years.
Caring for Your Cotton Bookmark
Cotton is wonderfully durable, which is exactly what you want in something that gets handled every day and shoved between pages. To clean it, hand-wash it gently in cool water with mild soap, press out the excess water without wringing, reshape it, and lay it flat to dry.
Skip the dryer. High heat can shrink cotton and stiffen the fibers over time, and a bookmark this small does not take long to air dry anyway. One thing worth knowing about cotton specifically: it has less natural grip than wool, so when you weave in your ends, run each tail through several stitches in one direction, then reverse and run it back through a few more to lock it in place. That little back-and-forth is what keeps your ends from working loose during handling.
Handmade Bookmark Gift Ideas
A handmade bookmark is one of those small makes that always lands well, and it is quick enough to whip up a whole batch in an afternoon. A few ways to make yours feel extra special:
- Pair it with a favorite book or a new release for the reader in your life.
- Make a coordinating Reed Crochet Book Cover to match.
- Tuck a few into holiday cards or teacher gifts.
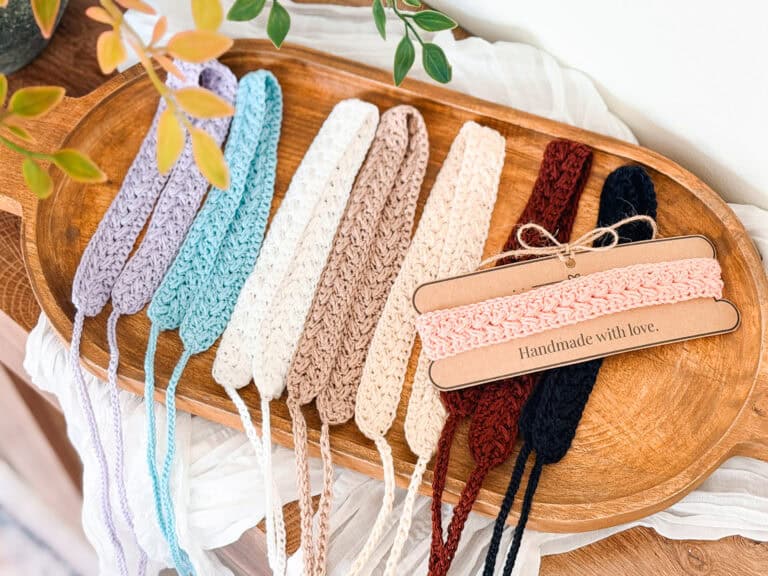
- Make a coordinating set in seasonal colors, the way I did with Magnolia, Viridian, and Dusty Rose.
- Slip one into a cozy gift basket alongside tea and a candle.
Because each one uses so little yarn, a single skein can turn into a stack of gifts, making this a lifesaver around the holidays and at the end of the school year.
Subscribe, Like & Watch on YouTube
Relax & Crochet with NO Ads
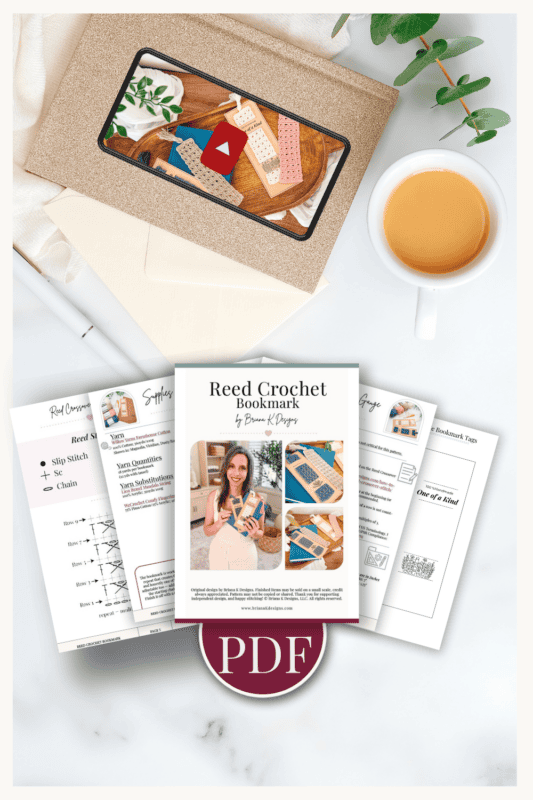
Upgrade to the Printable PDF
Beautifully formatted to print and take with you anywhere. The paid pattern includes:

Add your email in the box below to unlock this pattern to view on the blog for free. I’m thrilled to share this amazing crochet pattern with you! Please don’t copy, paste, or distribute this pattern. Prefer an ad-free experience? Purchase a digital PDF file for a small fee from one of my online stores. I appreciate your support and readership. You are why I can keep doing what I love and sharing it with others. Thank you from the bottom of my heart.
Reed Crochet Bookmark Pattern Written Instructions
Repeats: Repeat Rows 1–2 twelve more times, or until desired length is reached.
Finishing
Weave in all your ends securely using your yarn needle. With cotton especially, take your time here. Run each tail through several stitches in one direction, then reverse and run it back through a few more to lock it in place. Cotton has less natural grip than wool, so that little back-and-forth keeps your ends from working loose with handling. Trim closely once everything is woven in.
Blocking Tip
If your bookmark needs a little shaping, give it a gentle blocking. Pin it to your blocking mat at the corners so the edges sit straight and the body lies flat, then lightly mist with water or use a cool steam. Let it dry completely before unpinning. This step is what takes a bookmark from homemade to polished, and it really makes the stitch definition pop.
Optional Tassel
Cut a piece of cardboard (or use a tassel maker) approximately 3″ tall. This will determine your tassel length.
Step 1 — Wrap: Wrap yarn around the cardboard 14–20 times, depending on how full you want your tassel. More wraps = fuller tassel.
Step 2 — Tie the top: Cut a separate 12″ length of yarn. Slide it under all the wrapped loops at the top of the cardboard and tie it tightly with a double-knot. Leave the tails long. You’ll use them to attach the
tassel to the bookmark.
Step 3 — Cut the bottom: Slide the loops off the cardboard, then cut through all the loops at the bottom.
Step 4 — Wrap the neck: About ½” down from the tied top, wrap this piece tightly around all the strands 6–8 times to form the tassel neck. Tie it off securely and thread the tails down into the center of the
tassel using a yarn needle. Trim the tails so they’re hidden.
Step 5 — Trim: Trim the bottom of the tassel evenly so all strands are the same length.
Join The Kindest Community
Join our vibrant community of crafters on Facebook today. Whether you enjoy crafting with others or simply have burning questions, we’ve got you covered – join us now!
Attaching the Tassel
Thread the two long tails from Step 2 onto your yarn needle. Insert the needle through the last row of your bookmark at one corner — either through the last stitch or through the space between the last two
stitches. Pull the tassel snug so the tie is flush with the edge of the bookmark. Tie the two tails together in a double knot on the wrong side, then weave the ends in securely.
Reed Crochet Bookmark FAQs
How much yarn do I need to crochet a bookmark?
Very little, which is part of the charm. This bookmark uses about 18 yards of yarn, or roughly 22 yards if you add a tassel. That means a single skein of most cotton yarns will make a whole stack of bookmarks, so it is a perfect project for using up leftovers and scraps from bigger makes.
What is the best yarn for a crochet bookmark?
Cotton is my top pick for bookmarks. It is durable, holds its shape well after blocking, and withstands daily handling without getting fuzzy. I used Willow Yarns Farmhouse Cotton here. A smooth fingering or lightweight cotton gives you crisp stitch definition, which is what makes a textured stitch like the Reed Crossover look its best. If you prefer a little more drape, a cotton-acrylic blend like Comfy Fingering works beautifully, too.
How long does it take to crochet a bookmark?
Most people can finish this one in about 30 minutes to an hour once they are comfortable with the two-row repeat, plus a few extra minutes for the tassel. Your first one may take a little longer while you get the Reed Crossover Stitch under your fingers, but by the second or third bookmark, you will be flying through them. It is genuinely one of those projects you finish before you realize you started.
Why is my crochet bookmark curling?
A little curl is completely normal, especially with cotton and especially before blocking. The fix is almost always blocking. Pin the bookmark flat at the corners on a blocking mat, mist or lightly steam it, and let it dry completely before unpinning. If it still wants to curl after blocking, double-check that your tension is even and consistent from row to row, since very tight rows alternating with loose ones can pull a piece out of shape.
Do I have to add a tassel?
Not at all, the tassel is completely optional. The bookmark works perfectly well as a plain textured strip. That said, the tassel only adds about five minutes and four extra yards of yarn, and it really does take the finished piece from quick make to intentional gift. If you are short on time or making a big batch, you can skip it on some and add it to others.
Can I make this bookmark bigger or smaller?
Absolutely, and it is easy to do. To make it longer or shorter, simply work more or fewer of the two-row repeats. To change the width, adjust your starting chain in multiples of 3, plus 2, plus a turning chain. Because gauge is not critical for this pattern, you have a lot of freedom to size it to whatever book, journal, or planner you have in mind.
Is this a good crochet project for beginners?
Yes. It is rated easy, it uses stitches most beginners already know, and it is small enough that you are not committing to hours of work to see a finished result. The Reed Crossover Stitch looks impressive but is only a two-row repeat, and because gauge does not matter, there is very little pressure to get everything exactly right. It is a confidence-building make, and the video tutorial walks you through every step.
More Crochet Patterns You’ll Love
If this quick and giftable make was your speed, here are a few more to add to your list:
🥂 Cheers, and happy crocheting!
Hook down? Not so fast…
I’d Love to See Yours!
You made something beautiful. Here’s how to keep it, show it off, and inspire the next maker.

What should you make next?
Keep the hook movingReaders Are Loving
 Wheat Stitch Acorns
 Wheat Stitch Reindeer
 Petal Chevron Blanket
 Petal Loop Stocking