
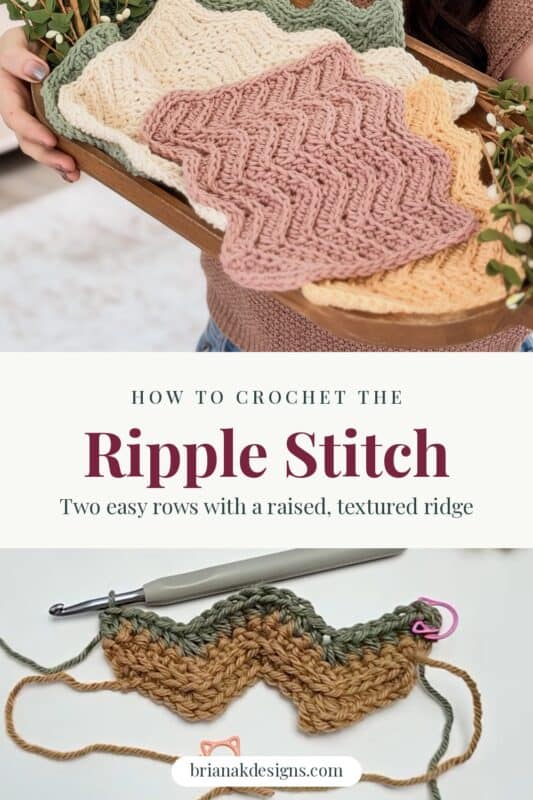
This ripple stitch crochet tutorial shows you how to make a classic zigzag with a raised, ridged texture running along every row. It’s only two rows repeated: half double crochet on the right side and single crochet on the wrong side, and once you see how the peaks and valleys work, you can make anything from a washcloth to a king-size blanket.
Disclosure: This post contains affiliate links. Please read my disclosure for more info.
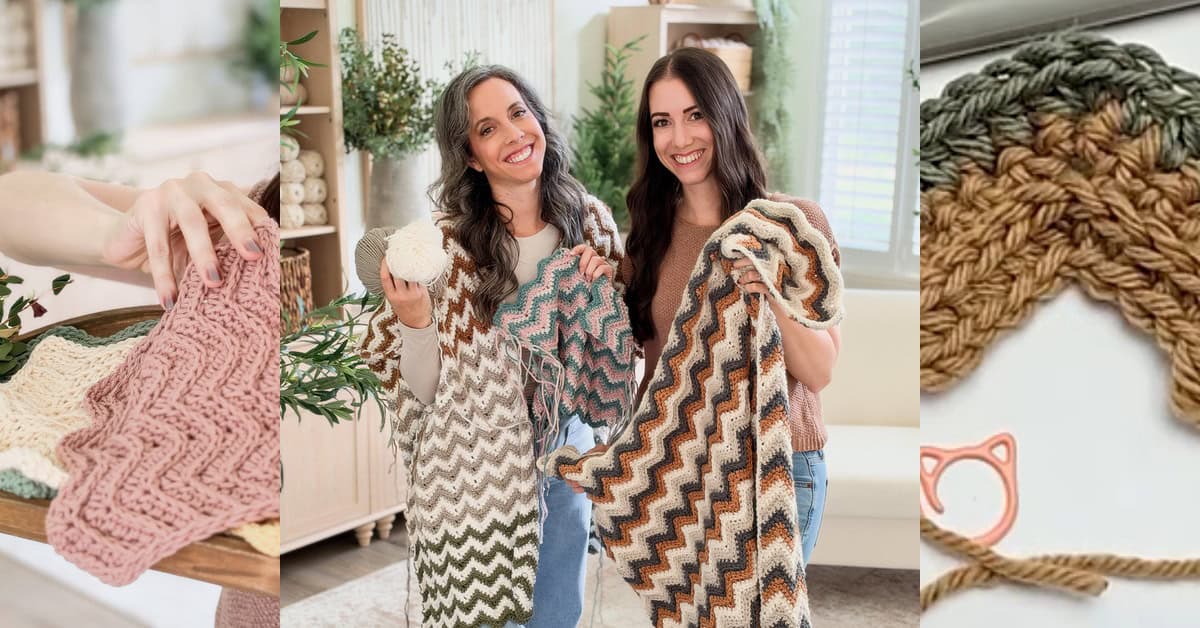
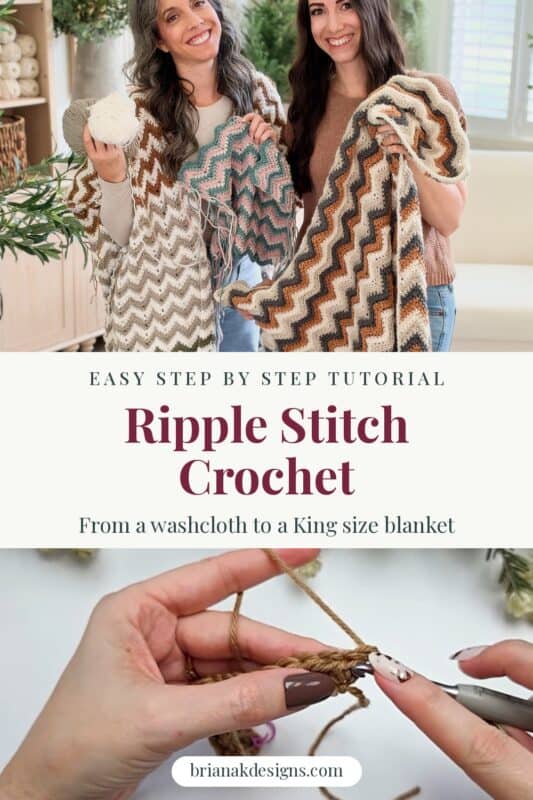
This version of the ripple comes from my baby sister Kirsten, and it’s the stitch behind her very first set of patterns with us. She designed the Ripple Crochet Washcloth and the Ripple Crochet Blanket around it, and crocheted them. I’m so proud of her, and I’m thrilled to share her stitch with you.
Below, you’ll practice it on a small swatch, find the third loop that makes the texture, and learn how to keep your edges straight and your count right.
Jump to: Finding the third loop | Ripple stitch row by row | Peaks and valleys
Before You Hook: Crochet Pattern Details
🧶 Yarn Used: Any yarn will work for making a practice swatch
⚖️ Yarn Weight: #4 Worsted Weight
🧵 Featured Stitch: Ripple Stitch, with sc in the third loop of the hdc
🪝 Hook Size: US I (5.5mm) Crochet Hook, or whatever hook matches your yarn weight
📏 Sizes: A free 21-stitch practice swatch, in any width that’s a multiple of 10 plus 1
🩷🩷🤍🤍 Difficulty level: Easy
🕐 Approx. Crochet Time: About 30 to 45 minutes for the practice swatch
🏷️ Project Type: An easy, textured ripple for washcloths, baby blankets, and throws
Save for Later • Get a Summary • Pick Up Where You Left Off
What Makes This Ripple Stitch Different
Most ripple stitches are built from rows of the same stitch, with increases and decreases to make the zigzag. This one alternates two stitches and adds one small twist.
- Right side rows are half double crochet. They build the height and the shape of each zigzag.
- Wrong side rows are single crochet in the third loop. Working into the third loop leaves the top two loops of the half double crochet sitting up on the right side, so a raised ridge runs along every row.
- Every right-side row starts with a stacked single crochet. That keeps the side edges straight instead of gappy.
- The stitch count never changes. Every increase is balanced by a decrease, so you start with the same count you finish with.
Ripple Stitch Tutorial Supplies
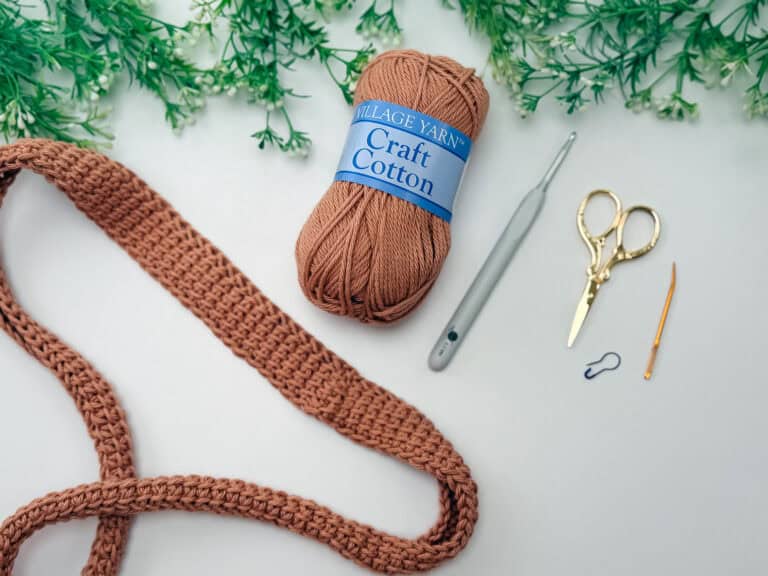
Yarn
Herrschners Worsted 8
100% Acrylic, 489yds/226g
Village Yarn Craft Cotton
100% Cotton, 115yds/71g
Any smooth #4 worsted in a light color, so you can see your stitches
Yarn Quantities
One ball
Scraps will do!
Crochet Hook
Size US I (5.5mm) Crochet Hook, or the hook that suits your yarn.
Notions
Scissors
Yarn Needle
Removable Stitch Marker
Be sure to check out the full pattern tips below
Skill Level
Easy. If you can make a half double crochet and a single crochet, you can make this ripple.
Abbreviations
ch – chain
hdc – half double crochet
hdc3tog – half double crochet 3 together
RS/WS – right side/wrong side
sc – single crochet
sc3tog – single crochet 3 together
st(s) – stitch(es)
Stsc – stacked single crochet
yo – yarn over
The Ripple Stitch Multiple
This ripple is worked over a multiple of 10 stitches plus 1. Each repeat of 10 stitches makes one full peak and one full valley, and the extra stitch balances the two edges. Row 1 starts in the first chain from the hook, so your starting chain and stitch count match. The practice swatch below starts with 21 chains. Gauge isn’t critical for a swatch, so use the hook that gives you a fabric you like.
Important Pattern Notes
Finding the Third Loop of a Half Double Crochet
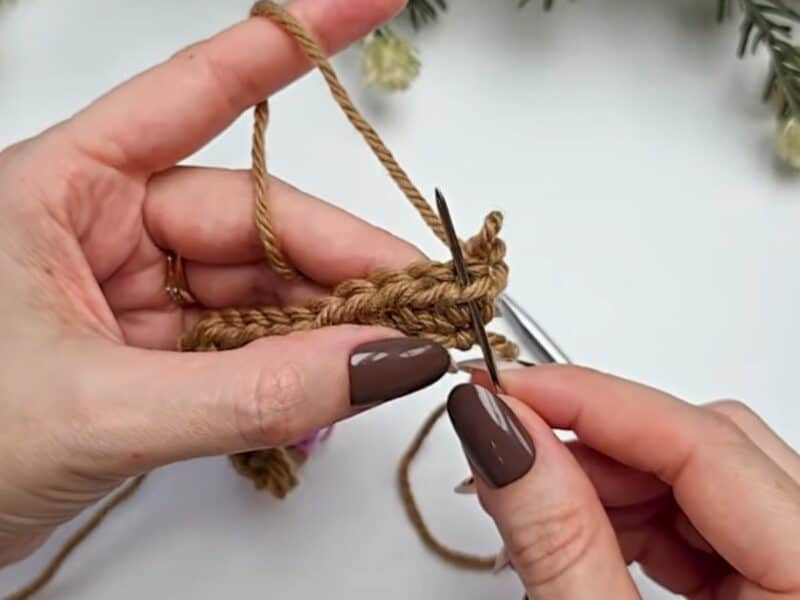
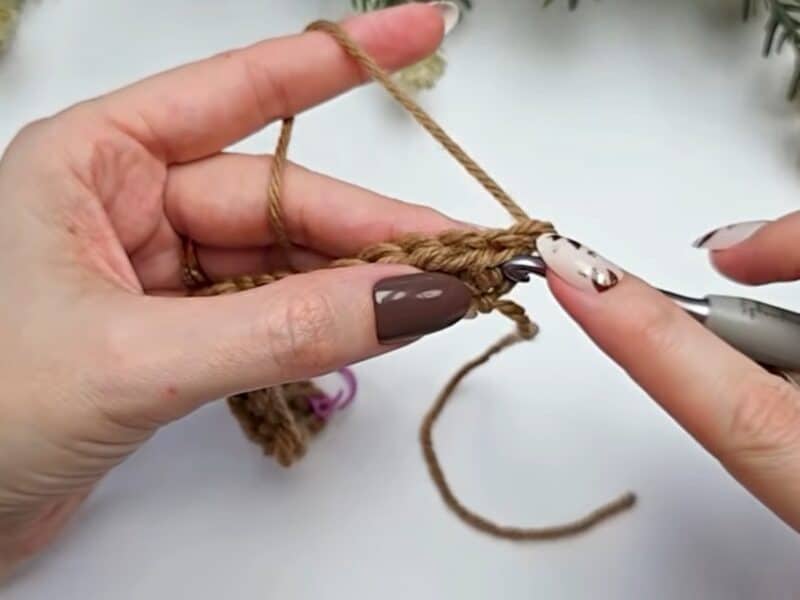
A half double crochet has three loops along its top. The first two are the familiar V you work into for most stitches. The third loop sits just behind them.
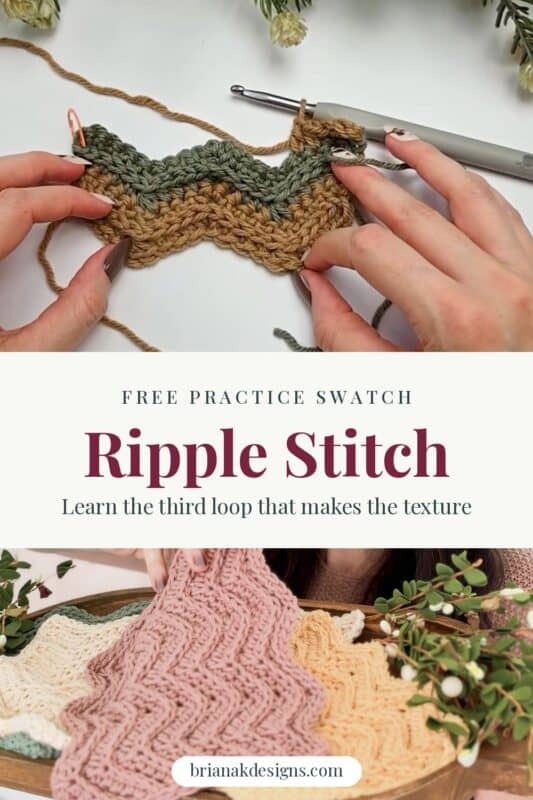
When you’re working in turned rows, the third loop sits on the back of the hdc. Once you turn your work to start a wrong-side row, that third loop is facing you. Tip the top of your work away from you, and you’ll see it as a horizontal bar running just below the V. On every wrong-side row of this ripple, you insert your hook under that bar only. Because the top two loops are left alone, they stay sitting up on the right side of the fabric as a raised line.
If you’re new to the half double crochet itself, How to Half Double Crochet covers it step by step.
The Special Stitches
Stacked Single Crochet (Stsc): Insert your hook into the first stitch, yarn over, and pull up a loop. Yarn over and pull through both loops on the hook. This will look like a single crochet, but you’re not done yet. Insert your hook into the vertical bar below, yarn over, and pull up a loop. Yarn over and pull through both loops on the hook. There’s a full photo tutorial in How To Create the Stacked Single Crochet Stitch (STSC).
hdc3tog: Yo, [insert hook into next st, yo and pull up a loop] 3 times, yo and pull through all 5 loops on hook.
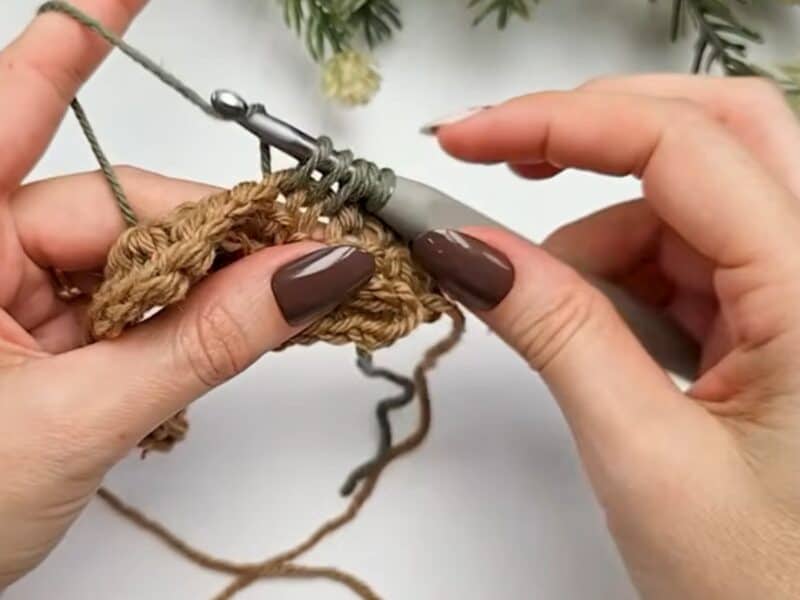
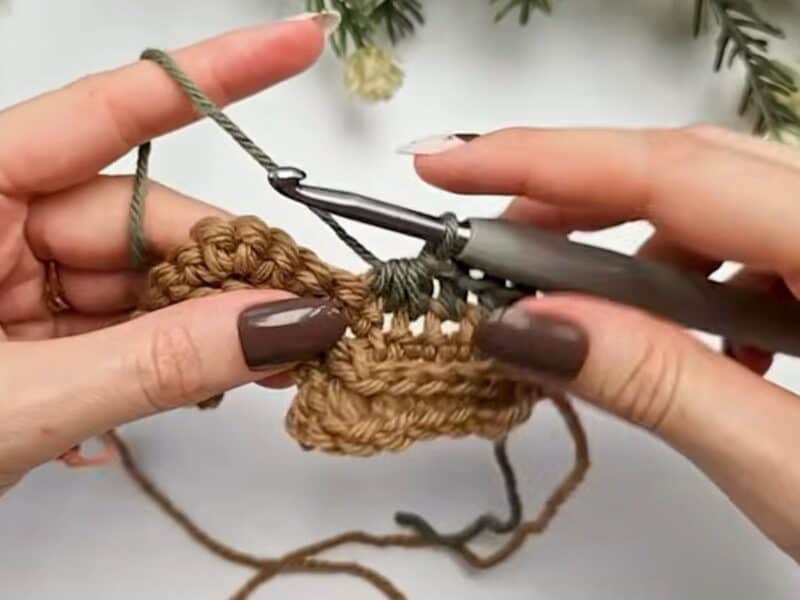
sc3tog: [Insert hook into next st, yo and pull up a loop] 3 times, yo and pull through all 4 loops on hook.
Subscribe, Like & Watch on YouTube
How to Crochet the Ripple Stitch, Row by Row
This practice swatch is 21 stitches wide and 12 rows tall. A ch 1 at the beginning of a row isn’t counted as a stitch, and the Stsc counts as a stitch.
Ch 21.
Row 1 (RS): Stsc in first ch from hook, hdc in same ch, hdc in next 3, [hdc3tog, hdc in next 3, 3 hdc in next, hdc in next 3] 1 time, hdc3tog, hdc in next 3, 2 hdc in last, turn. | 21 sts
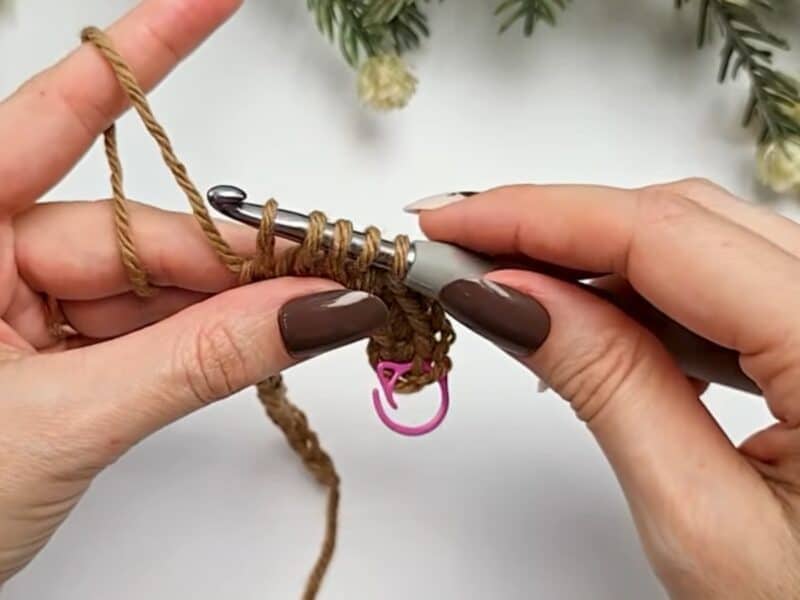
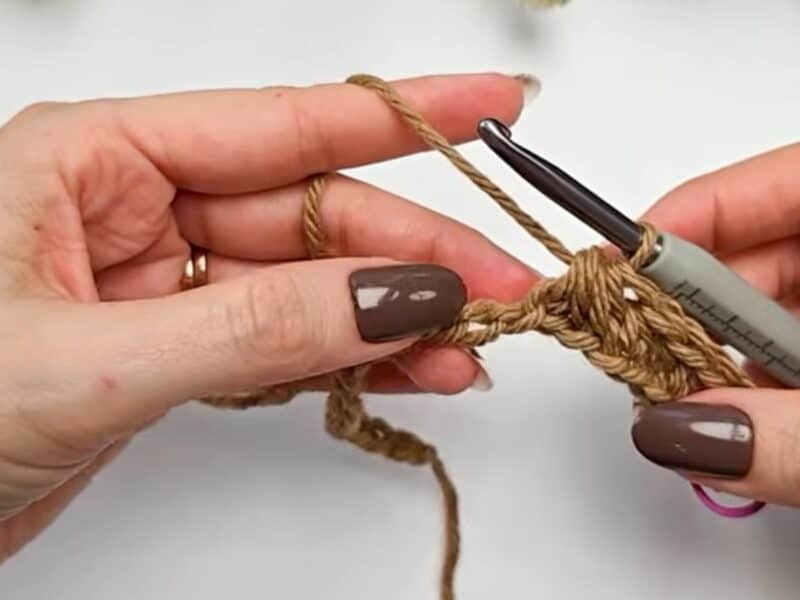
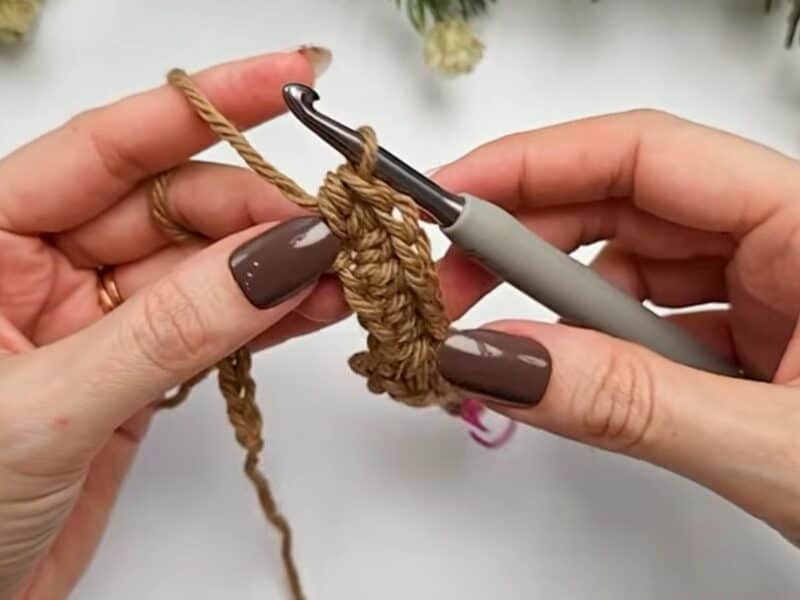
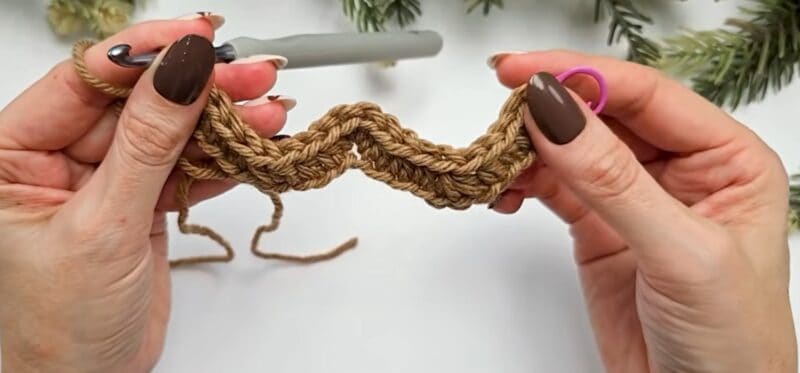
Row 2 (WS): Ch 1, working in the third loop, 2 sc in first, sc in next 3, sc3tog, [sc in next 3, 3 sc in next, sc in next 3, sc3tog] 1 time, sc in next 3, 2 sc in last, turn. | 21 sts
Row 3 (RS): Stsc and hdc in first, hdc in next 3, [hdc3tog, hdc in next 3, 3 hdc in next, hdc in next 3] 1 time, hdc3tog, hdc in next 3, 2 hdc in last, turn. | 21 sts
Row 4 (WS): Repeat Row 2. | 21 sts
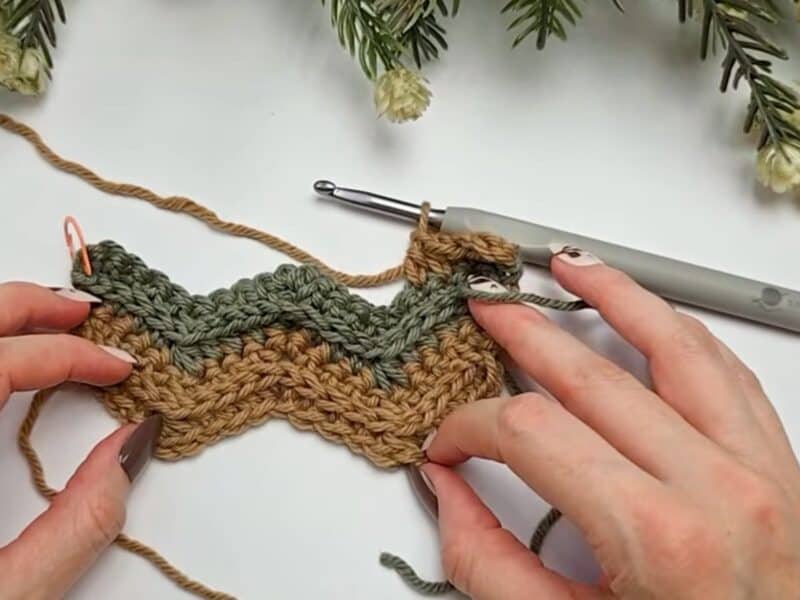
Rows 5 to 12: Repeat Rows 3 and 4 another 4 times. | 21 sts
Fasten off. For a wider piece, work the bracketed repeat once more for every extra 10 stitches in your chain.
Peaks and Valleys: How to Read Your Ripple
Once you can read your ripple, you’ll rarely need to count every stitch.
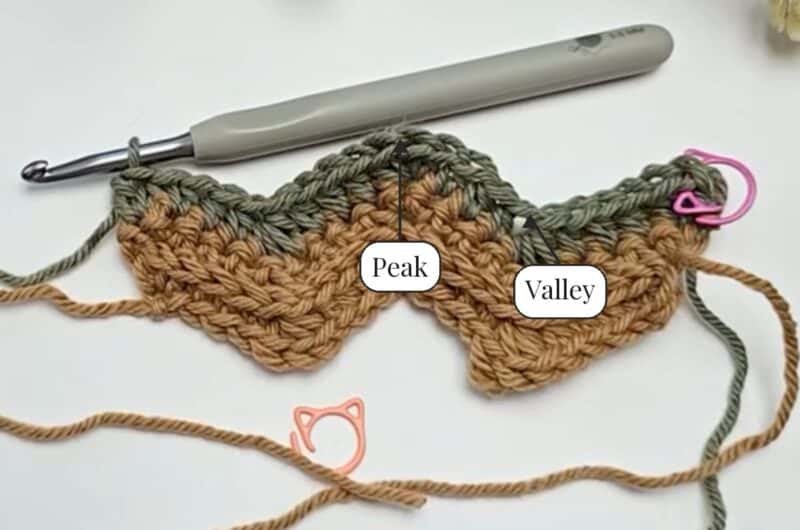
- A peak is 3 stitches worked into 1 stitch. On right-side rows, it’s 3 hdc in the same stitch. On wrong-side rows, it’s 3 sc.
- A valley is 3 stitches worked together. On right-side rows, it’s an hdc3tog. On wrong-side rows, it’s an sc3tog.
- Between every peak and valley are 3 plain stitches. That’s what keeps the slopes even.
- Peaks stack on peaks, and valleys stack on valleys. Every new peak goes into the center stitch of the peak below it, and every new valley is centered over the valley below.
The edges hold half peaks: the Stsc and hdc in the first stitch, and the 2 hdc in the last. That’s why the sides come out straight while the top and bottom ripple.
Why Every Right Side Row Starts With a Stacked Single Crochet
A turning chain is a little shorter and looser than a real stitch, and on a ripple it leaves a gappy, uneven side edge. The stacked single crochet is a single crochet with a second loop worked into its own side, so it stands as tall as a half double crochet without the gap. Use it at the start of every right-side row, and your side edges stay straight from the first row to the last.
Fixing a Ripple That’s Off Count
If your zigzag starts to lean or a peak lands in the wrong spot, the count is usually off by a stitch or two. A few habits make it easy to catch early:
- Mark your peaks. Clip a removable stitch marker into the center stitch of each peak on Row 1, and move it up as you go.
- Count the plain stitches. There should be exactly 3 between every peak and valley. If you find 2 or 4, the mistake is right there.
- Check your edges. Every right side row begins with the Stsc and hdc in the first stitch and ends with 2 hdc in the last. Every wrong-side row begins and ends with 2 sc.
- Count at the end of the row. Your stitch count should match your starting chain every time.
If you’re working a big project, The Stitch Keeper, my free crochet stitch counter, keeps track of your rows and repeats for you.
Finishing the Edge With Clean Single Crochet
A round of clean single crochet makes a lovely finish for any ripple. Worked right into the ripple, it keeps the zigzag crisp along the top and bottom and smooths the sides. It’s explained step by step in How to Get a Clean, Straight Edge on Your Crochet Projects. Along the sides, work roughly one clean sc in the end of each row. If that’s too many and your edge starts to ruffle, skip a row end every few rows. Adjust as you go until you get the straight edge you’re looking for.
Ripple vs Chevron vs Wave Stitch
These three names get mixed up all the time, so here’s the short version.
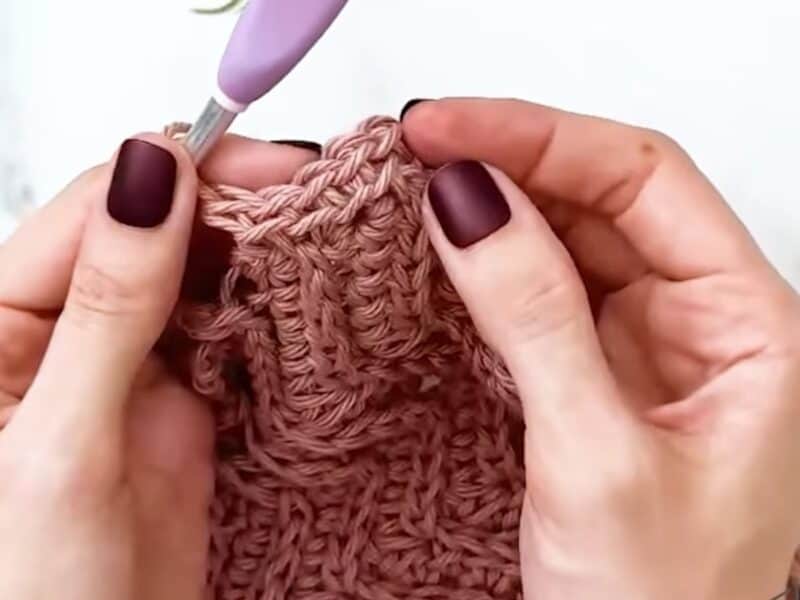
- Ripple and chevron are the same family. Both make a zigzag with increases at the peaks and decreases in the valleys, so the top and bottom edges rise and fall. When people do draw a line, chevron means sharp, pointed V shapes, and ripple means softer, rounded waves.
- A wave stitch is different. It makes its waves by changing stitch heights across the row, from short stitches to tall ones and back again, with no increases or decreases. The top and bottom edges stay straight, and only the stripes look wavy.
Kirsten’s ripple has the crisp points of a chevron, but the raised ridge on every row softens it, so the finished fabric looks like a classic ripple. For a sharper chevron with a different texture, check out the Petal Loop Chevron Blanket.
Put It to Work
Once you’ve got the ripple down, Kirsten’s first pattern is the perfect place to use it. We’ve got more ripple patterns coming over the next couple of weeks too, and they’ll all be linked right here as they go live.
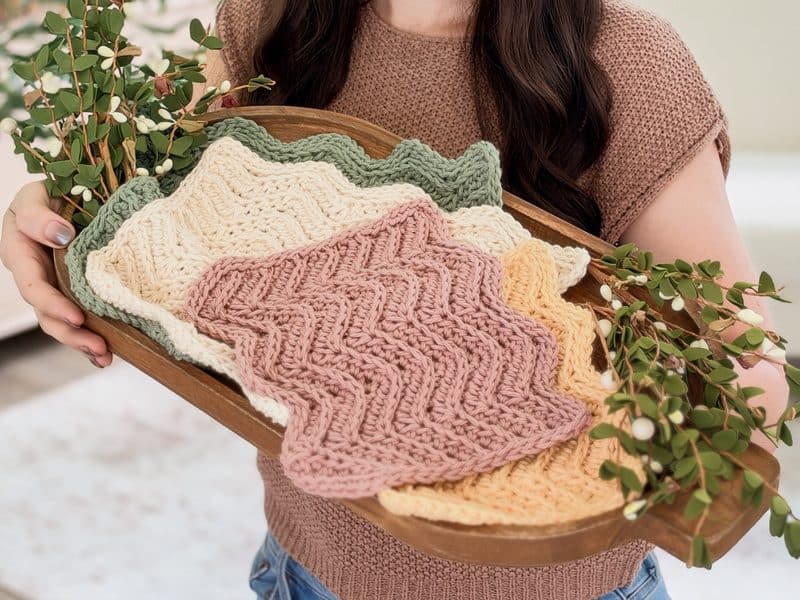
Ripple Crochet Washcloth
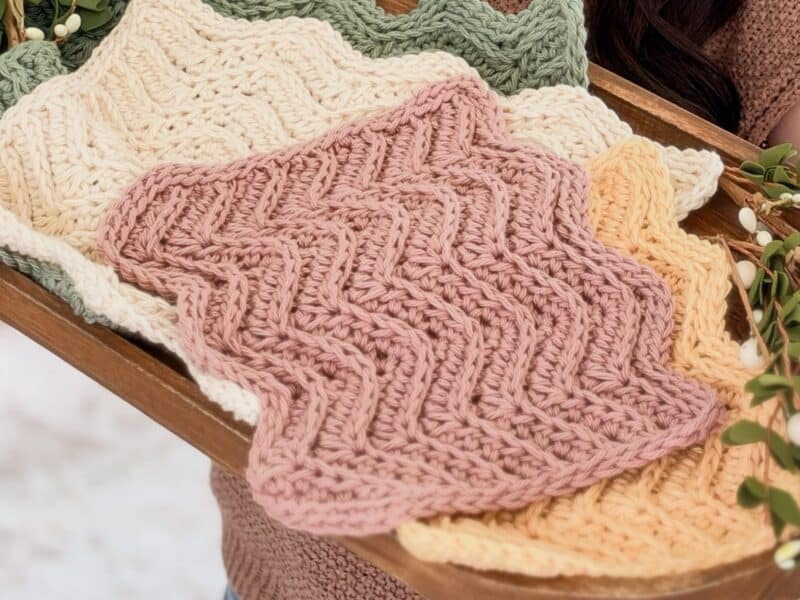
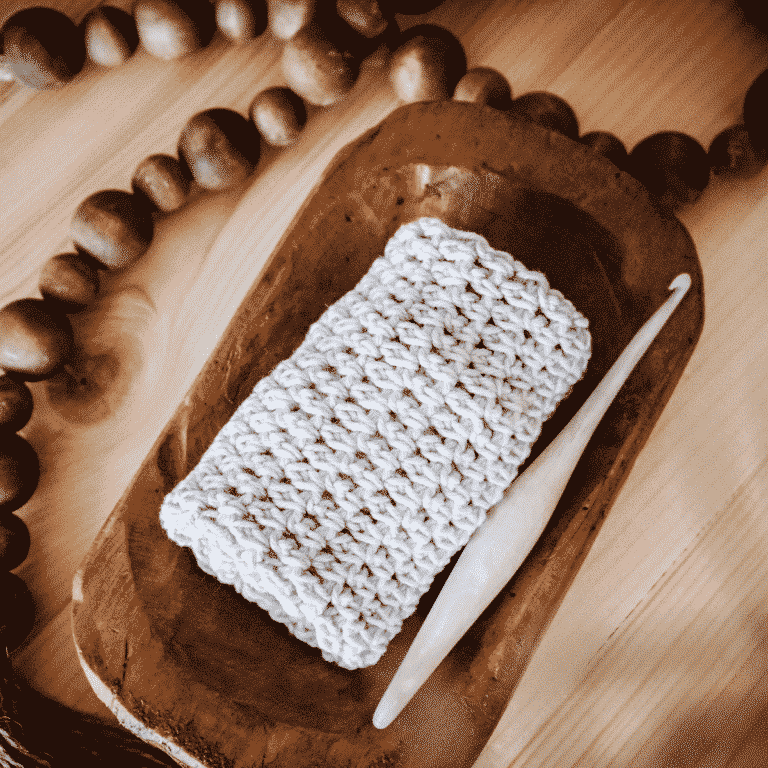
Kirsten’s Ripple Crochet Washcloth uses this exact stitch in soft cotton. It’s a quick, satisfying first ripple project.
Ripple Stitch FAQs
Not quite. The camel stitch is half double crochet worked into the third loop on every row. This ripple only uses the third loop on the wrong-side rows, and it works single crochet there, so you get one raised ridge per stripe instead of the knit look of the camel stitch.
Chain any multiple of 10, plus 1. The practice swatch uses 21. Because Row 1 starts in the first chain from the hook, your starting chain is also your stitch count.
The right side is the side where the raised ridge sits along each zigzag. Row 1 is a right side row, so if you’re ever unsure, hold your work so the starting tail is at the bottom left if you crochet right-handed, or the bottom right if you crochet left-handed.
Yes. Everything works the same way, just mirrored. Your rows travel in the other direction, and your starting tail sits at the bottom right when the right side faces you, but the peaks, valleys, and third loop are all in the same places.
Join The Kindest Community
Join our vibrant community of crafters on Facebook today. Whether you enjoy crafting with others or simply have burning questions, we’ve got you covered – join us now!
More Crochet Goodies to Love
Not ready to put the hook down? Here are a few more favorites from the shop and blog to keep the momentum going.
Want to keep learning? Browse all my free crochet tutorials, from beginner basics to textured stitches, all in one place.
🥂 Cheers, and happy crocheting!
Hook down? Not so fast…
I’d Love to See Yours!
You made something beautiful. Here’s how to keep it, show it off, and inspire the next maker.
Which stitch is your soulmate?
Keep the hook movingReaders Are Loving
 Split Single Crochet
 Tunisian Simple
 Wheat Stitch Tutorial
 Extended HDC Stitch