
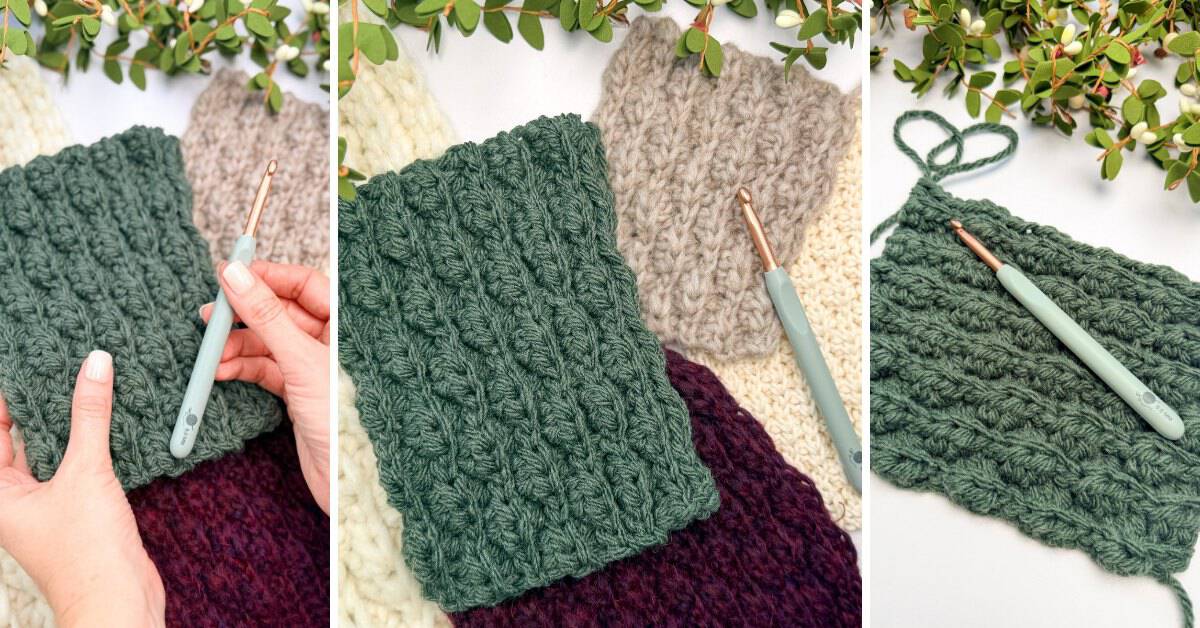
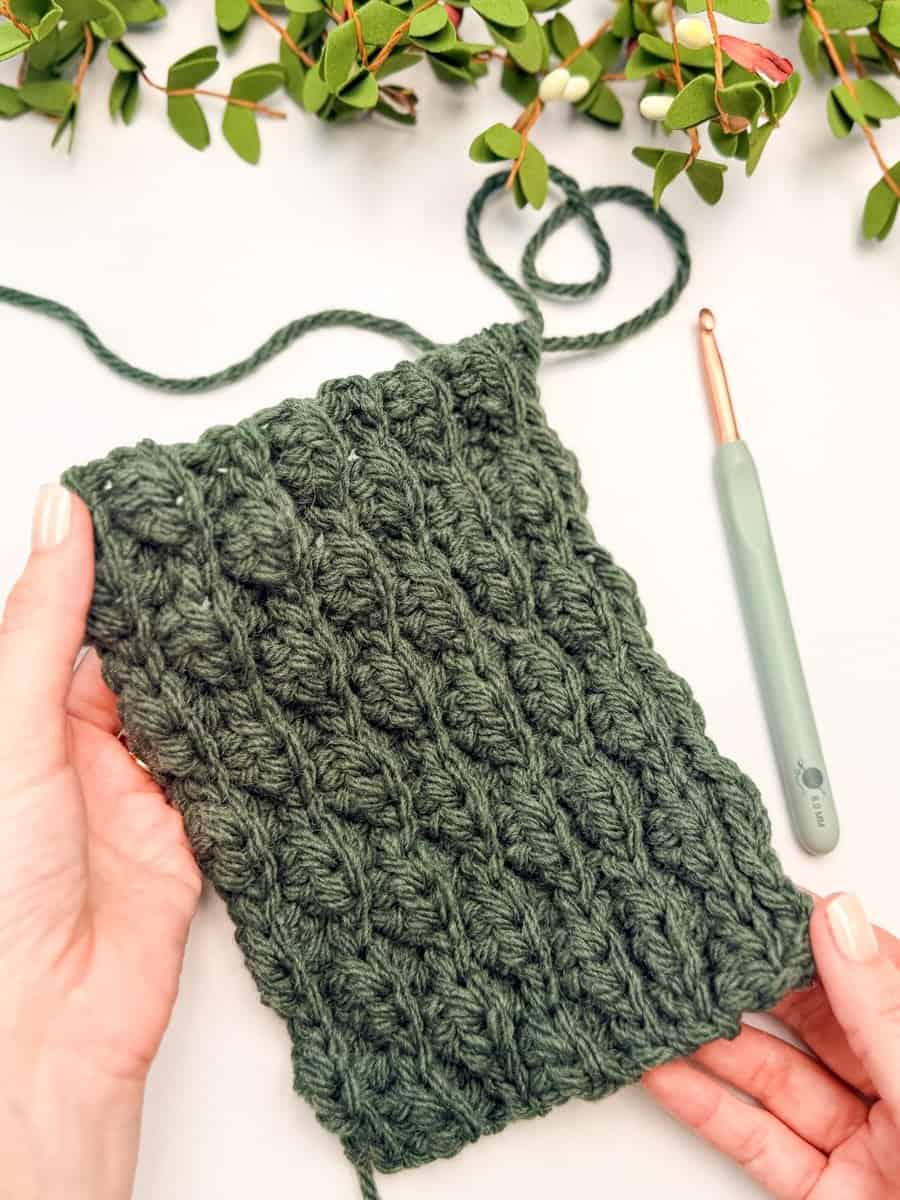
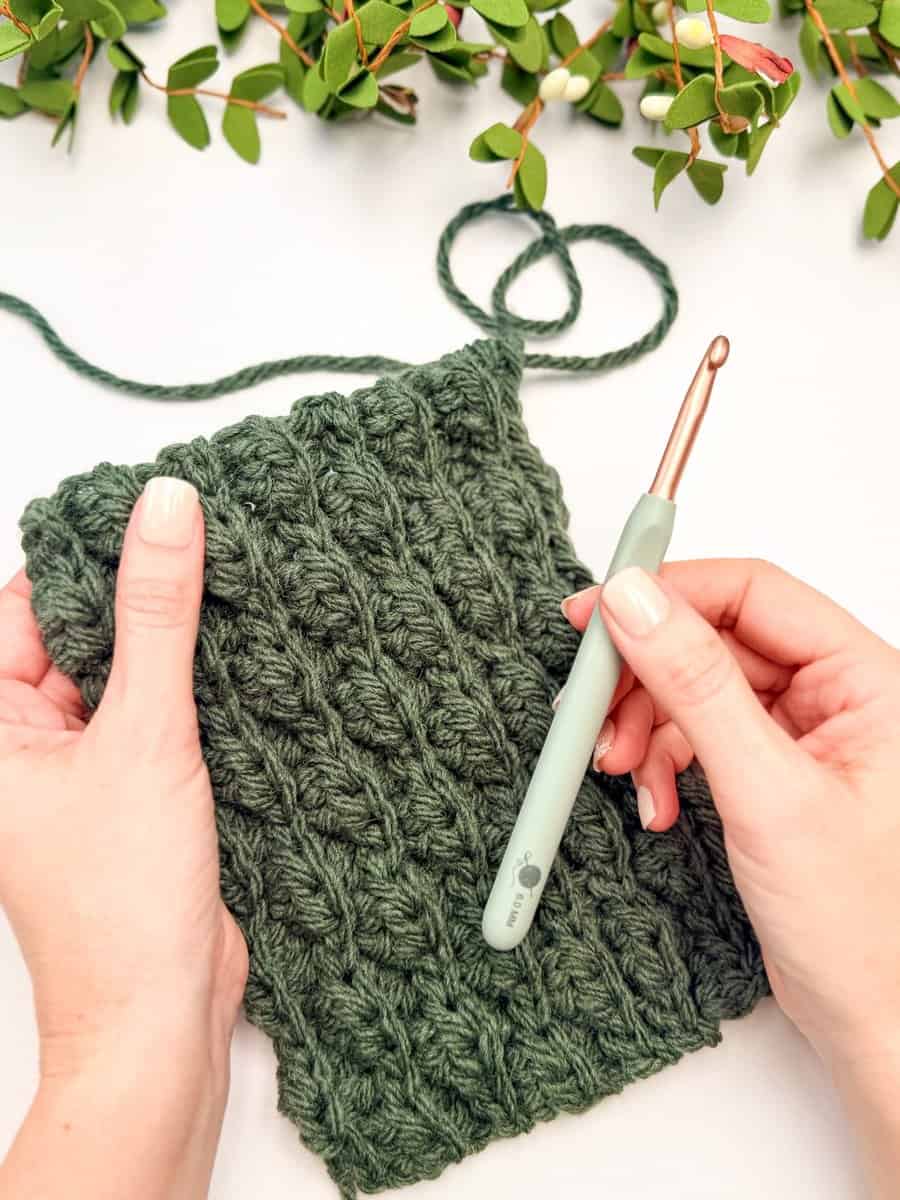
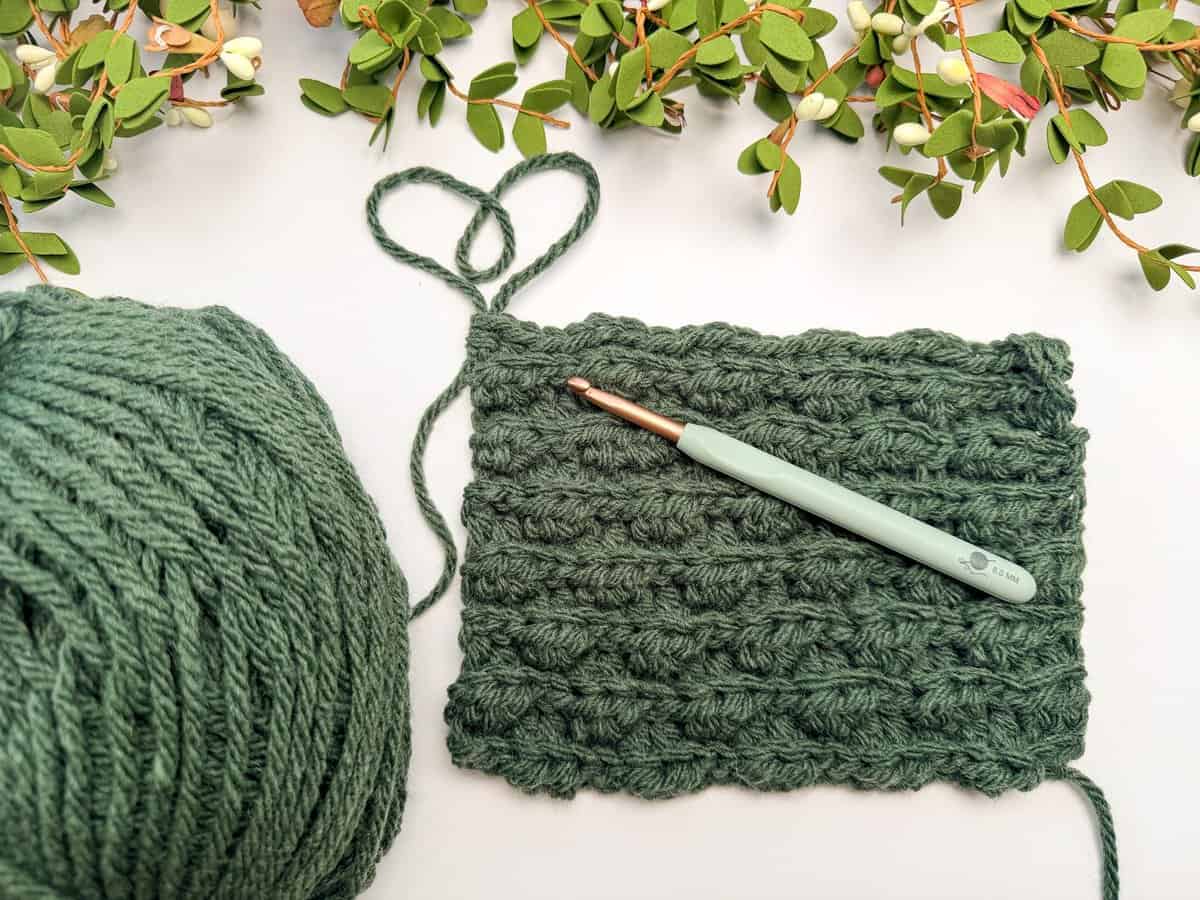
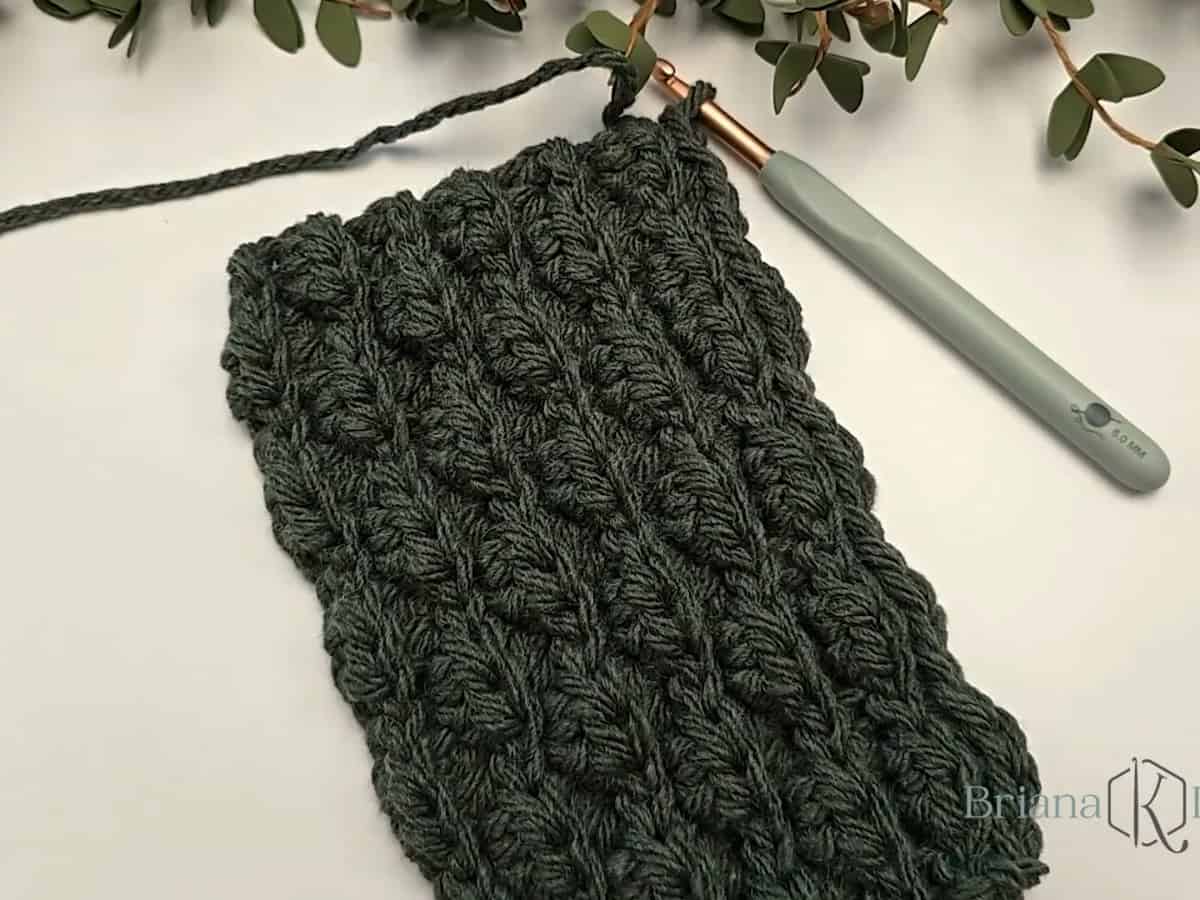
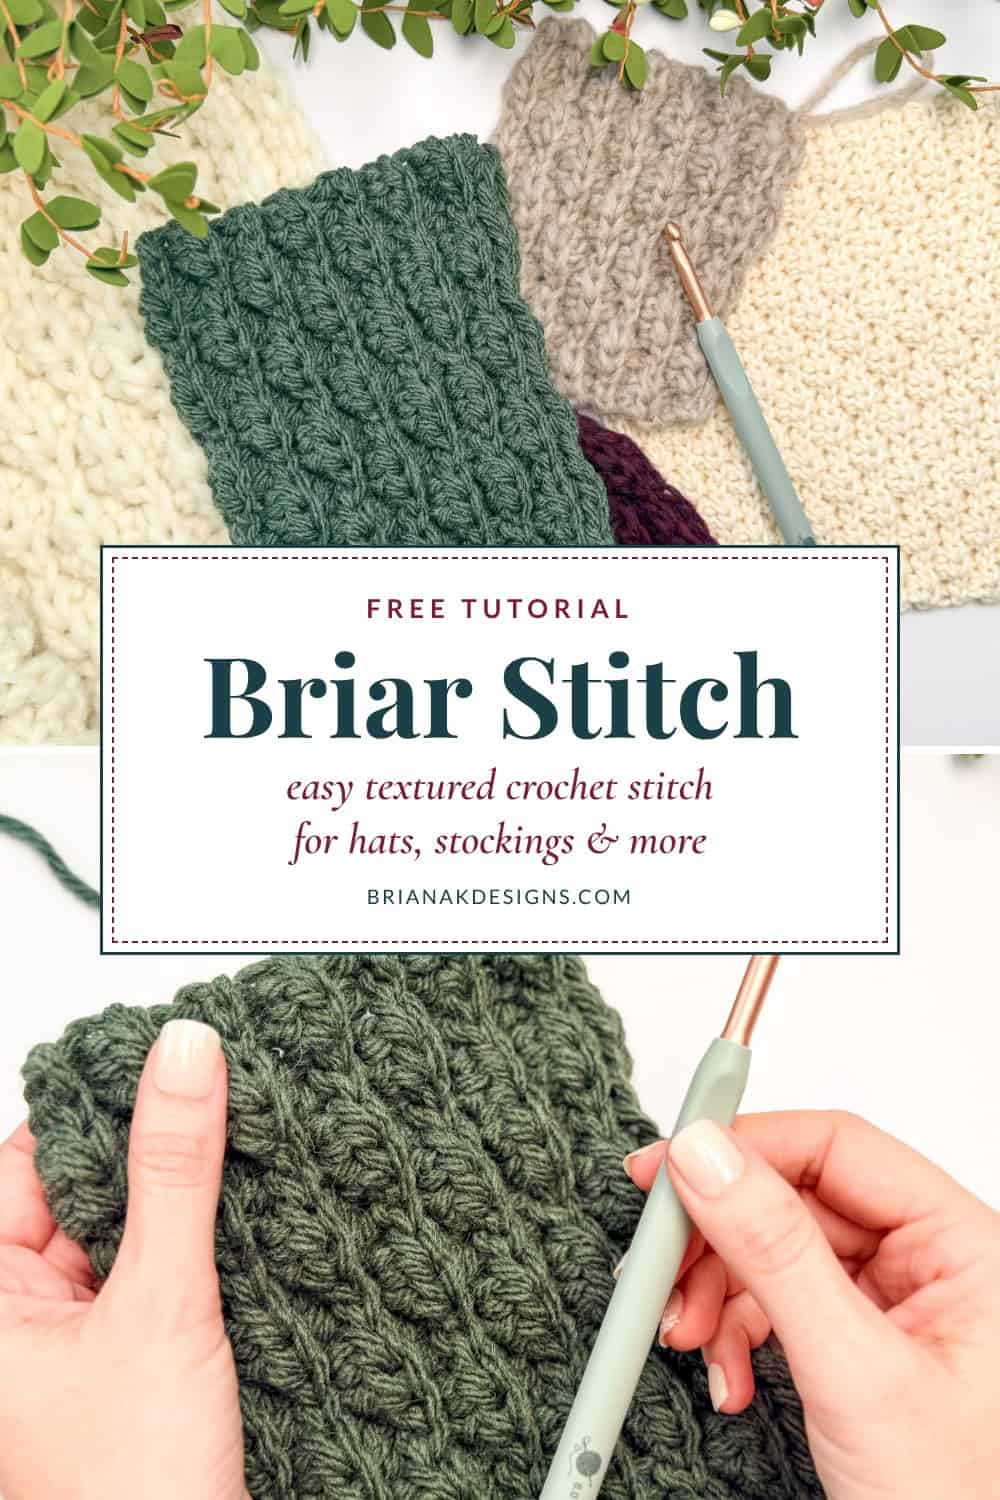
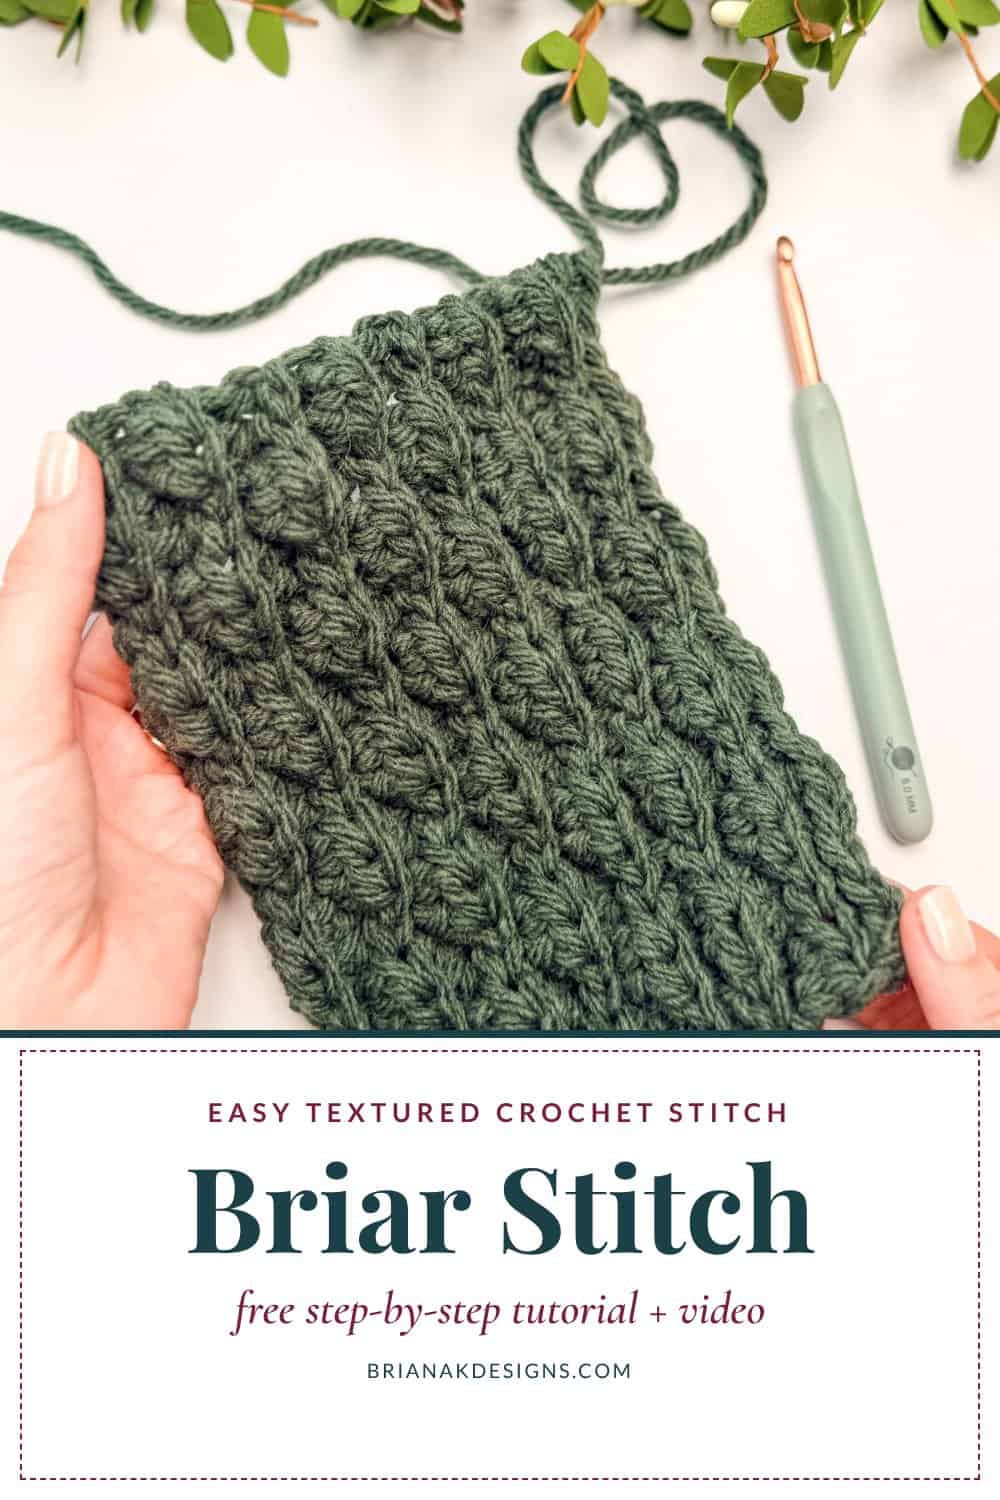
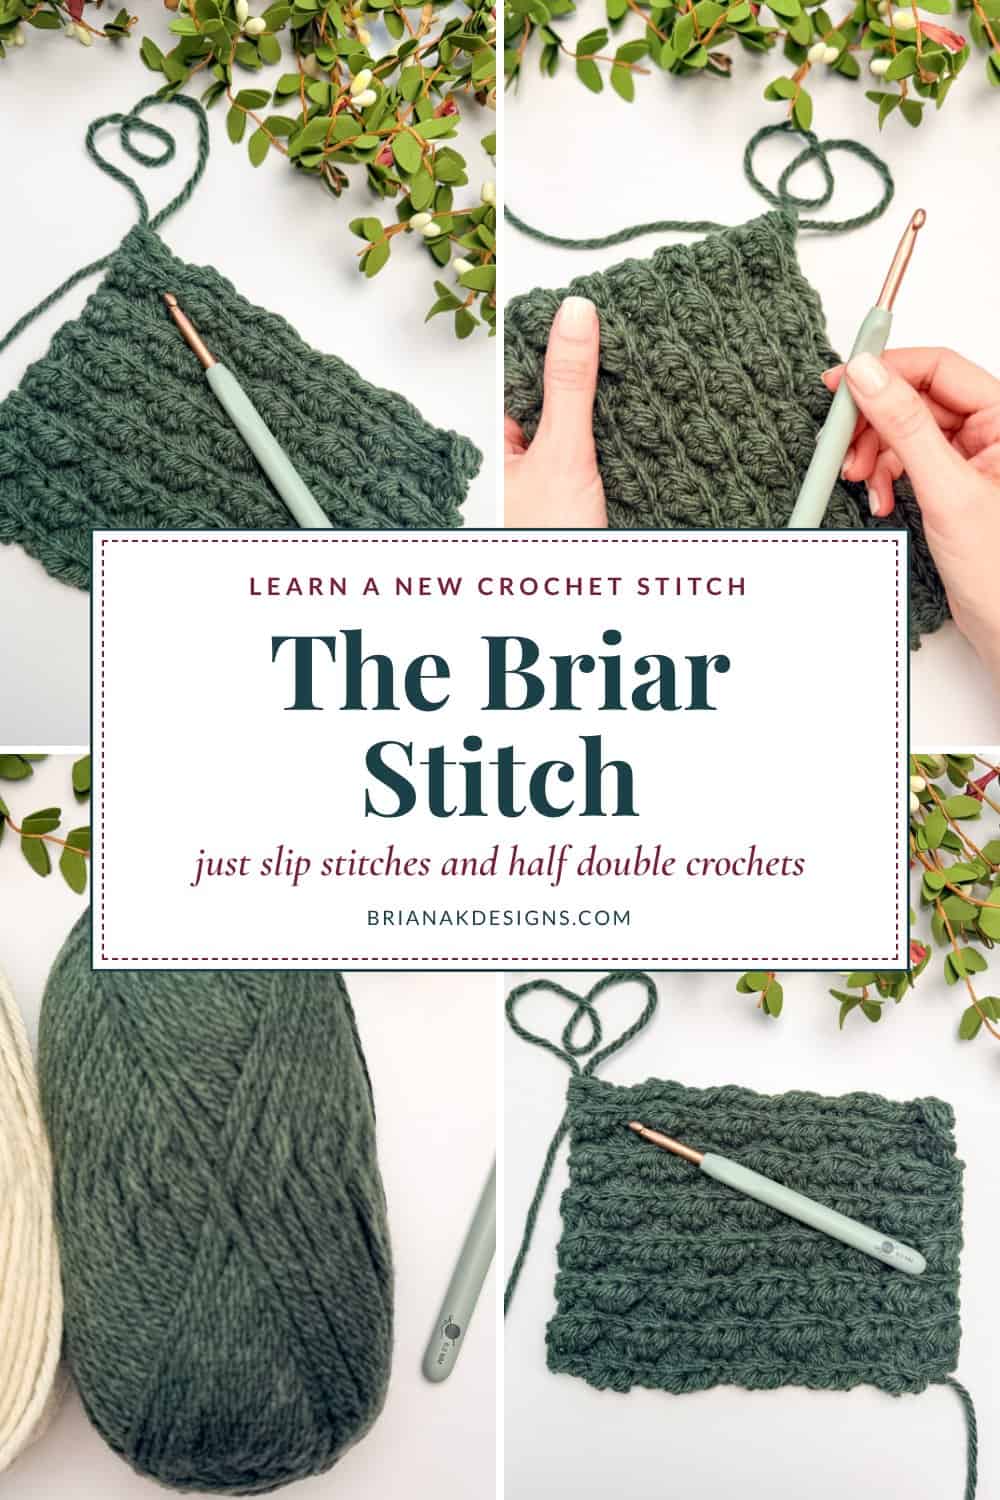
The Briar Stitch is an easy textured crochet stitch made with just slip stitches and half double crochets, all worked in the back loop only. I named it the Briar Stitch because every two rows the stitches shift over by two, and that little shift stacks up into rows of tiny raised bumps that remind me of berries tucked into a briar patch.
Disclosure: This post contains affiliate links. Please read my disclosure for more info.
The texture is subtle, so it looks polished on everything from a cozy beanie to a Christmas stocking. It’s a 4-row repeat, but don’t let that scare you. Once you learn one simple trick for reading your stitches, you can put the pattern down and just crochet. I’ll show you exactly how below.
Before You Hook: Crochet Pattern Details
🧶 Yarn Used: Lion Brand Hue + Me in Night Forest
⚖️ Yarn Weight: #5 Bulky Weight
🧵 Featured Stitch: Briar Stitch, slip stitches and half double crochets in the back loop only
🪝 Hook Size: Size J (6mm) Crochet Hook
📏 Sizes: A free practice swatch, worked over a multiple of 4 or a multiple of 4 plus 2
🩷🩷🤍🤍 Difficulty level: Easy
🕐 Approx. Crochet Time: About 30 minutes for the practice swatch
🏷️ Project Type: An easy textured stitch for hats, stockings, ornaments, cowls and pillows
Save for Later • Get a Summary • Pick Up Where You Left Off
What the Briar Stitch Is Great For
Working every stitch in the back loop gives the fabric a gentle give, but the texture is the real star. It’s meant to sit relaxed so the berry bumps have room to breathe.
- Hats and beanies: the texture shows up beautifully in worsted or bulky yarn, with just enough give for a comfy fit.
- Stockings and ornaments: the little berry bumps add interest without fighting your colors or embellishments.
- Cowls, headbands and ear warmers: small projects are a great way to practice the 4-row repeat.
- Pillows and home decor: the fabric is dense and holds its shape.
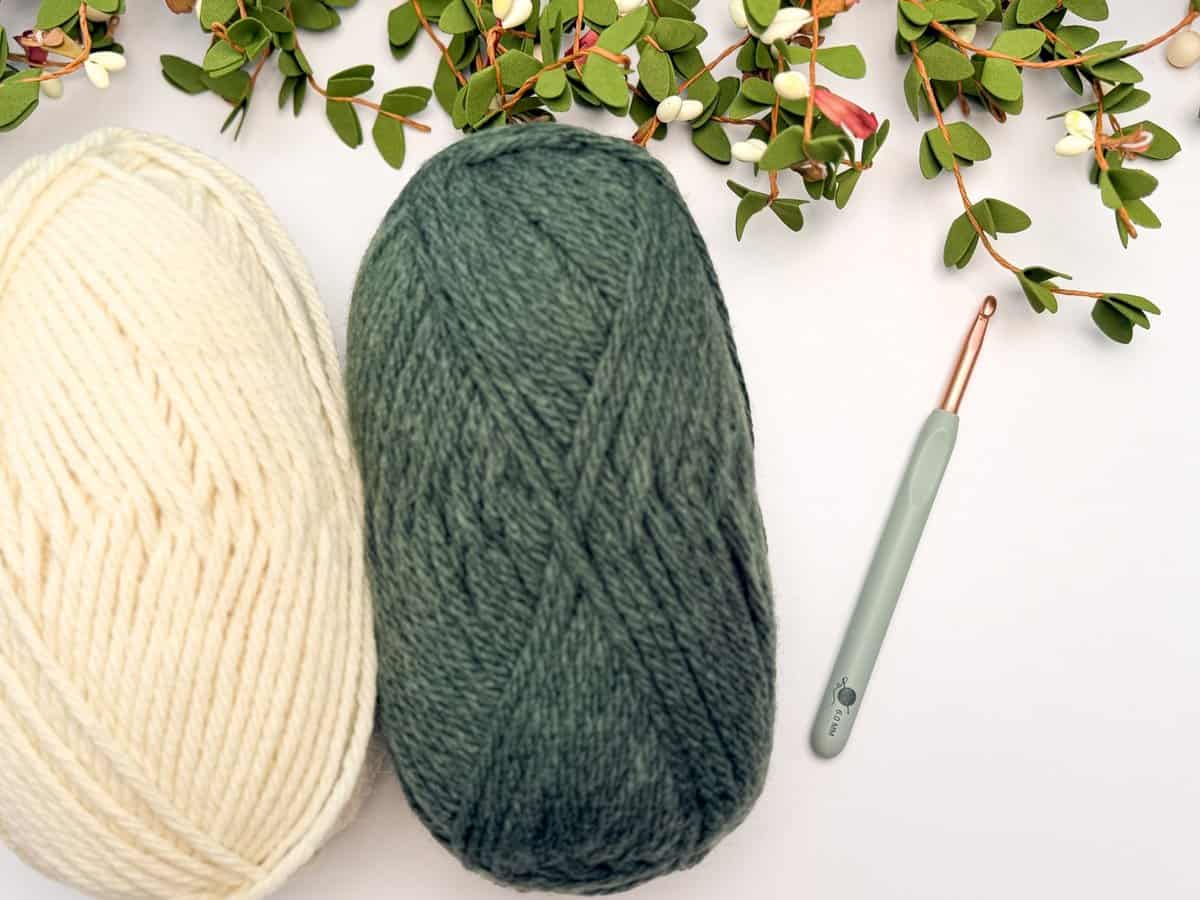
Briar Stitch Tutorial Supplies
Yarn
Lion Brand Hue + Me
Colorway: Night Forest
80% Acrylic, 20% Wool, 137yds/125g
Want to use a different yarn? Try my free Yarn Swap tool to find a substitute and see how much to buy.
Yarn Quantities
One skein
Scraps will do!
Crochet Hook
Size J (6mm) Crochet Hook, or the hook that gets you the look you like.
Notions
Scissors
Yarn Needle
Removable Stitch Marker
Be sure to check out the full pattern tips below
Skill Level
Easy. If you can make a slip stitch and a half double crochet, you can make the Briar Stitch.
Abbreviations (US Terms)
blo – back loop only
ch – chain
hdc – half double crochet
sl st – slip stitch
st(s) – stitch(es)
RS – right side
WS – wrong side
Subscribe, Like & Watch on YouTube
How to Crochet the Briar Stitch, Row by Row
The Briar Stitch works over a multiple of 4 or a multiple of 4 plus 2. Pick the 4 plus 2 version for flat pieces where you want both edges to match, and the multiple of 4 version when you’re working in joined rounds.
Ch 1 at the beginning of each row does not count as a st here and throughout.
Multiple of 4
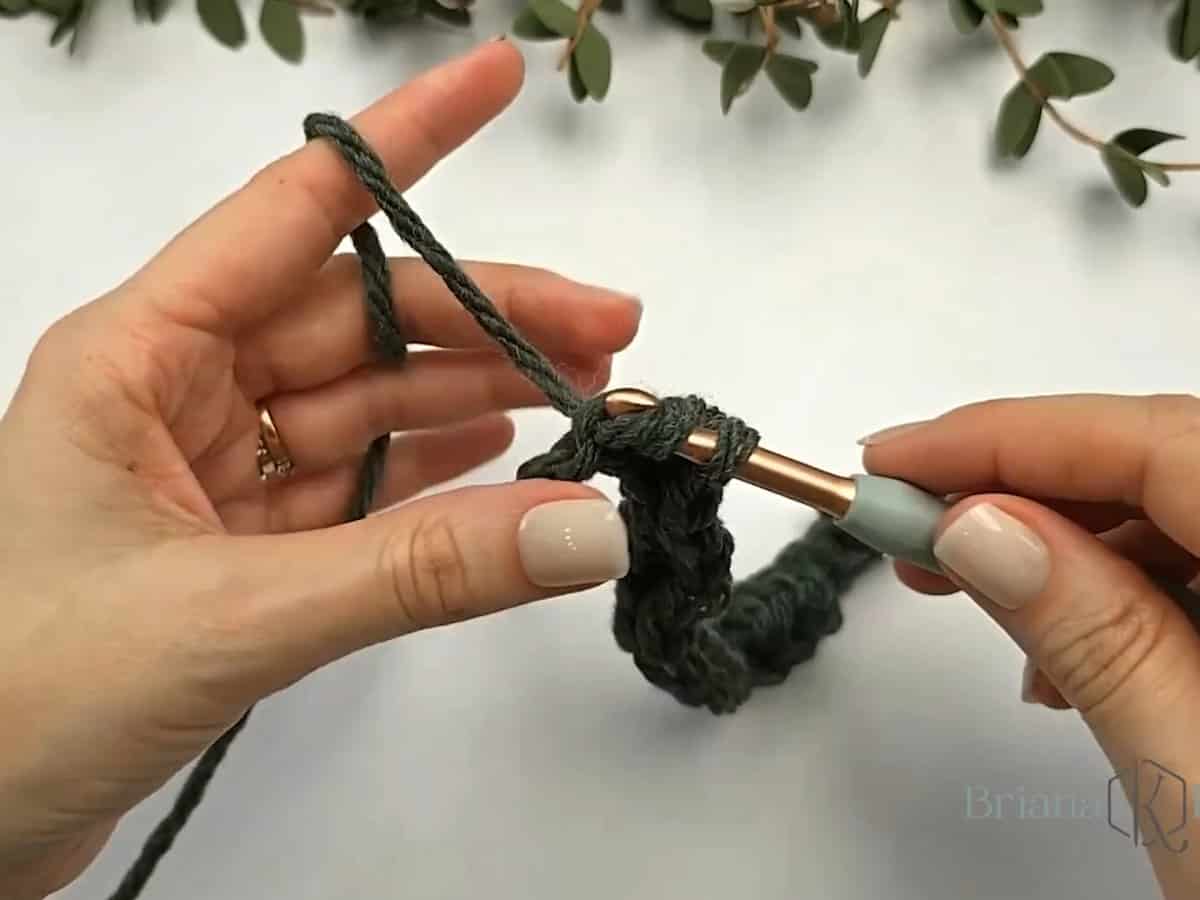
Chain any multiple of 4, plus 1. Swatch shown: ch 21.
Row 1 (WS):
Sl st in 2nd ch from hook and in next ch, hdc in next 2 chs, *sl st in next 2 chs, hdc in next 2 chs; repeat from * across, turn. | 20 sts
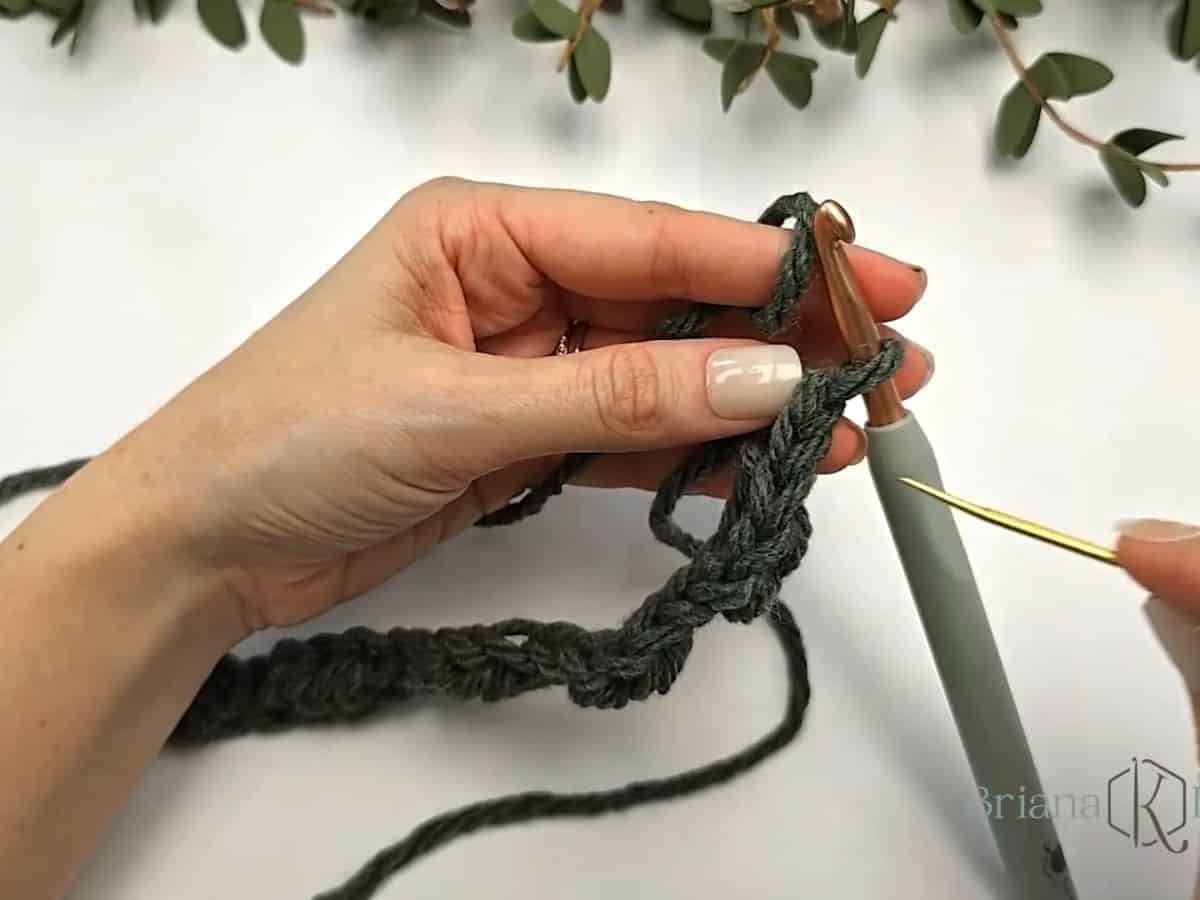
Row 2 (RS):
Ch 1, *blo hdc 2, blo sl st 2; repeat from * across, turn.
Row 3 (WS):
Repeat Row 2.
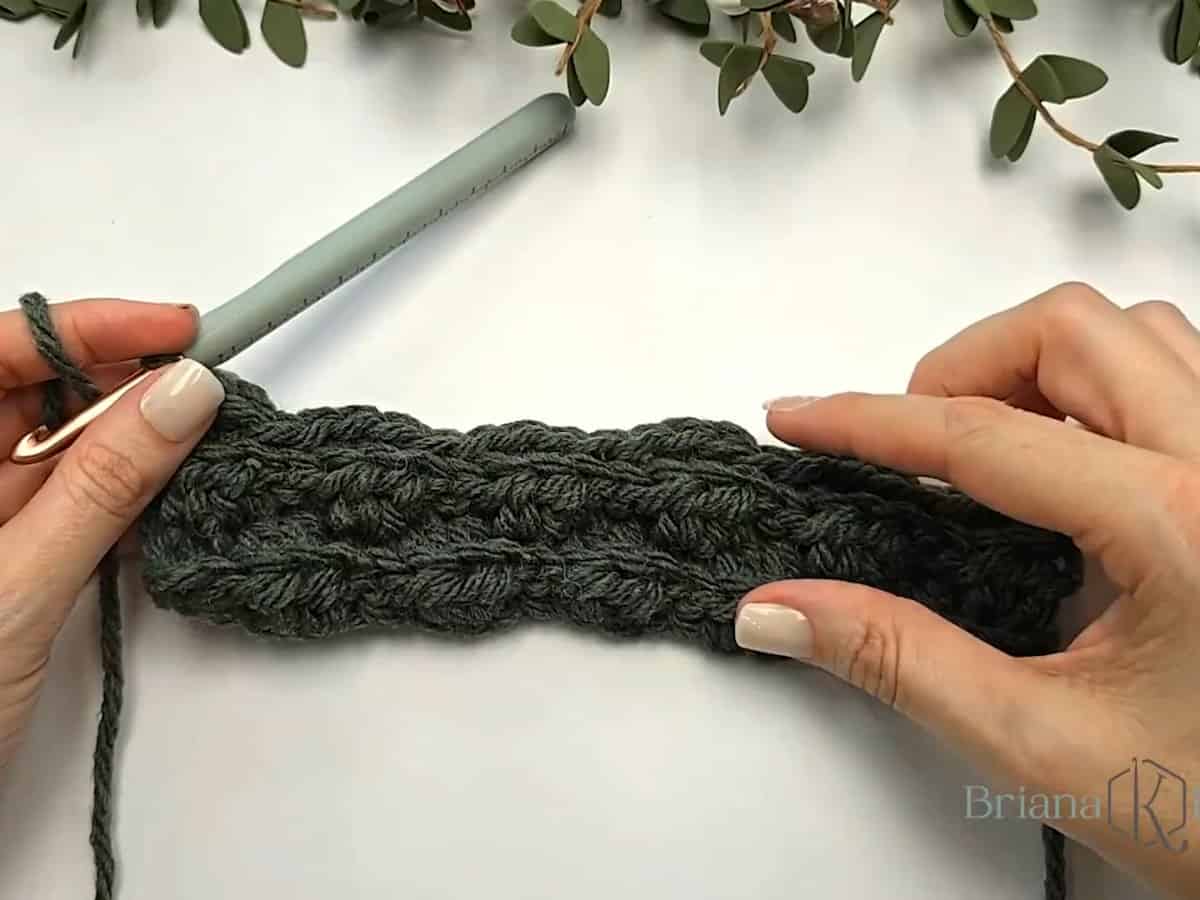
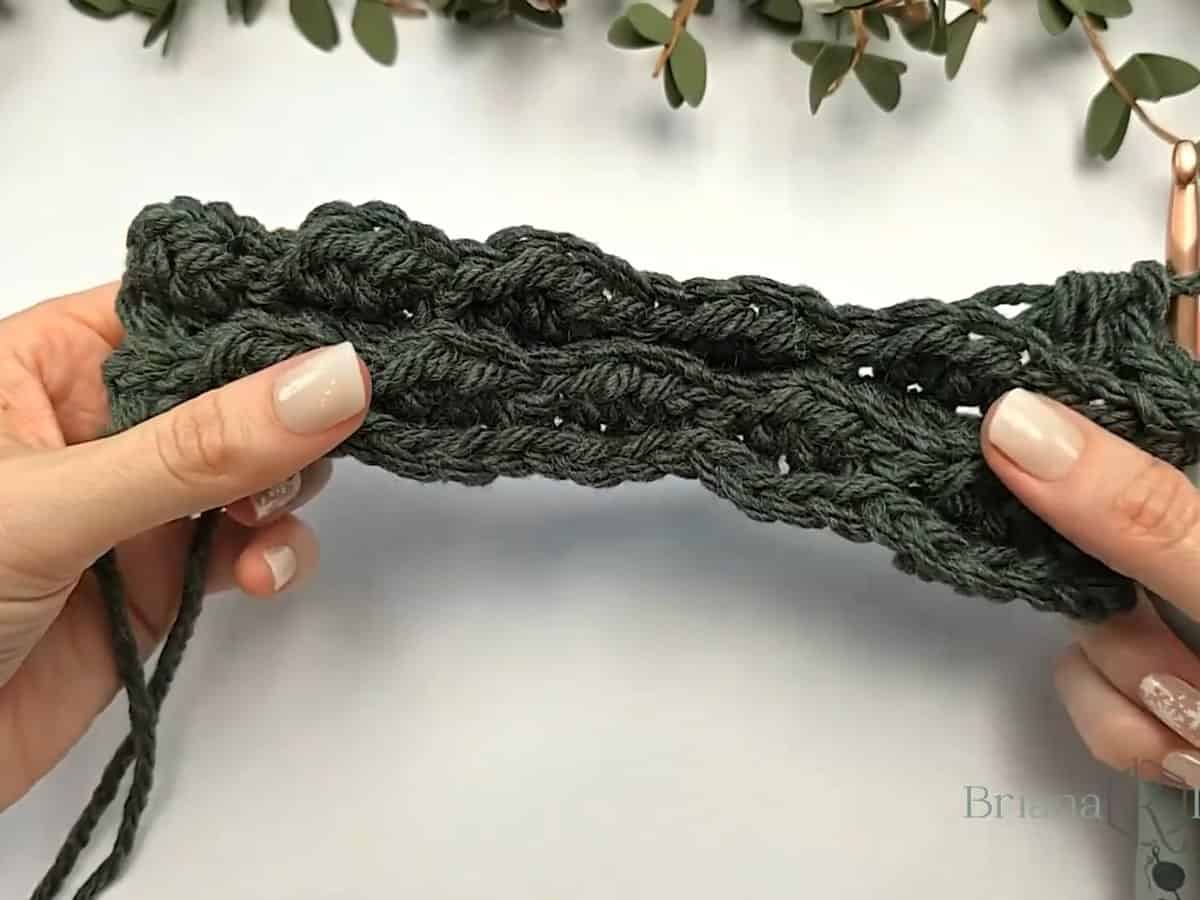
Row 4 (RS):
Ch 1, *blo sl st 2, blo hdc 2; repeat from * across, turn.
Row 5 (WS):
Repeat Row 4.
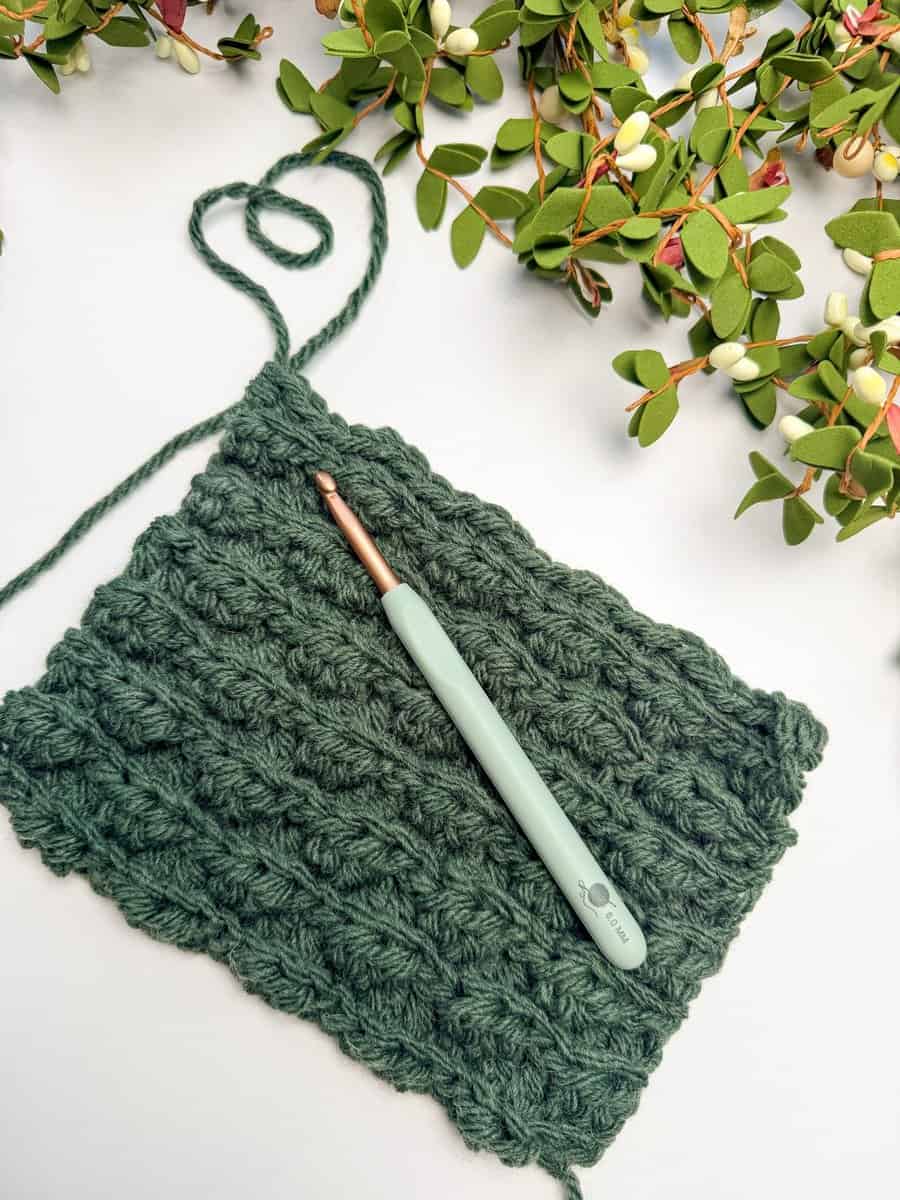
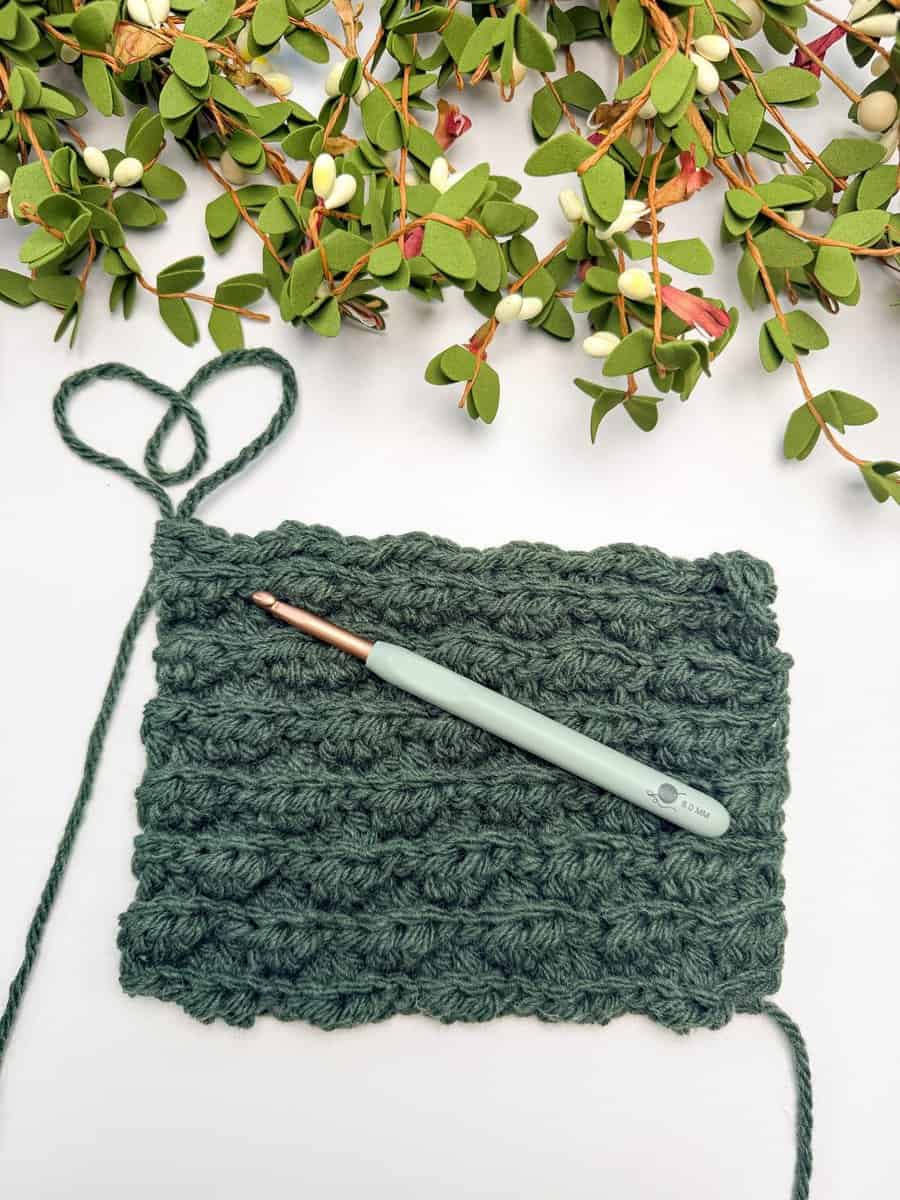
Repeat Rows 2-5 to desired length.
Multiple of 4 Plus 2
Chain any multiple of 4, plus 3. Swatch shown: ch 23.
Row 1 (WS):
Sl st in 2nd ch from hook and in next ch, *hdc in next 2 chs, sl st in next 2 chs; repeat from * across, turn. | 22 sts
Row 2 (RS):
Ch 1, blo sl st 2, *blo hdc 2, blo sl st 2; repeat from * across, turn.
Row 3 (WS):
Ch 1, blo hdc 2, *blo sl st 2, blo hdc 2; repeat from * across, turn.
Row 4 (RS):
Repeat Row 3.
Row 5 (WS):
Repeat Row 2.
Row 6 (RS):
Repeat Row 2.
Repeat Rows 3-6 to desired length.
Tips for the Briar Stitch
Mark the Right Side
Since the Briar Stitch is a 4-row repeat, knowing which side of your work is facing you makes every row easier. After you finish Row 1, turn your work. The side now facing you is the right side, so place a stitch marker on it.
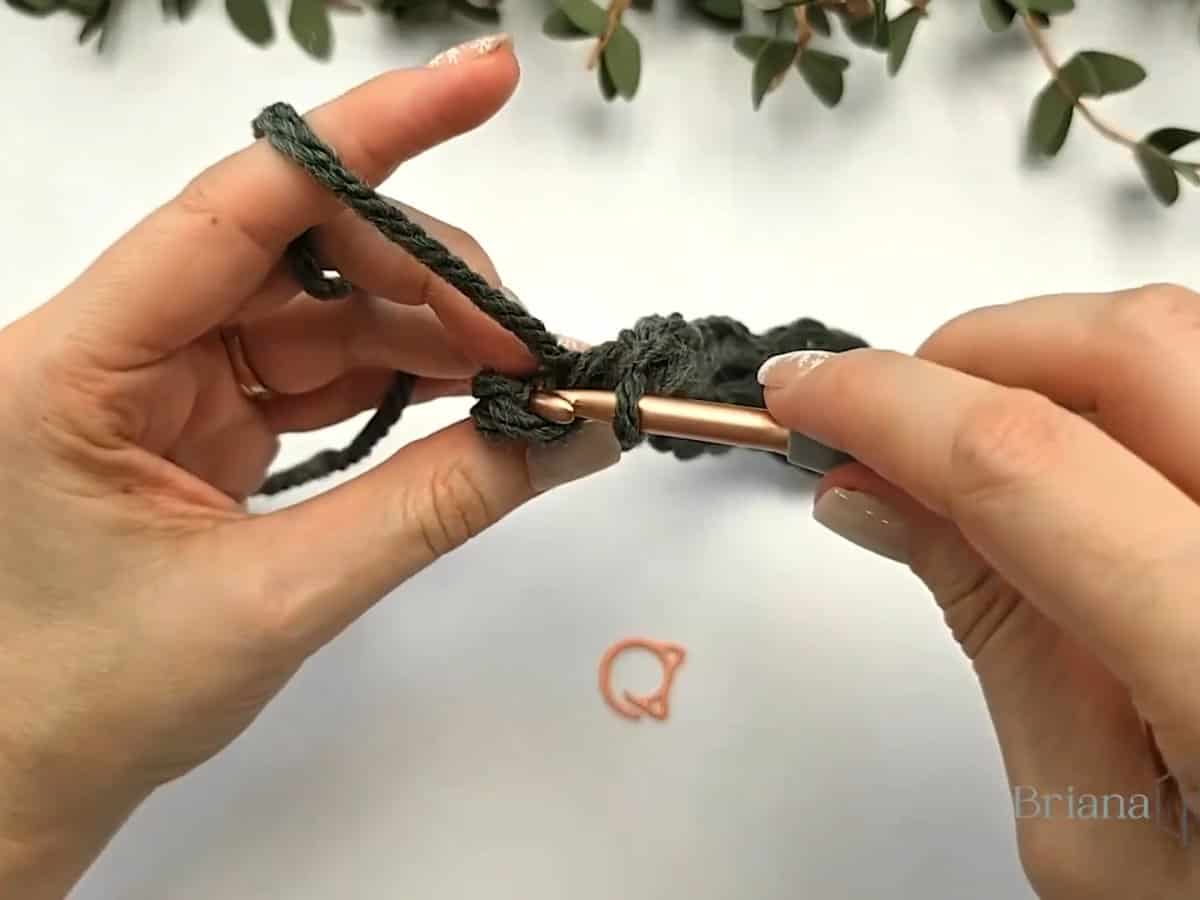
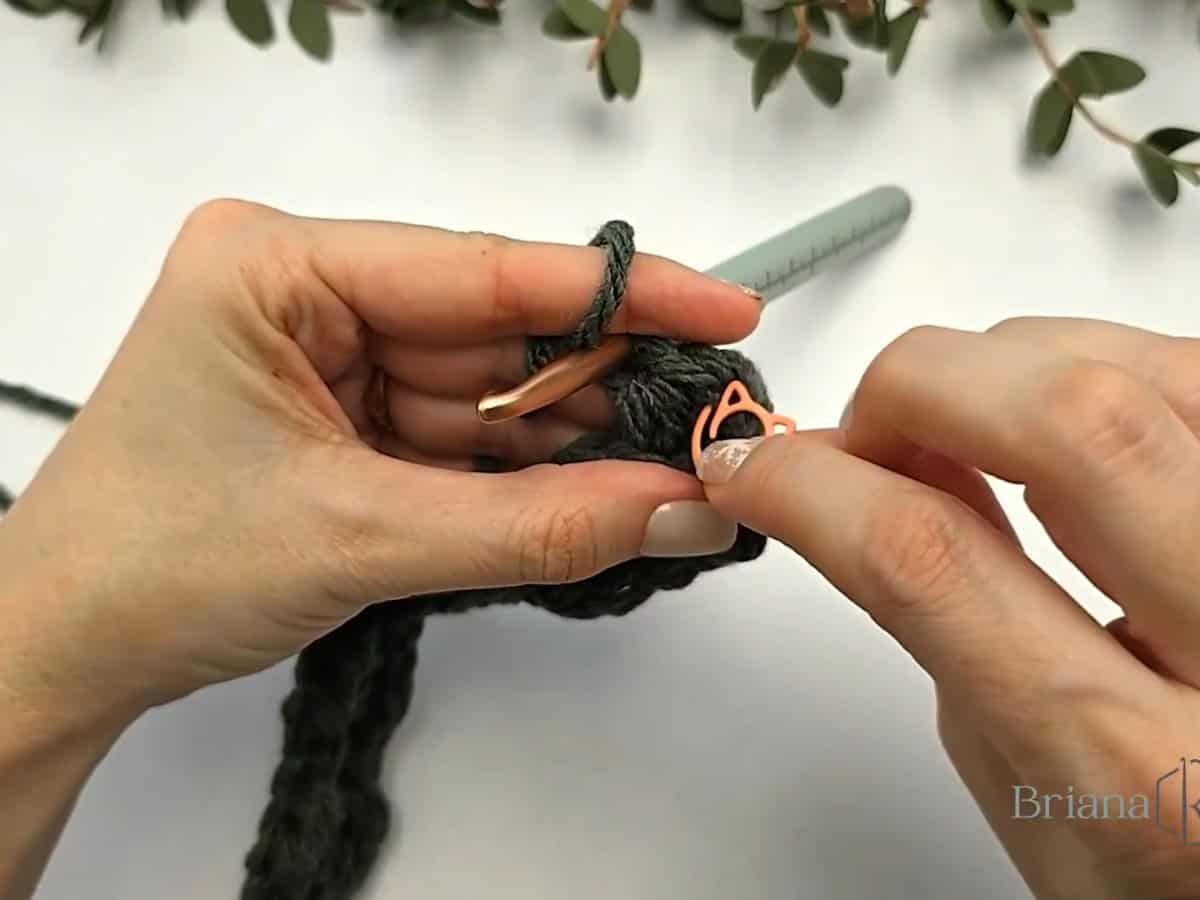
On right side rows, work the same as the stitch below: slip stitch into the slip stitches and half double crochet into the half double crochets.
On wrong side rows, work the opposite of the stitch below: slip stitch into the half double crochets and half double crochet into the slip stitches.
Once you get the hang of it, you can put the pattern away and read your stitches instead!
Keep Your Slip Stitches Loose
Tight slip stitches flatten the texture and make the next row a fight to work into. Keep them relaxed so the berry bumps can pop and your stitch definition shows. If yours keep tightening up, try going up half a hook size.
Don’t Skip the First or Last Stitch
The ch 1 at the start of each row doesn’t count as a stitch, so work your first stitch right into the first stitch of the row. The last stitch can hide at the edge, so count your stitches every few rows until the rhythm feels natural. For more help, see my tips for a clean, straight crochet edge.
How to Count Your Rows
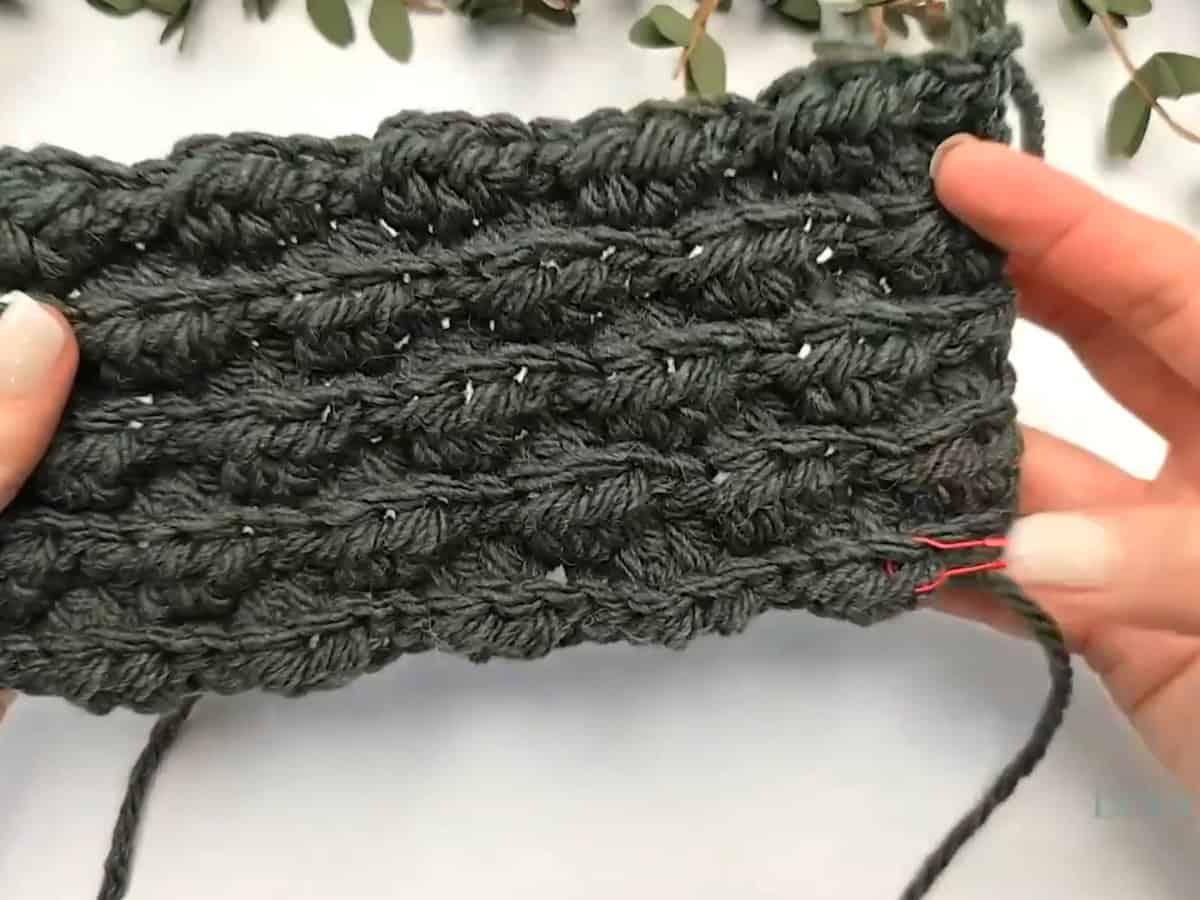
Look for the little puffs with a line running down the center. Every complete puff equals 2 rows, so count the puffs in one column and multiply by 2. Or let my free Stitch Keeper counter keep track for you.
Pick a Smooth Yarn
Smooth, solid or lightly heathered yarns show off the berry texture best. Fuzzy or very dark yarns soften it, so save those for when you want an extra subtle look. Want to swap yarns? My free Yarn Swap tool finds a match and tells you how much to buy.
Patterns Using the Briar Stitch
Ready to put your new stitch to work? These patterns are all made in the Briar Stitch:
- Briar Hat in worsted weight (coming soon)
- Briar Hat in bulky weight (coming soon)
- Briar Stocking (coming soon)
- Briar Ornament (coming soon)
More Textured Crochet Stitches to Try
Loving the Briar Stitch? Keep the texture going with my Wheat Stitch and these other free stitch tutorials:
- Alpine Stitch
- Moss Stitch
- Even Moss Stitch
- Houndstooth Stitch
- Honeycomb Stitch
- Basket Weave Stitch
- Herringbone Stitch
- Herringbone Double Crochet
- Knit Purl Stitch
- Circle Leaf Stitch
- Willow Mesh Stitch
- Extended Half Double Crochet Between Stitches
- Stacked Single Crochet
- Split Single Crochet
- Extended Single Crochet
Briar Stitch FAQs
Yes! It’s all basic stitches, just worked in the back loop only. Slip stitches can be a little tricky because of tension, so as long as you’re comfortable keeping your tension even, you’re good to go. The right side tip above takes care of the 4-row repeat.
Either way works. Worked in regular rows, the ridges run across your fabric. Turn the same fabric sideways and the ridges run up and down. It mostly comes down to which direction you want the lines to run.
Yes, in joined and turned rounds. Use a multiple of 4 so the repeat lines up all the way around, then join and turn at the end of every round. Turning keeps the right side and wrong side rule working, which a continuous spiral would break.
It has some gentle give from the back loops, but it isn’t meant to be stretched out like ribbing. The texture looks best when the fabric sits relaxed, so make your project to fit without stretching it.
Go easy here. Aggressive blocking can flatten the berry bumps and take out the texture you worked so hard for. If you do block, lay it flat to shape without stretching it or pinning it out tight.
Mostly! Both sides show texture, but the berry bumps pop a little more on the right side.
Add or remove stitches in groups of 4. For the multiple of 4 version, chain your width plus 1. For the multiple of 4 plus 2 version, chain your width plus 3.
The multiple of 4 plus 2 version starts and ends every row with the same stitch, so both edges match. Use it for flat pieces like scarves and panels. Use the multiple of 4 version for joined rounds.
Yes. The written instructions are the same for left-handed crocheters.
I can’t wait to see what you make with it!
More Crochet Goodies to Love
Not ready to put the hook down? Here are a few more favorites from the shop and blog to keep the momentum going.
Want to keep learning? Browse all my free crochet tutorials, from beginner basics to textured stitches, all in one place.
🥂 Clink, clink! Cheers!
Which stitch is your soulmate?
Keep the hook movingReaders Are Loving

 Fade Two Ways Beanie
 Bulky Slipper Socks
 Reed Crossover Stitch
 Best Beginner Hooks