


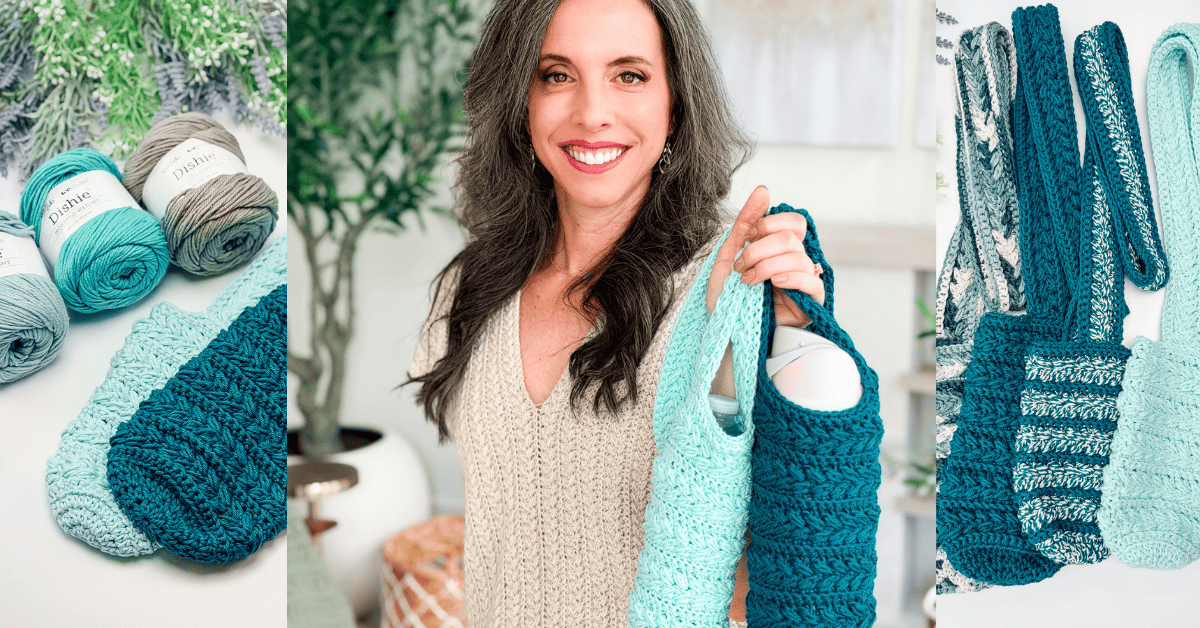
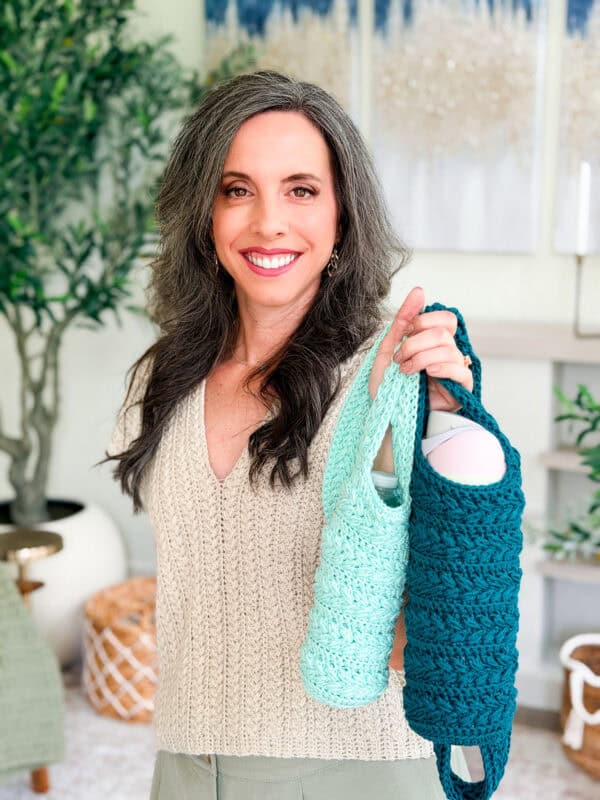
I’ve been sitting on this free crochet water bottle holder pattern for a while, if I’m honest. I knew the Wheat Stitch would work beautifully as a water bottle holder — I’ve used it for hotpads, bags, garments, blankets, home decor (ok, basically ALL the things), so I already knew how that raised puff texture behaves in the round. But I just hadn’t made the time. So, finally, I grabbed a skein of WeCrochet Dishie in a deep teal I can’t stop reaching for, sat down one evening, and just went for it. Now I’ve been carrying this thing everywhere: the farmers market, school pickup, the walking trail behind our house. Hands-free, bottle always with me, and I’ve lost count of how many times someone stops me to ask where I got it.
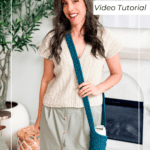
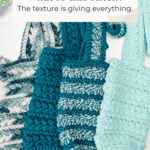
The Wheat Stitch Water Bottle Holder comes in two sizes: one for standard plastic water bottles and one for larger insulated bottles. The body is worked in joined and turned rounds using the Wheat Stitch puff pattern, which gives it that beautiful raised texture you can see from across a room. The base is crocheted in the round for a flat, sturdy foundation that supports the weight of a full bottle without slouching. And yes, there’s a full step-by-step video tutorial to go along with it.
If you’ve already spent time with the Wheat Stitch, you’ll find the repeat clicks right back into place. If this is your first time with it, there’s a full tutorial on the blog plus the video to walk you through every step. And if you’re looking for more cotton-based patterns, check out the Petal Loop Trivet, the Wheat Stitch Dishtowel Holder, and the Soap Saver Bag.
Disclosure: This post contains affiliate links. Please read my disclosure for more info.
Why You’ll Love This Wheat Stitch Water Bottle Holder.
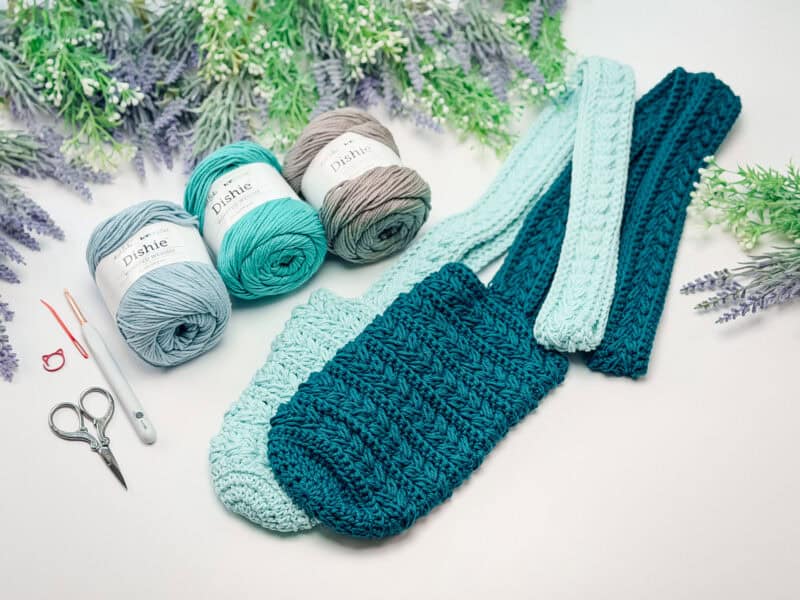
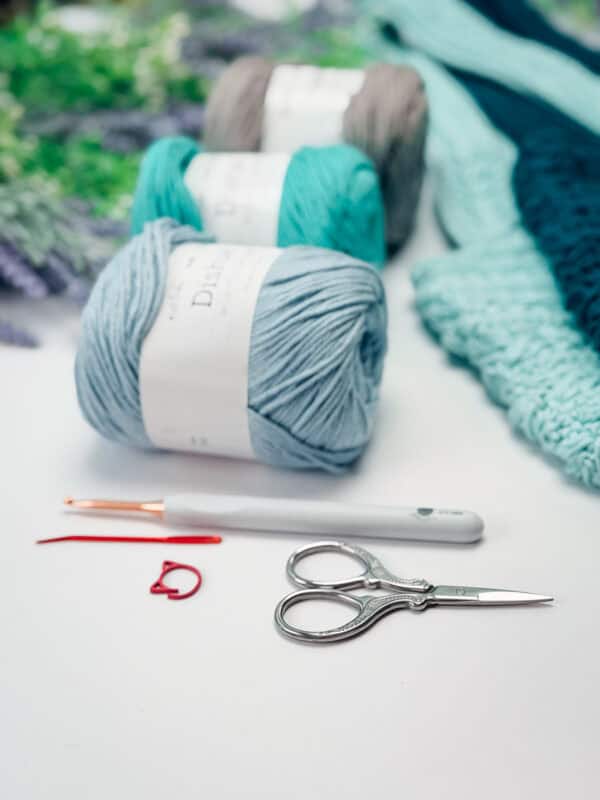
Wheat Stitch Water Bottle Holder Supplies
Yarn
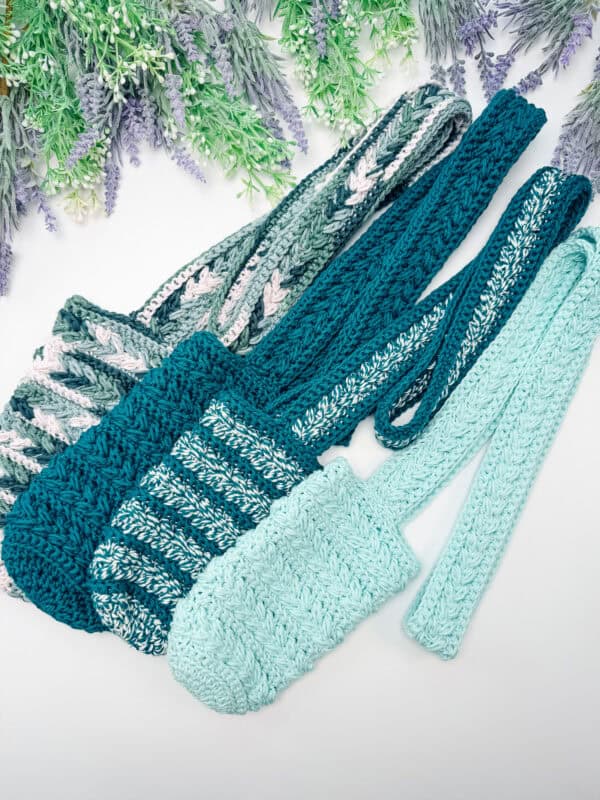
WeCrochet Dishie
100% Cotton, 190yds/100g
Colorways Shown: Wave, Kenai Twist, Kenai, Flower Girl Multi, and Silver
Herrschners Cottage Cotton
60% Cotton, 40% Acrylic, 207yds/100g
Yarn Quantities
185 (235) yds
1 (2) skeins
Yarn Substitutions
Lily Sugar ‘n Cream – 100% Cotton, 120yds/71g
Village Yarn Craft Cotton – 100% Cotton, 115yds/71g
Premier Home Cotton – 85% Recycled Cotton, 15% Polyester, 131yds/75g
Remember always to check the gauge and drape when substituting yarns.
Crochet Hook
Size US G (4.0mm) Crochet Hook or hook to obtain gauge.
Notions
Scissors
Yarn Needle
Removable Stitch Marker
Tape Measure
Skill Level
Intermediate. You’ll need to be comfortable working in the round, joining and turning rounds, working into the back loop only (blo), and working puff stitches. If you’ve never tried the Wheat Stitch before, start with the Wheat Stitch tutorial first. The stitch has a rhythm that clicks after a few repeats — but that first round can feel unfamiliar if you come in cold.
Sizing
Two sizes:
- Small (Plastic Water Bottle): Height 7.25″, Width 4.25″ circumference
- Large (Large Water Bottle): Height 9″, Width 5″ circumference
The small size fits standard 16.9 oz plastic bottles. The large size works for larger bottles, like a 32-oz Nalgene or wide-base insulated tumblers. If your bottle runs unusually wide, add extra increase rounds to the base in multiples of 6 stitches to dial in the fit.
The strap comes in two chain-length options: 142 stitches (short) or 172 stitches (long). Adjust in increments of 2 chains to fine-tune the drop for your height.
Abbreviations
blo/flo – back/front loop only
ch – chain
hdc – half double crochet
MC – Magic Circle
RS/WS – right side/wrong side
sc – single crochet
sl st – slip stitch
st(s) – stitch(es)
Stsc – Stacked Single Crochet
Special Stitches
Stacked Single Crochet (Stsc): Do NOT chain, insert hook into next stitch, yo, pull up a loop, yo and pull through both loops, insert hook in the vertical bar below, yo, pull up a loop, yo and pull through both loops on the hook.
Gauge
16 sts and 13 rows = 4″ by 4″ unblocked, in pattern repeat.
Not critical for this pattern.
How to Crochet A Gauge Swatch
Working a gauge swatch will let you know if you will have the correct sizing for this pattern. It will also help you practice the stitches used in this project and improve your stitch work for a flawless look.
Are you struggling to match the gauge? Check out the blog post on What is Crochet Gauge and How To Fix It
How the Wheat Stitch Water Bottle Holder Is Made
The construction has three phases: base, body, and strap. You start at the bottom and work up.
Phase 1: The Base. The base is worked in the round with hdc sts to build a flat, sturdy circle (the size small has 3 rounds, the size large has 4 rounds). A final round of front-loop-only single crochets transitions you into the body.
Phase 2: The Body. The body is worked in joined and turned rounds. You join at the end of each round, then turn before starting the next. This turning creates the offset puff-stitch texture that makes the Wheat Stitch look so dimensional. You alternate between back-loop-only single-crochet rounds (which create clean horizontal ridges) and Wheat Stitch rounds (which build the raised puff columns). The 4-round repeat is easy to memorize after the first few passes.
Phase 3: The Strap. The strap is worked separately in flat rows. You chain for your preferred length, work back across in the Wheat Stitch pattern, then sew it onto opposite sides of the holder opening using your preferred seaming method. The long tail you left at the beginning of the strap gives you plenty of yarn for sewing.
How to Attach a Crochet Strap So It Doesn’t Twist
The most common frustration with crocheted bag straps is that they twist at the attachment point and hang at a weird angle. It’s easy to prevent with a little care during the sewing step. Before you sew, lay your finished strap flat on a table with the right side (RS) facing up. Find the RS — it’s the side with the more visible Wheat Stitch texture. Position one end of the strap at the top edge of your holder body, RS facing out, and sew it down securely. Then, without picking up or rotating the strap, walk to the opposite side of the holder and attach the other end in the same orientation. Keeping the strap flat on the table while you work prevents the twist from happening.
If you prefer an adjustable crossbody strap, you can substitute a metal or plastic adjustable strap hardware piece instead of the crocheted strap. Use a yarn needle and scrap yarn to create a simple loop at the top edge on each side, then thread your hardware through. This is a great option if you’re making the holder as a gift and aren’t sure of the recipient’s preferred strap length.
Looking for more eco-friendly bags? Try the Granny Rectangle Bag, Willow Mesh Market Bag, and the Circle Leak Water Bottle Holder.
What Yarn Works Best for a Crochet Water Bottle Holder?
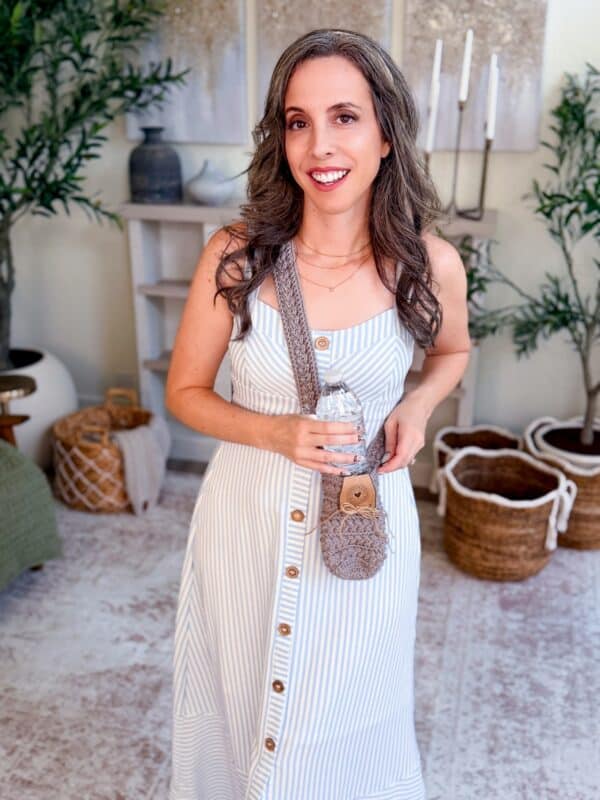
The consistent answer is cotton. Cotton yarn doesn’t stretch the way acrylic does, which matters a lot when you’ve got a heavy, full water bottle pulling down on the strap throughout the day. Acrylic will give and give until your holder is drooping at your hip and your bottle is wobbling around. Cotton holds its shape through all of that.
A cotton-acrylic blend like Herrschners Cottage Cotton (60% cotton, 40% acrylic) hits a nice middle ground: you get the structure of cotton with a slightly softer hand feel and a little more drape. Pure 100% cotton like WeCrochet Dishie or Lily Sugar’n Cream is firmer but extremely durable and machine washable, which is a bonus for something you’re carrying outdoors and setting down on all kinds of surfaces.
Avoid anything with significant stretch: elastic blends, most bamboo fabrics, and anything marketed as ‘soft and stretchy.’ For a water bottle holder specifically, you want the fabric to grip the bottle rather than relax around it. Worsted weight works best for structure. If you go lighter (DK or sport), work at a tighter gauge, and plan to add an extra round or two to the base to ensure the bottom stays firm under weight.
Wheat Stitch Water Bottle Holder FAQs
Is this pattern good for beginners?
This pattern is rated Intermediate, and I’d hold that rating firm. The Wheat Stitch uses a modified puff stitch worked in a specific offset pattern, and the construction involves joining and turning rounds rather than a simple spiral. If you’re new to crochet, I’d suggest getting comfortable with basic stitches and a few in-the-round projects first, then working through the Wheat Stitch tutorial before attempting this. If you’re past the basics and want a step up in texture, the video tutorial will walk you through every step, and it’s very doable.
How do I adjust the size for my specific bottle?
Measure the circumference of your bottle at its widest point. For the base, keep adding increasing rounds (each adds 6 stitches) until the circle diameter matches the bottom of your bottle. The circle should be slightly smaller than the bottle bottom — you want snug, not saggy. For height, work on the body rounds until the holder sits at the height you need. Stop about half an inch short of your bottle’s full height to account for the stretch that occurs when a full bottle sits in the holder.
Can You Make This for a Stanley or Hydro Flask?
Yes, with some adjustments. Stanley tumblers and Hydro Flasks are wider and often taller than standard bottles, so both the base circle and the body height need to increase. For the base, keep adding rounds in the established pattern (each new round adds 6 stitches) until the circle’s diameter matches the circumference of the bottom of your bottle. For the body, keep working Wheat Stitch rounds until the holder reaches the height you need, checking against your actual bottle as you go.
The Large size in this pattern (9″ circumference, 5″ height) is a good starting point for a 24 oz Stanley Quencher, but a 40 oz model will likely need 2-3 extra body rounds. Measure against your bottle rather than relying on a set number of rounds. Insulated metal bottles are also heavier than plastic ones when full, so if you’re making a holder for one, consider using a sturdier cotton-blend yarn for the base to add extra durability.
Can I use a different yarn weight?
Yes, with some notes. The pattern is written for worsted-weight cotton with a G (4.0mm) hook. If you go up to bulky weight, your holder will work up faster but will be noticeably thicker — go up in hook size and expect to use more yarn. If you go down to DK weight, the fabric will be lighter and may not hold up as well under a heavy bottle. Adjust your hook size down and plan to add a round or two to the base for structure. Gauge isn’t critical for fit in this pattern, but it does affect the final size.
Can I make this striped?
Yes! The pattern notes include specific striping instructions. Work every two blo sc rows in one color, and every two Wheat Stitch (puff) rows in a different color. Change colors by yarning over with the new color on the last stitch of the row before your new color begins. Keep both colors attached and carry the unused yarn up the inside of the holder without cutting. This keeps the inside tidy and the color transition clean. Two-color striping looks especially crisp with cotton yarn.
What’s the best way to sew on the strap?
The pattern leaves this flexible — use your preferred seaming method. My go-to is a simple whip stitch along the short end of the strap into the top edge of the holder, worked twice (once in each direction) to reinforce. Use the long yarn tails you left at each end of the strap, and make sure you’re sewing through the holder fabric rather than just the surface stitches. The strap needs to hold the weight of a full bottle, so don’t rush this step.
How do I wash the finished holder?
Check your yarn label. Herrschners Cottage Cotton and most 100% cotton yarns are machine washable. Wash on a gentle cycle in cold water and lay flat to dry to preserve the shape. The Wheat Stitch texture can flatten slightly in the wash but pops right back once dry. Avoid the dryer for the first few washes to help the holder keep its shape.
Can I sell finished items?
Yes! Finished items made from Briana K Designs patterns may be sold on a small scale. Credit to Briana K Designs is not required, but is very much appreciated. The pattern itself may not be copied, shared, or redistributed — link back to the original instead.
Pattern Notes
- This pattern replaces the traditional chain 2 at the beginning of the rounds (of the base) with a Stacked Single Crochet.
- A ch 1 at the beginning of a row/round is not counted as a stitch.
- Using a stitch marker at the beginning (or end) of the row/round is recommended.
- The instructions and stitch counts are given for the smallest size, with the larger sizes in parentheses ( ): Plastic Bottle Size (Large Water Bottle).
- For striping, work every two sc rows in one color, and every 2 puff st rows in a different color. Change colors by yarning over with the new color when making the last stitch of the row/round before your new color begins. Keep both colors attached and carry the unused yarn up the inside of the water bottle holder without fastening off.
- This Pattern Uses Standard US Terminology. I use affiliate links and follow GPSR Compliance: Privacy & Disclosure Policy here.
Subscribe & Like
Relax & Crochet
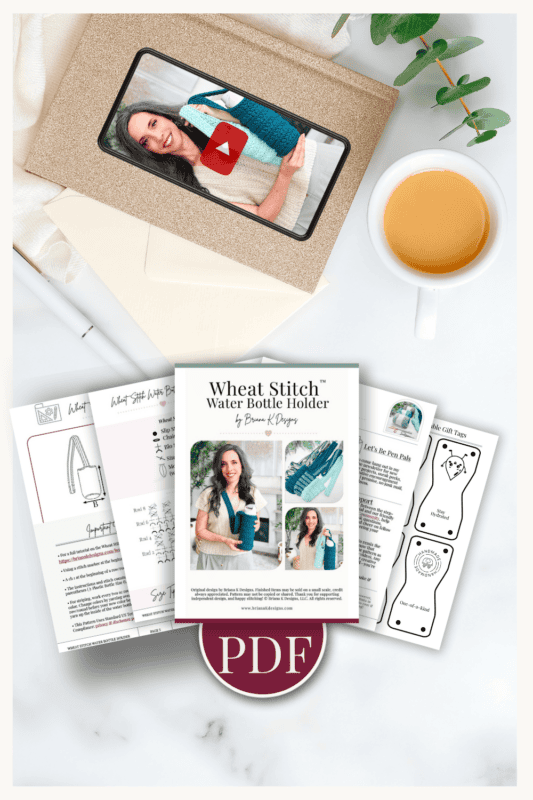
Upgrade to the Printable PDF
Beautifully formatted to print and relax while crocheting. The paid pattern includes:
The Ad-Free PDF can be purchased on Etsy or Ravelry.
Click the box below to unlock this exclusive subscriber content for free. Add your email and create a password. If you are having trouble, reset your password or log in to the Grow Portal.
I’m thrilled to share this amazing crochet pattern with you! Please don’t copy, paste, or distribute this pattern. Prefer an ad-free experience? Purchase a digital PDF file for a small fee from one of my online stores. I appreciate your support and readership. You are why I can keep doing what I love and sharing it with others. Thank you from the bottom of my heart.
Wheat Stitch Water Bottle Written Crochet Pattern Instructions
Go to Body.
For Size Large Only:
Rnd 4:
Stsc in the first st, hdc in the same st, hdc in the next 5 sts. * 2 hdc in next, hdc in next 5, repeat from * around; join. | 42 sts
Rnd 5:
Turn and ch 1, flo sc in the first st, flo sc in each st around; join and turn. | 42 sts
Water Bottle Body
Rnd 1 (RS):
Ch 1, blo sc in first st, blo sc in each st around; join and turn. | 36 (42) sts
Rnd 2 (WS):
Ch 1, skip the first st, sc in the next, work a puff st into the skipped st, [skip the next st, sc in next, work a puff st into the skipped st] work around; join and turn. | 36 (42) sts
Rnd 3:
Ch 1, skip the first st, sc in the next, work a puff st into the skipped st, [skip the next st, sc in next, work a puff st into the skipped st] work around; join and turn.
Rnds 4-5:
Ch 1, blo sc in each st around, join and turn. | 36 (42) sts
Rnds 6-7:
Repeat Rnds 2-3.
Rnds 8-9:
Repeat Rnds 4-5.
Rnds 10-21:
Repeat Rnds 2-5 three more times.
Stop here for Small Size; fasten off with an invisible join, then go to Strap.
Continue for Large Size.
Rnds 22-25:
Repeat Rnds 2-5 once more; fasten off with an invisible join, then go to Strap.
Strap
Note: The starting chain for the water bottle strap is 2 + 1. To adjust the length of the strap, add/subtract chs in increments of 2.
Join The Kindest Community
Join our vibrant community of crafters on Facebook today. Whether you enjoy crafting with others or simply have burning questions, we’ve got you covered – join us now!
Row 1:
Leaving a long tail, ch 143 for short strap or 173 for long strap, sc in second ch from the hook and in each across. | 142 or 172 sts
Row 2:
Ch 1, blo sc in each st across; turn.
Rows 3-4:
Ch 1, sc in first. [skip the next st, sc in next, work a puff st into the skipped st] work across until the last st, sc in the last; turn.
Rows 5-6:
Ch 1, blo sc in each st across; turn.
Fasten off, leaving a long tail for sewing.
Finishing
Before attaching the strap, weave in all ends on the water bottle holder body to ensure a clean, finished look.
To attach the first side, position one end of the strap at the top edge of the water bottle holder with the right side (RS) facing out. Using a yarn needle, sew the strap in place with your preferred seaming method, ensuring it is secure and evenly aligned.
Next, attach the other side by positioning the remaining end of the strap on the opposite side of the holder, ensuring it is straight and not twisted. Sew it in place using the same seaming method, keeping your stitches neat and even for a polished finish.
Simple, sturdy, and full of that signature texture, this Wheat Stitch Water Bottle Holder is the kind of project you’ll reach for again and again. Whether you’re heading out for a walk, running errands, or just want a hands-free way to carry your water, it’s both practical and beautifully handmade, proof that even the everyday essentials can have a little extra stitchy charm.
Cheers, and happy crocheting!
Well, That Was Fun! What’s Next?
More Crochet Patterns You’ll Love
If you’re into the Wheat Stitch or looking for more quick, practical makes:
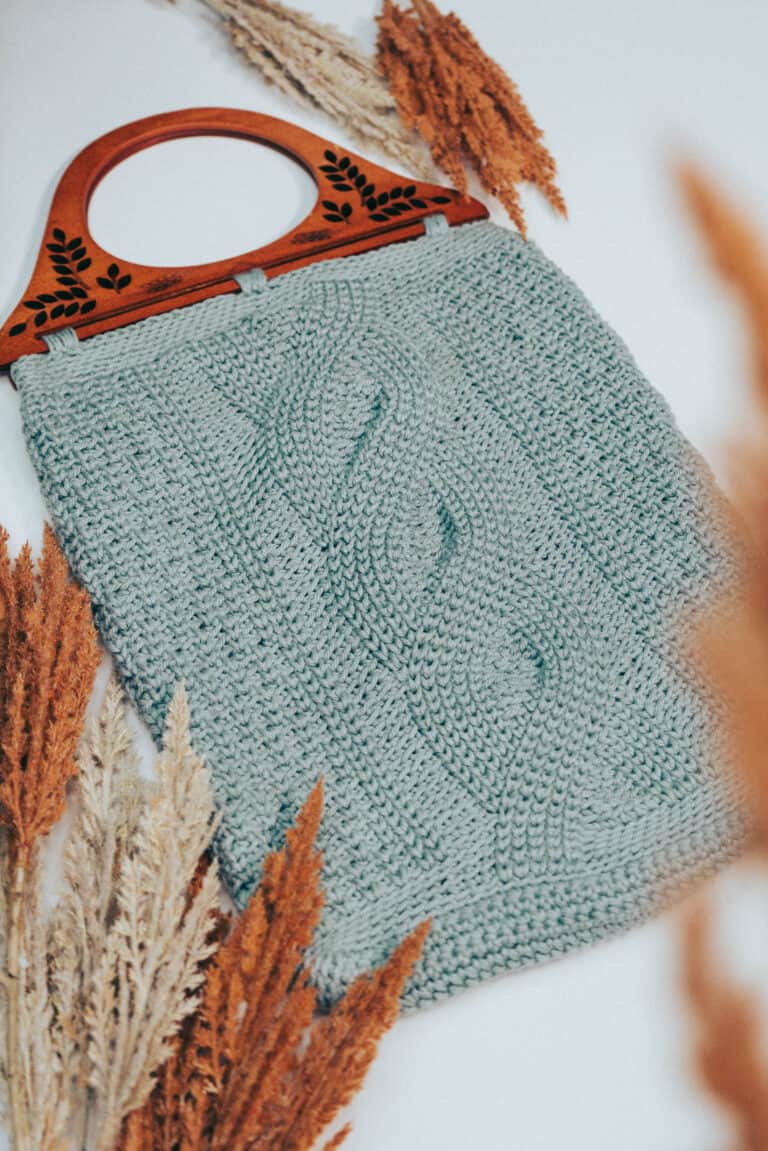
- Wheat Stitch Hotpad Pattern — a great starter project to practice the Wheat Stitch repeat before working in the round
- Circle Leaf Plastic Bag Holder — because storing plastic bags shouldn’t be ugly.
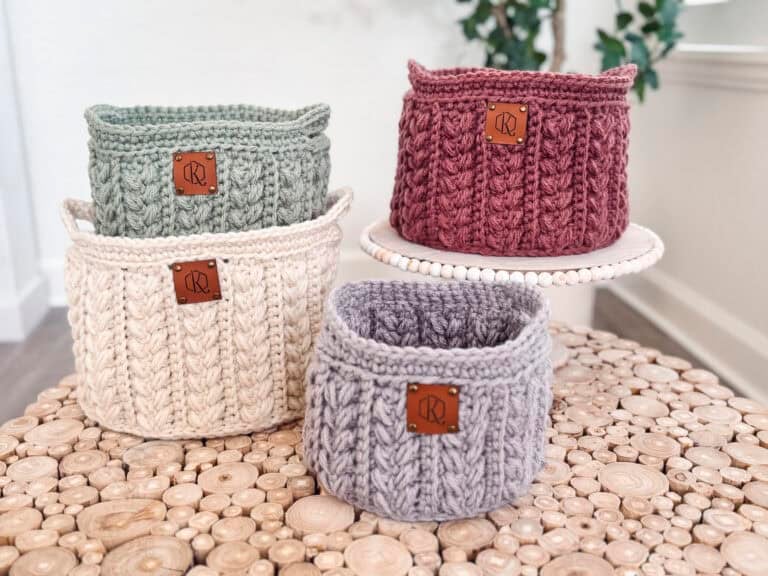
- Petal Loop Nesting Trays — these trays can hold yarn and crochet tools, keys and everyday essentials, bathroom or kitchen items, or other decorative accents around your home.
- Wheat Stitch Keychain & Lanyard — the perfect way to bring cozy crochet texture into your everyday life.
- Easy Envelope Clutch — this effortless bag is a fun and functional project that adds a handmade flair to any outfit.