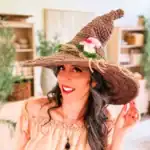
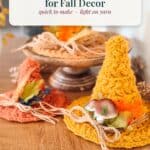
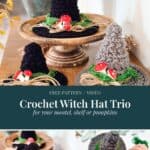
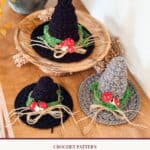
This mini crochet witch hat pattern makes tiny decor hats, small enough to sit in the palm of your hand. The smallest is only 3.5 inches tall, and even the biggest tops out at 6 inches.
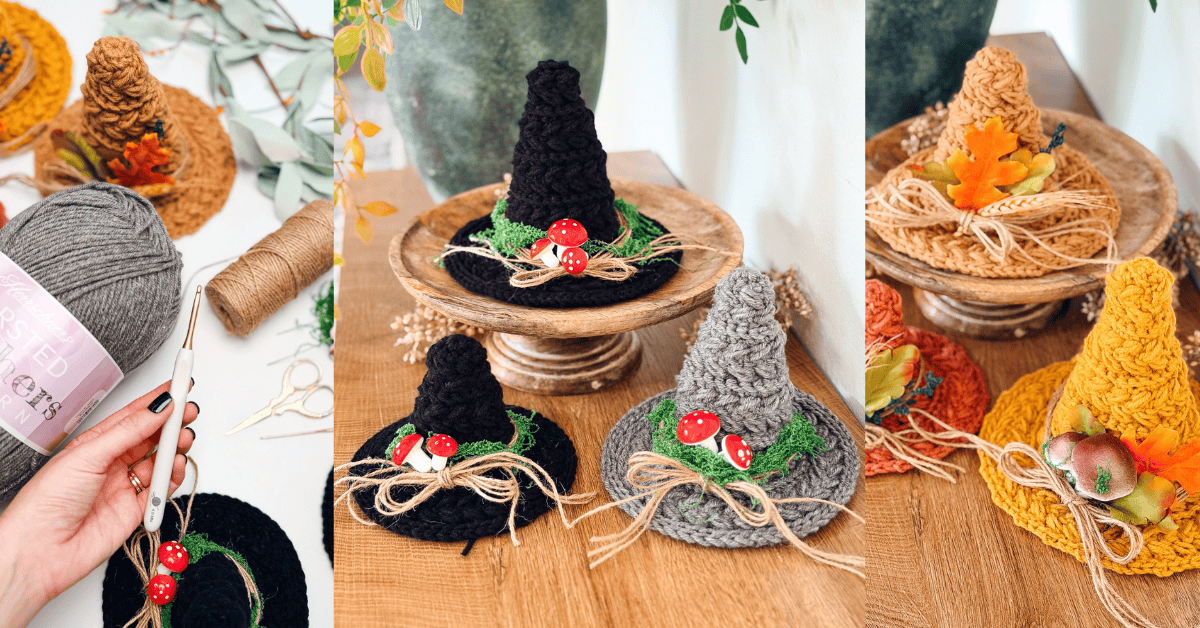
These little hats came straight out of my full-size Wheat Stitch witch hats. Making those left me with a basket of half-used yarn balls, a bag of preserved moss, and a pile of tiny mushrooms, so I shrank the hat down into three mini sizes to use it all up.
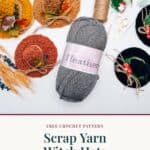
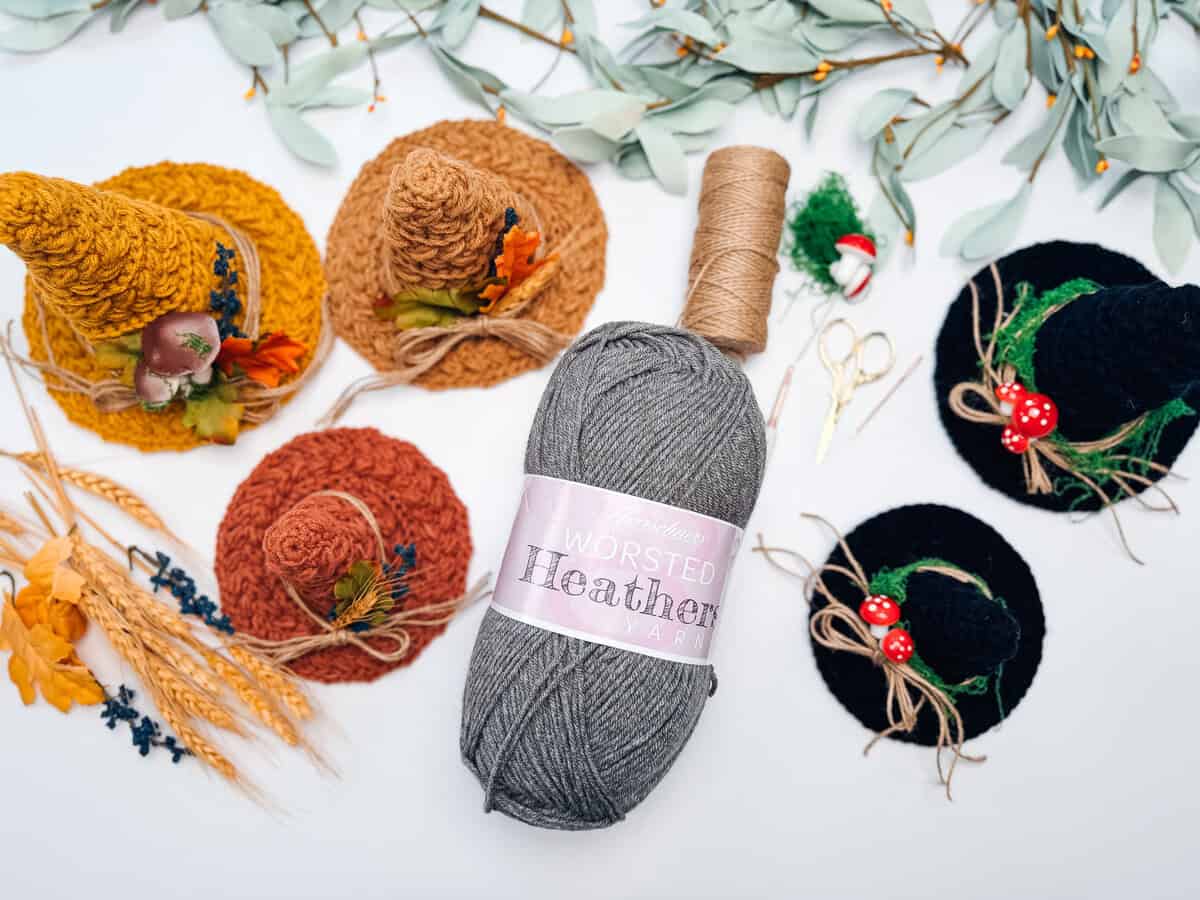
I made mine in Herrschners Worsted 8 in Clay, Ochre, Pecan, and Black, plus the Woodland from the Heathers line. One ball of yarn makes all three sizes with room to spare, so they’re basically a scrap project that looks like it came from a boutique.
Disclosure: This post contains affiliate links. Please read my disclosure for more info.
The full Wheat Stitch Witch Hat Trio pattern is free right here on the blog, in all three sizes. Want an ad-free, printable copy? Grab the PDF in my Etsy shop, on Ravelry, or in the Briana K Shop.
New to the stitch? Start with my step-by-step Wheat Stitch™ tutorial, then come back here.
Before You Hook: Wheat Stitch Witch Hat Trio Pattern Details
🧶 Yarn Used: Herrschners Worsted 8 and Herrschners Worsted 8 Heathers
⚖️ Yarn Weight: #4 Worsted Weight
🧵 Featured Stitch: Wheat Stitch™
🪝 Hook Size: F (3.75mm) or G (4.0mm)
📏 Sizes: Three mini decor sizes, Small, Medium, and Large (3.5 to 6 inches tall), all free here on the blog. The ad-free printable PDF is available in my shops.
🩷🩷🩷🤍 Difficulty level: Intermediate
🕐 Approx Crochet Time: About 1 to 3 hours per hat, including decorating
🏷️ Project Type: A quick, scrap-friendly mini crochet witch hat for fall and Halloween home decor, small enough to fit in your palm and sized for mantels, pumpkins, and shelves.
Save for Later • Get a Summary • Pick Up Where You Left Off
Why You’ll Love These Mini Witch Hats
- They’re mini, on purpose. These are tiny home decor pieces, not wearable hats. They fit in the palm of your hand and tuck into spots a full-size hat never could.
- They’re made for decorating. Each one is a sturdy little cone built to stand on a shelf, a pumpkin, or a stack of books.
- They’re quick. Plan on about 1 to 3 hours per hat, and that includes time to decorate it.
- They barely use any yarn. Each uses 60 to 115 yards, so one ball covers all three sizes, and your leftovers finally have a job.
- Any color works. Classic black, cozy rust and ochre, a heathered brown, or whatever is in your scrap bin.
- You decide how to dress them up. Moss and mushrooms, ribbon, mini pumpkins, a felt bat. There’s a whole section on that below.
- The texture does the work. The Wheat Stitch™ rows give the cone that braided, woven look without any colorwork.
Mini Witch Hat Supplies (What You’ll Need)
Yarn
Herrschners Worsted 8, 100% Acrylic, 489yds/226g, #4 Worsted Weight. Shown in Clay, Ochre, Pecan, and Black, plus Herrschners Worsted 8 Heathers in Woodland.
Yardage: 60 (90, 115) yds, which includes a 10% buffer. One ball makes all three sizes.
Hook and Notions
Decorating Supplies (Optional)
- Jute twine
- Preserved moss
- Mini mushrooms
- Fabric stiffener spray, only if you want an extra firm point
Be sure to check out the full pattern tips below
Yarn Substitutions
I reached for an acrylic here on purpose. It holds a crisp point, doesn’t sag over a season on the mantel, and comes in every fall color you could want. If you’d like to swap yarns, these #4 acrylics work too:
- Brava Worsted by WeCrochet, 100% Acrylic, 218yds/100g, #4 Worsted Weight
- Maximum Value by Mary Maxim, 100% Acrylic, 474yds/227g, #4 Worsted Weight
- Pound of Love by Lion Brand, 100% Acrylic, 1,020yds/454g, #4 Worsted Weight
Skill Level
The shaping is simple, but you’ll work in the back loop, join and turn every round, and work puff stitches into skipped stitches for the Wheat Stitch™. If that sounds like a lot, the video tutorial walks through every round, and it clicks fast once you’ve done a couple of repeats.
Mini Witch Hat Sizes
All three sizes are mini. The Small is just 3.5 inches tall, and even the Large sits comfortably in the palm of your hand.
| Measurement | Small | Medium | Large |
|---|---|---|---|
| A: Finished Opening | 6.25″ | 8″ | 9.75″ |
| B: Cone Height | 3.5″ | 4.75″ | 6″ |
| C: Brim Width | 1.5″ | 1.5″ | 1.5″ |
| D: Brim Diameter | 5″ | 5.75″ | 6.25″ |
| Yardage | 60 yds | 90 yds | 115 yds |
Because they’re so small, they fit places a regular hat can’t. The Small fits nicely on a pie pumpkin, the Medium is a great tiered tray size, and the Large holds its own on a mantel or as a centerpiece.
Abbreviations
- blo: back loop only
- ch: chain
- clean sc: clean single crochet (see Special Stitches)
- puff st: puff stitch (see Special Stitches)
- rnd(s): round(s)
- RS: right side
- sc: single crochet
- sl st: slip stitch
- st(s): stitch(es)
- WS: wrong side
Gauge
18 sts and 13 rounds = 4″ in the Wheat Stitch repeat, unblocked, with a G hook.
You don’t need to make a swatch for this one. After Rnd 12, the cone should lay flat at about 3″ wide. If it feels floppy, go down a hook size. Firm fabric lets these hats stand up on their own.
Special Stitches Used in This Pattern
Puff Stitch (puff st)
Yarn over, insert hook into the stitch, yarn over and pull up a long loop. Yarn over, insert the hook into the same stitch, yarn over, and pull up a long loop (5 loops on the hook). Yarn over and pull through 4 loops, yarn over and pull through the remaining 2 loops.
Clean Single Crochet (clean sc)
With the right side facing, ch 1, sc in the first st. *Insert hook into the left bar of the sc st, then into the next st, yarn over and pull up a loop, pull through the first loop on the hook, yarn over and pull through the remaining 2 loops; repeat from * around.
This is what gives the brim that tidy, finished edge. If you want to see it up close, here’s my guide to crocheting a straight edge.
Wheat Stitch™
The Wheat Stitch™ is the skip one, single crochet, puff back into the skipped stitch repeat you’ll see in Rnds 3 to 4 and every repeat after. It’s the same stitch I use on my Wheat Stitch pumpkin trio, so if you’ve made those, you already know it. If not, my Wheat Stitch™ photo and video tutorial is the best place to start.

Important Pattern Notes
How the Mini Witch Hats Are Made
Each hat starts at the tip with a magic ring and grows downward in rounds. Back-loop single crochet rounds handle the increases, and every few rounds you work two rounds of Wheat Stitch™ to add textured bands.
The first 12 rounds are identical for every size, so you can make the tip once and decide later how tall you want to go. After that, the Medium and Large keep increasing gently to build a taller cone, then all three sizes flare out quickly into the brim. The final round is clean single crochet, right side facing, which gives the brim a neat, firm edge.
How to Decorate Your Mini Witch Hats
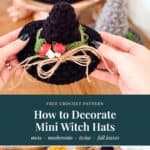
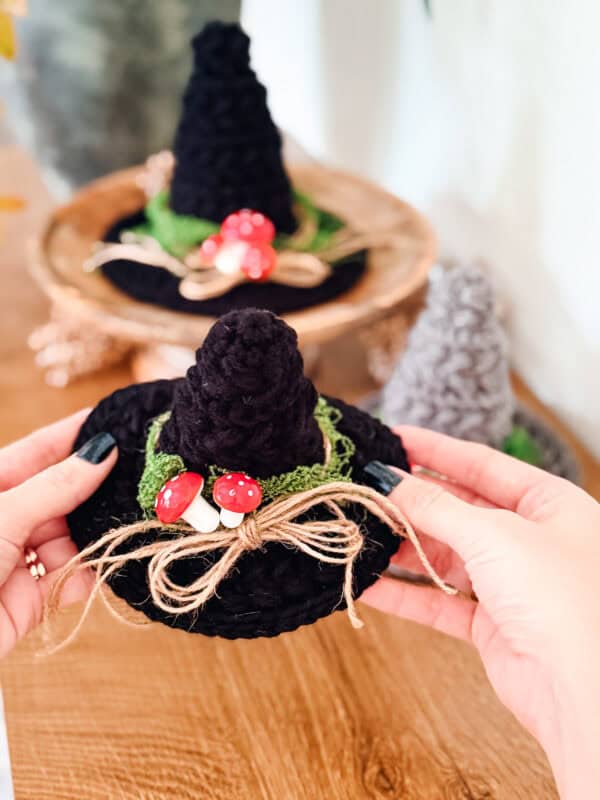
This is the fun part. Here’s how I decorated the ones in the photos.
- Tie on the twine. Wrap jute twine loosely around the base of the cone and tie a bow. It should sit on the hat, not cinch it in.
- Tuck in the moss. Add preserved moss under the twine a little at a time until the twine mostly disappears.
- Add mushrooms. Pin mini mushrooms into the moss, or wrap their wire stems around the twine. Tiny ones keep everything in scale.
- Build it up unevenly. A heavier cluster on one side with a few stragglers looks more grown than arranged, which is exactly the look you want.
More Ways to Decorate
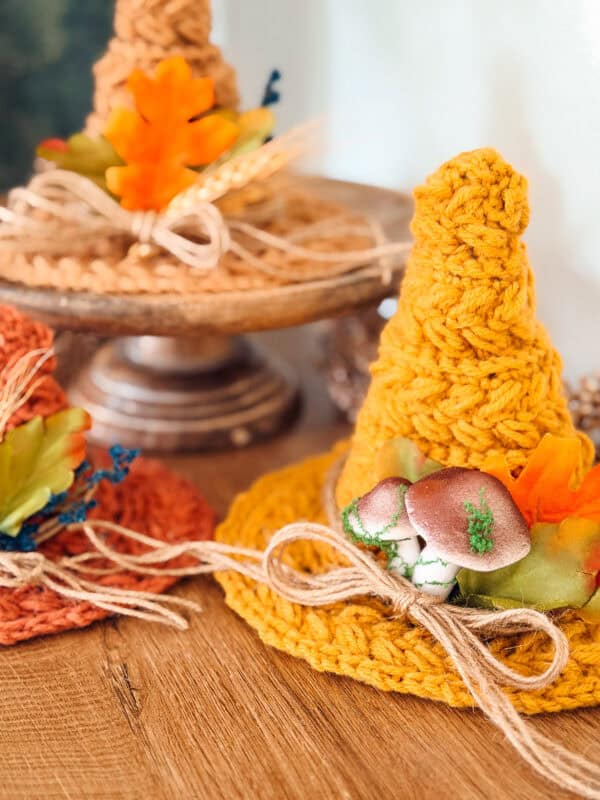
- Tuck mini pumpkins, acorns, or faux fall leaves into the moss.
- Swap the twine for velvet or satin ribbon in a jewel tone. Deep plum and emerald look great against black.
- Go farmhouse with dried wheat, eucalyptus, or bittersweet.
- Go spooky with a felt bat, a spider charm, or a crescent moon.
- Make each hat a different color. Black, rust, and heathered brown make a really pretty trio.
If you want handmade toppers instead of store-bought, my little Wheat Stitch mushrooms and Wheat Stitch acorns in three sizes are made with the same yarn and look adorable tucked next to the hats.
Ways to Display Your Mini Witch Hats
- Line all three up on a mantel or shelf, with the largest at the back, and add faux leaves or pumpkins around the bases.
- Use the trio as a centerpiece on a wood slice or a cake stand.
- Place one on a staircase, windowsill, or entry table.
- Stagger the heights by setting the smaller hats on a short stack of books.
- Put the Small on a tiered tray with candles and mini pumpkins.
- Perch one right on top of a real or crocheted pumpkin.
- Give one as a hostess gift with a candle or a packet of cider mix.
For a full Halloween vignette, pair the hats with my Wheat Stitch crochet ghost. The textures match, and the white ghost really makes a black hat pop.
How to Keep the Point Standing Up
The tight hook does most of the work here, but a few tricks help a decor hat stay sharp all season.
- Stuff the cone. Tuck tissue paper or a plastic grocery bag inside to keep the shape while the hat is on display, and nobody will ever know.
- Use stiffener for extra firmness. A light coat of fabric stiffener spray, shaped over a cone or a rolled piece of paper, gives you a point that holds without stuffing. Let it dry completely before you decorate.
- Skip the iron. High heat can flatten the stitches in steam-blocking acrylic for good, and you’ll lose the Wheat Stitch texture. Shape it by hand instead.
- Bend the tip, if you like. A slightly crooked point looks extra witchy. Pinch and shape it before stiffening, and it’ll stay put.
Mini Crochet Witch Hat FAQs
How much yarn do you need for a mini crochet witch hat?
The Small takes about 60 yards, the Medium about 90 yards, and the Large about 115 yards, and those numbers already include a 10% buffer. That adds up to roughly 265 yards for the whole trio, so a single 489-yard ball of Herrschners Worsted 8 covers all three with plenty left over. If you’re working from scraps, the Small is a great way to use up a half ball.
How do you make a crochet witch hat stand up?
Start with a tight fabric. That’s why this pattern uses an F or G hook, which is smaller than most worsted yarns call for. After Rnd 12, your cone should lay flat at about 3 inches wide and feel firm, not floppy. For display, stuff the cone with tissue or give it a light coat of fabric stiffener, then let it dry over a cone shape.
Can I use a different yarn for this witch hat pattern?
Yes. Any #4 worsted weight yarn will work, and I’ve listed a few acrylic substitutions above. Acrylic is my top pick for decor because it holds its shape and resists sagging. Cotton works too, but it’s heavier and can lean over time, so plan to stuff or stiffen the cone. Whatever you choose, check that the cone is about 3 inches wide after Rnd 12.
How long does it take to crochet a mini witch hat?
Plan on about 1 to 3 hours per hat, depending on the size. That includes time to decorate it, plus getting your stiffener and supplies out if you want an extra firm point. Your first one will take a little longer while you get the Wheat Stitch rhythm down. After that, these go fast enough to finish a whole set over a weekend of movie nights.
Is this crochet witch hat pattern good for beginners?
It’s rated Intermediate, mostly because you join and turn every round and work puff stitches into skipped stitches. A confident beginner can absolutely make it, especially with the video tutorial open. I’d suggest practicing a few rows with my Wheat Stitch tutorial first, and starting with the Small size since it has the fewest rounds.
Can I wear these mini witch hats?
No, these are mini by design. They’re sized and shaped for home decor, so even the Large is only about 9.75 inches around the opening. It would fit a doll, a stuffed animal, or a very small pet costume, but not a human head. The tight fabric that helps them stand up also makes them stiffer than a wearable hat. That said, the Small would be absolutely adorable on a headband, tipped at a jaunty angle so it sits right on top of your hair without messing up your whole hairdo. Easy, handmade Halloween hair decor!
What colors look best for crochet witch hat decor?
Black is classic, but warm fall tones like rust, ochre, and pecan make the hats feel cozy rather than spooky, so they can stay out from September through Thanksgiving. Heathered yarns show off the Wheat Stitch texture beautifully. Mixing three different colors in one trio is my favorite look.
Watch the Video Tutorial
If you’d like to crochet along with me, the full video tutorial walks through every round for all three sizes, including the Wheat Stitch™ and the clean single crochet edge.
Subscribe, Like & Watch on YouTube
Relax & Crochet with NO Ads
Upgrade to the Printable PDF
Beautifully formatted to print and take with you anywhere. You can also grab it in the Briana K Shop. The paid pattern includes:
This pattern is also in the Briana K app, so you can keep your place, track your rounds, and have it right on your phone while you crochet.

Add your email in the box below to unlock this pattern to view on the blog for free. I’m thrilled to share this amazing crochet pattern with you! Please don’t copy, paste, or distribute this pattern. Prefer an ad-free experience? Purchase a digital PDF file for a small fee from one of my online stores. I appreciate your support and readership. You are why I can keep doing what I love and sharing it with others. Thank you from the bottom of my heart.
Wheat Stitch Witch Hat Trio Free Crochet Pattern (Mini Decor Sizes)
Hat Body (All Sizes)
Use an F (3.75mm) or G (4.0mm) hook.
Rnd 6: Ch 1, *2 blo sc in next st, blo sc in the next 3 sts; repeat from * around, join and turn. | 20 sts
Rnds 7 to 8: Repeat Rnds 3 to 4. | 20 sts
Rnd 9: Ch 1, blo sc 2, 2 blo sc in next st, blo sc 4, 2 blo sc in next st, blo sc 4, 2 blo sc in next st, blo sc 4, 2 blo sc in next st, blo sc 2, join and turn. | 24 sts
Rnd 10: Ch 1, *2 blo sc in next st, blo sc in the next 5 sts; repeat from * around, join and turn. | 28 sts
Rnds 11 to 12: Repeat Rnds 3 to 4. | 28 sts
Check: the cone should lay flat at about 3″ wide. If it’s floppy, go down a hook size.
Join The Kindest Community
Join our vibrant community of crafters on Facebook today. Whether you enjoy crafting with others or simply have burning questions, we’ve got you covered – join us now!
Small Hat
Work Rnds 1 to 12, then continue with the brim.
Brim
Rnd 13: Ch 1, *2 blo sc in next st, blo sc in the next st; repeat from * around, join and turn. | 42 sts
Rnd 14: Ch 1, blo sc in the first st, *2 blo sc in next st, blo sc in the next 2 sts; repeat from * to the last 2 sts, 2 blo sc in next st, blo sc in the last st, join and turn. | 56 sts
Rnds 15 to 16: Repeat Rnds 3 to 4. Do not turn. | 56 sts
Rnd 17 (RS): With the right side facing, ch 1, *2 clean sc in next st, clean sc in the next 3 sts; repeat from * around, sl st to join. Fasten off. | 70 sts
Medium Hat
Work Rnds 1 to 12, then continue.
Increasing
Rnd 13: Ch 1, blo sc 3, 2 blo sc in next st, blo sc 6, 2 blo sc in next st, blo sc 6, 2 blo sc in next st, blo sc 6, 2 blo sc in next st, blo sc 3, join and turn. | 32 sts
Rnd 14: Ch 1, *2 blo sc in next st, blo sc in the next 7 sts; repeat from * around, join and turn. | 36 sts
Rnds 15 to 16: Repeat Rnds 3 to 4. | 36 sts
Brim
Rnd 17: Ch 1, blo sc in the first st, *2 blo sc in next st, blo sc in the next 2 sts; repeat from * to the last 2 sts, 2 blo sc in next st, blo sc in the last st, join and turn. | 48 sts
Rnd 18: Ch 1, *2 blo sc in next st, blo sc in the next 3 sts; repeat from * around, join and turn. | 60 sts
Rnds 19 to 20: Repeat Rnds 3 to 4. Do not turn. | 60 sts
Rnd 21 (RS): With the right side facing, ch 1, clean sc in the first st, *2 clean sc in next st, clean sc in the next 2 sts; repeat from * to the last 2 sts, 2 clean sc in next st, clean sc in the last st, sl st to join. Fasten off. | 80 sts
Large Hat
Work Rnds 1 to 12, then continue.
Increasing
Rnd 13: Ch 1, blo sc 3, 2 blo sc in next st, blo sc 6, 2 blo sc in next st, blo sc 6, 2 blo sc in next st, blo sc 6, 2 blo sc in next st, blo sc 3, join and turn. | 32 sts
Rnd 14: Ch 1, *2 blo sc in next st, blo sc in the next 7 sts; repeat from * around, join and turn. | 36 sts
Rnds 15 to 16: Repeat Rnds 3 to 4. | 36 sts
Rnd 17: Ch 1, blo sc 4, 2 blo sc in next st, blo sc 8, 2 blo sc in next st, blo sc 8, 2 blo sc in next st, blo sc 8, 2 blo sc in next st, blo sc 4, join and turn. | 40 sts
Rnd 18: Ch 1, *2 blo sc in next st, blo sc in the next 9 sts; repeat from * around, join and turn. | 44 sts
Rnds 19 to 20: Repeat Rnds 3 to 4. | 44 sts
Brim
Rnd 21: Ch 1, *2 blo sc in next st, blo sc in the next 3 sts; repeat from * around, join and turn. | 55 sts
Rnd 22: Ch 1, blo sc in the first 2 sts, *2 blo sc in next st, blo sc in the next 4 sts; repeat from * to the last 3 sts, 2 blo sc in next st, blo sc in the last 2 sts, join and turn. | 66 sts
Rnds 23 to 24: Repeat Rnds 3 to 4. Do not turn. | 66 sts
Rnd 25 (RS): With the right side facing, ch 1, clean sc in the first st, *2 clean sc in next st, clean sc in the next 2 sts; repeat from * to the last 2 sts, 2 clean sc in next st, clean sc in the last st, sl st to join. Fasten off. | 88 sts
Finishing
Weave in all ends. Shape the point with your fingers and fluff the brim so it sits flat. Then head back up to the decorating section and have fun with it.
Storage and Care Tips
A little care keeps these mini witch hats ready for next fall.
- Remove the mushrooms, and put the moss and twine in a zip bag so nothing gets lost.
- Stuff each cone with tissue and store the hats standing up in a box, not stacked flat.
- Save space by nesting the Small inside the Medium inside the Large, with tissue between each one.
- Keep them somewhere cool and dry. A hot attic is not their friend.
- To clean them, use a lint roller or a hair dryer on the cool setting to knock off dust. Once they’re decorated, spot clean only.
Share Your Finished Mini Witch Hats!
I hope these little hats make their way onto your mantel, your shelves, or a porch pumpkin, and I’d love to see how you decorate yours. When you finish yours, share it on Instagram with #brianakdesigns, or post it in the Briana K Designs Community Group on Facebook.
More Crochet Patterns You’ll Love
If your hook is in a fall mood, here are a few more projects to fill out the mantel!
🥂 Cheers, and happy crocheting!
Hook down? Not so fast…
I’d Love to See Yours!
You made something beautiful. Here’s how to keep it, show it off, and inspire the next maker.

What should you make next?
Keep the hook movingReaders Are Loving
 Crochet Book Cover
 Wheat Bottle Holder
 Blossom Granny
 Petal Chevron Blanket