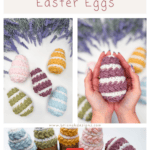
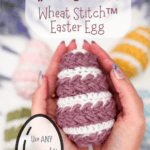

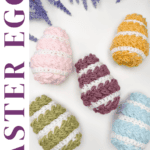
If you’ve been looking for a textured crochet Easter egg pattern that’s quick, adorable, and perfect for spring decorating, you’re going to love this! These Wheat Stitch™ Easter Eggs are small, satisfying crochet projects that combine simple shaping with bold puff-stitch texture. The eggs are worked top-down in joined and turned rounds, allowing you to build the shape gradually while the Wheat Stitch™ adds beautiful dimension.
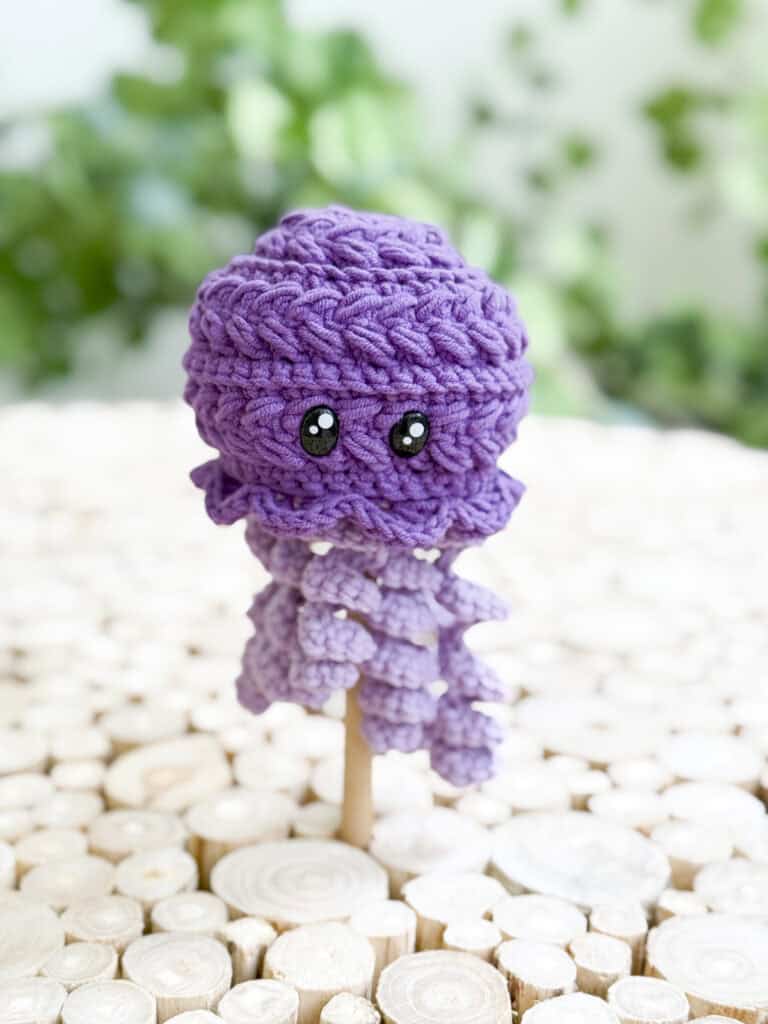
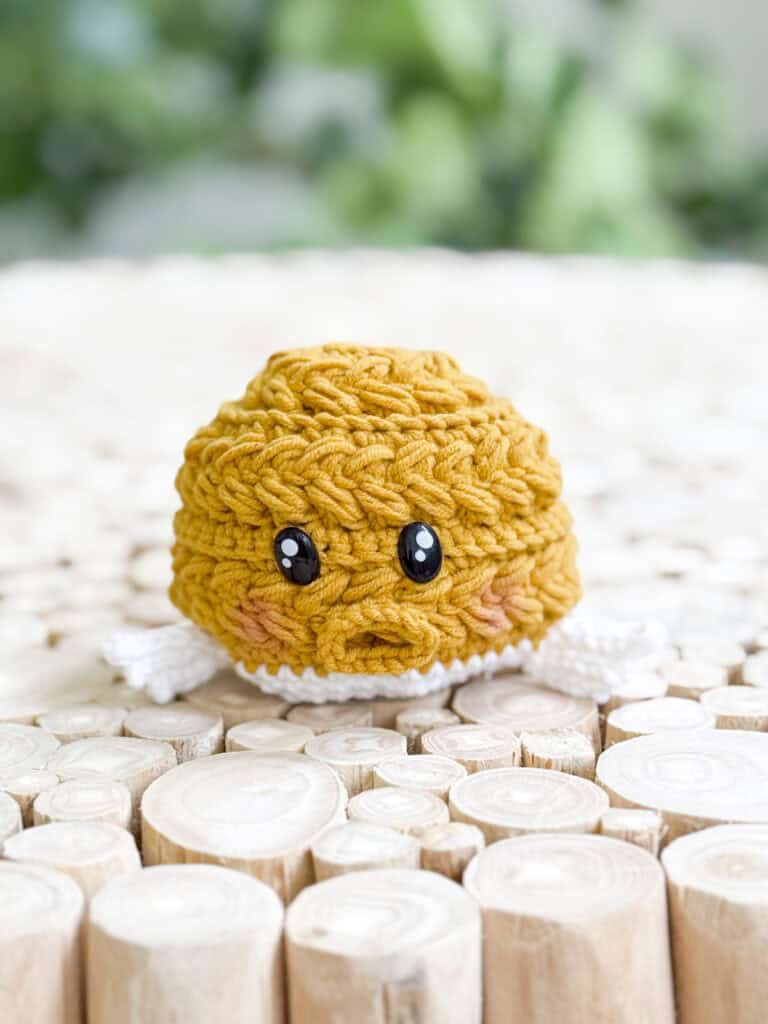
They’re perfect for filling Easter baskets, decorating tiered trays, creating spring garlands, or adding handmade charm to seasonal displays. Best of all? These eggs work up quickly, making them the kind of project where you sit down to make one, and suddenly you’ve got a whole Wheat Stitch™ Easter Basket full! Add even more texture with a Wheat Stitch™ Bunny, Wheat Stitch™ Carrot, and Wheat Stitch™ Chick!
Disclosure: This post contains affiliate links. Please read my disclosure for more info.
What you’ll love about this Easter egg pattern.
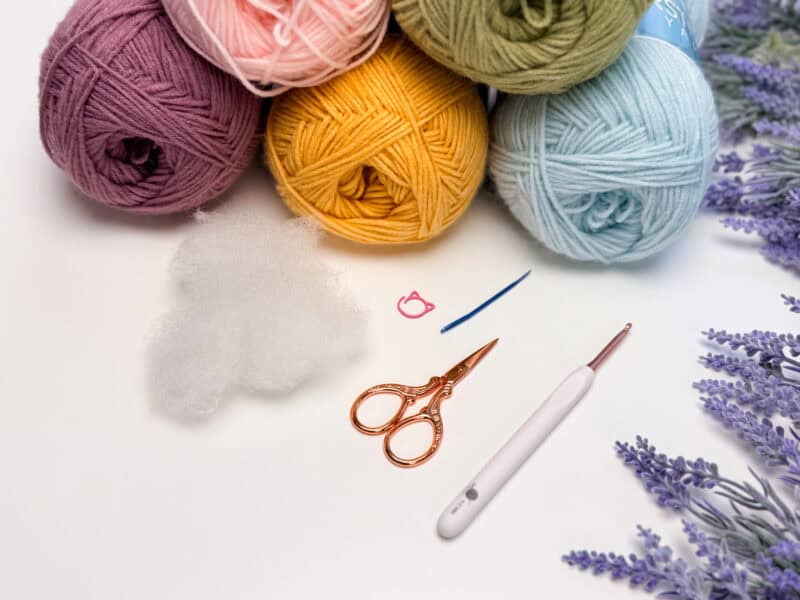
Wheat Stitch™ Easter Eggs Crochet Pattern Supplies
Yarn
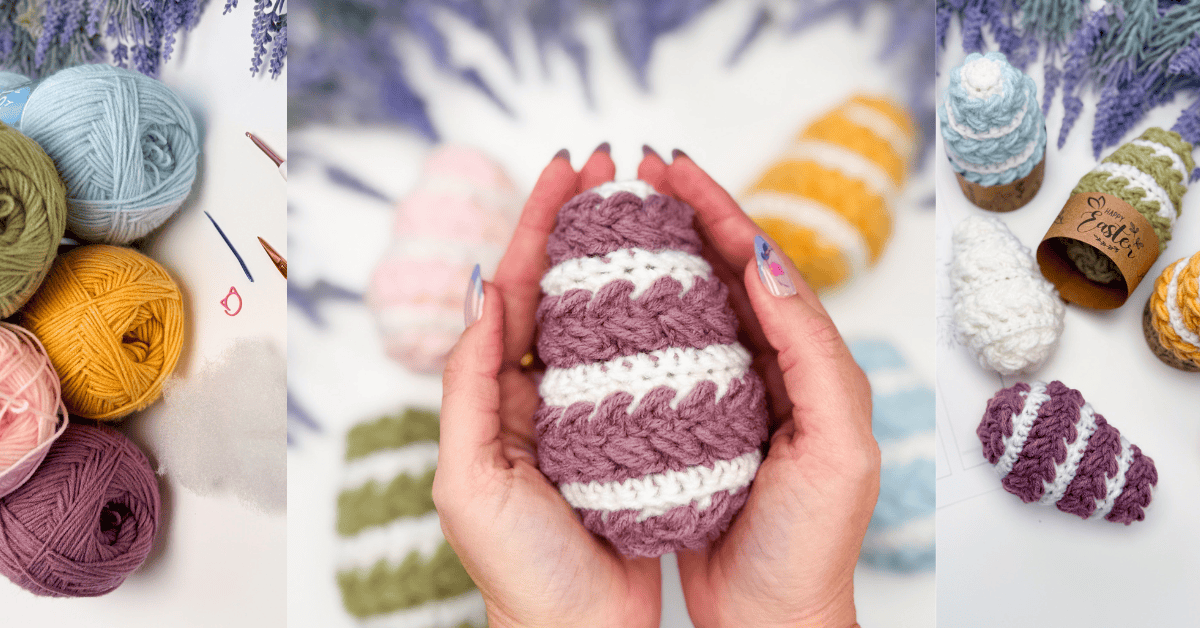
Herrschners Worsted 8
100% Acrylic, 489yds/226g
Shown in Colorways White, Blush, Soft Gold, Icy Teal, Luffa, Mauve
Yarn Quantities
40 total yards per Egg
For a Striped Egg:
13 yds of Main Color (for blo sc rounds)
27 yds of Color of Choice (for striped puff rounds)
Yarn Substitutions
Brava Worsted – 100% Premium Acrylic, 218yds/100g
Red Heart Super Saver – 100% Acrylic, 5.3 oz/150g/389 yds
Mary Maxim Starlette – 100% Ultra Soft Acrylic, 180yds/100g
Remember always to check the gauge and drape when substituting yarns.
Crochet Hook
Size US G (4.0mm) Crochet Hook or hook to obtain gauge.
Notions
Scissors
Yarn Needle
Cat Removable Stitch Marker
Fiberfill
Skill Level
Sizing
One Size
4″ x 2.75″
Abbreviations
blo – back loop only
ch – chain
RS/WS – right side/wrong side
SC – single crochet
sl st – slip stitch
st(s) – stitch(es)
Gauge
12 sts and 17 rows = 4″ by 4″ in stitch pattern repeat; not critical for this pattern.
How to Crochet A Gauge Swatch
Working a gauge swatch will let you know if you will have the correct sizing for this pattern. It will also help you practice the stitches used in this project and improve your stitch work for a flawless look.
Are you struggling to match the gauge? Check out the blog post on What is Crochet Gauge and How To Fix It
Construction
The Wheat Stitch™ Easter Egg crochet pattern is designed with simple shaping that builds a classic egg silhouette.
Each egg begins at the top point and is worked top-down in joined and turned rounds. Early rounds use single crochet increases to gradually expand the egg. As the egg grows wider, increase rounds shape the body until it reaches its widest section (the “chonkiest” part of the egg). Once the egg reaches its full width, even rounds add height while Wheat Stitch™ puff rounds pop in to create the signature textured fabric. Near the base, decrease rounds gradually taper the egg back inward, forming the classic egg silhouette. As you approach the bottom, lightly stuff the egg as you go to maintain a smooth shape. Once the final round is complete, close the opening neatly, weave in the ends, and give the egg a gentle squeeze to shape it.
To add more fabulous texture to your spring decor, whip up some Wheat Stitch™ Hotpads, Mug Cozies, Napkin Rings, and Dishtowel Holders in seasonal colors!

Special Stitches
Puff Stitch: Yarn over and insert your hook into the stitch/space; yarn over again and pull up a long loop; yarn over and insert your hook into the same stitch/space; yarn over again and pull up a long loop (5 loops on the hook); yarn over and pull through the first 4 loops; yarn over and pull through remaining loops.
Invisible sc2tog: Insert your hook into the front loop of the first st, and then insert into the front loop of the second st (3 loops on the hook). Yarn over and pull through both front loops (2 loops on the hook), yarn over and pull through the remaining loops on the hook.
Pattern Notes
- One of the great things about crocheting amigurumi is the freedom to experiment with any yarn you love — from fingering weight to bulky! Simply adjust your hook size to match your yarn choice, and have fun creating!
- Using a stitch marker at the beginning (or end) of the round is recommended.
- Change colors by yarning over with the new color when making the slip stitch to join at the end of the round. Keep both colors attached and carry the unused yarn up the inside of the egg without fastening off.
- A ch 1 at the beginning of a row is not counted as a stitch.
- This Pattern Uses Standard US Terminology. I use affiliate links and follow GPSR Compliance: privacy & disclosure policy here.
FAQ: Wheat Stitch™ Easter Egg Crochet Pattern
Are these crochet eggs beginner-friendly?
🐣 Confident beginners who are comfortable working in the round in my signature Wheat Stitch™ and making increases and decreases can easily make this pattern.
What yarn works best for crochet eggs?
🐣 Worsted-weight yarn works well for these eggs, but you can experiment with other yarn weights to create larger or smaller versions.
Do crochet eggs need stuffing?
🐣 Yes, the eggs are lightly stuffed to maintain their shape and give them that soft, squishy feel.
Can I make striped Easter eggs?
🐣 Absolutely! Changing colors between rounds is a great way to create striped or color-blocked eggs.
How long does one egg take to make?
🐣 Most crocheters can complete one egg in under an hour, making them perfect quick projects.
Subscribe & Like
Video Tutorial for the Wheat Stitch™ Easter Eggs Crochet Pattern
Relax & Crochet
Upgrade to the Printable PDF
Beautifully formatted to print and relax while crocheting. The paid pattern includes:
The Ad-Free PDF can be purchased on Etsy or Ravelry.
Click the box below to unlock this exclusive subscriber content for free. Add your email and create a password. If you are having trouble, reset your password or log in to the Grow Portal.
I’m thrilled to share this amazing crochet pattern with you! Please don’t copy, paste, or distribute this pattern. Prefer an ad-free experience? Purchase a digital PDF file for a small fee from one of my online stores. I appreciate your support and readership. You are why I can keep doing what I love and sharing it with others. Thank you from the bottom of my heart.
Wheat Stitch™ Easter Eggs Crochet Pattern Written Instructions
Rnds 7-8:
Repeat Rnds 3-4.
Rnd 9:
Ch 1, blo 2 sc in first, blo sc in next 5 sts, *blo 2 sc in next, blo sc in next 5 sts; repeat from * around, join and turn. | 28 sts
Rnd 10:
Ch 1, blo 2 sc in first, blo sc in the next 6 sts, *blo 2 sc in next, blo sc in the next 6 sts; repeat from * around, join and turn. | 32 sts
Rnds 11-12:
Repeat Rnds 3-4.
Rnd 13:
Ch 1, *blo sc2tog, blo sc in the next 6 sts; repeat from * around | 28 sts
Rnd 14:
Ch 1, *blo sc2tog, blo sc in the next 5 sts; repeat from * around | 24 sts
Rnd 15:
Ch 1, skip the first st, sc2tog in next, work a puff st into the skipped st, [skip the next st, sc in next, work a puff st into the skipped st] twice, * skip the next st, sc2tog in next, work a puff st into the skipped st, [skip the next st, sc in next, work a puff st into the skipped st] twice; repeat from * until the last 3 sts, skip the next st, sc2tog in next, work a puff st into the skipped st, join and turn. | 20 sts
Join The Kindest Community
Join our vibrant community of crafters on Facebook today. Whether you enjoy crafting with others or simply have burning questions, we’ve got you covered – join us now!
Begin to stuff the Egg with fiberfill as you go, being careful to not overstuff. We don’t want the stitches to look stretched.
Rnd 16:
Ch 1, skip the first st, sc2tog in next, work a puff st into the skipped st, skip the next st, sc in next, work a puff st into the skipped st, * skip the next st, sc2tog in next, work a puff st into the skipped st, skip the next st, sc in next, work a puff st into the skipped st; repeat from * around, join. | 16 sts
Fasten off, leaving a long end, and complete the stuffing. With a yarn needle, run the yarn end through the front loops of the remaining stitches and pull closed.
Finishing
Weave in any remaining ends. Gently shape the egg with your hands so it sits nicely on its stand, or in a basket.
At this point, you can either stop here and admire your eggcellent work…or make a few more, because one egg is never enough.
Looking for more spring patterns?
🪻 Braided Wheat Stitch™ Easy Summer Top
🪻 Granny Square Flower Bag
🪻 Hello Sunshine Blanket Pillow
🪻 Boho Pineapple Wrap
🪻 Hummingbird Cardi
Cheers, and happy crocheting!
Well, That Was Fun! What’s Next?