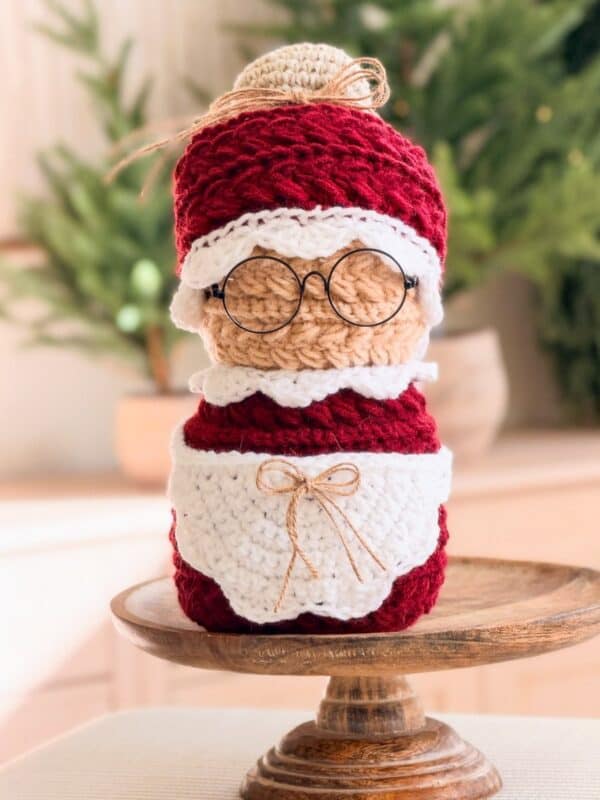
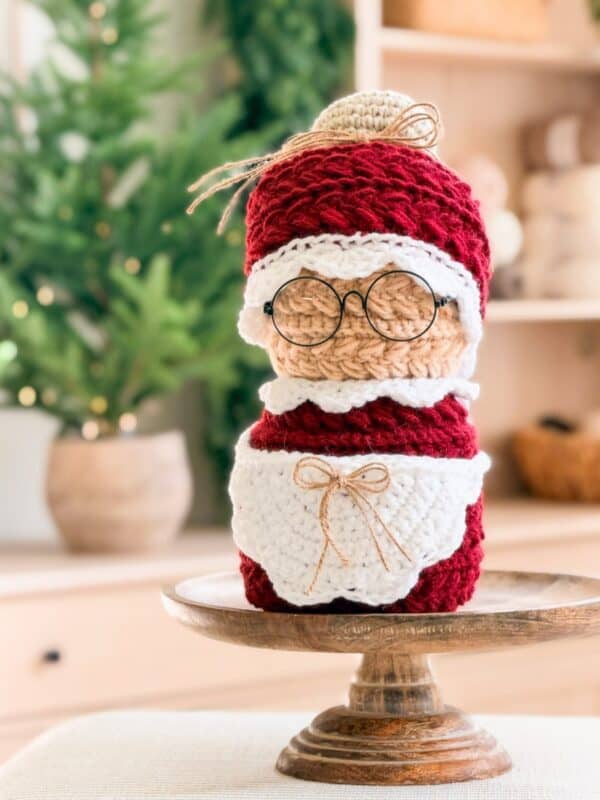
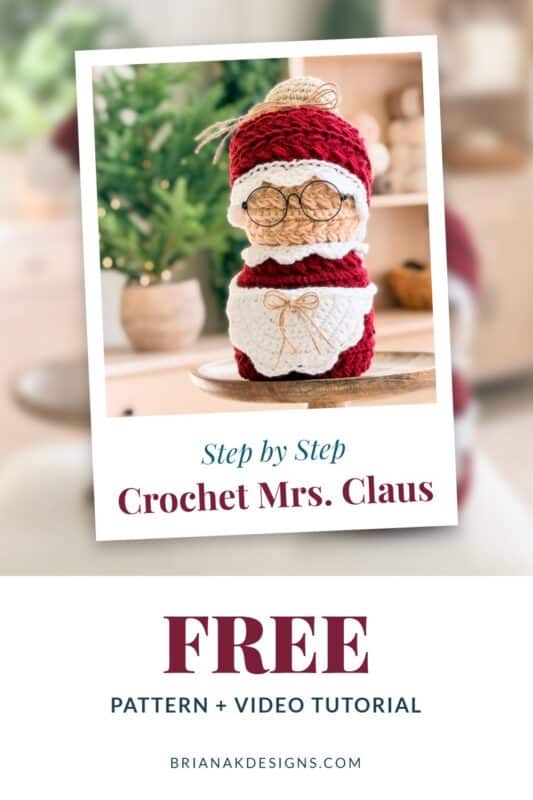
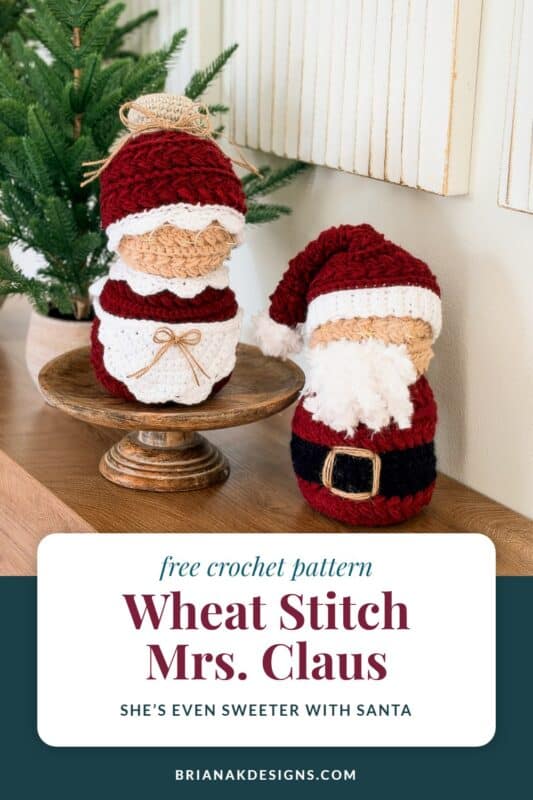
Move over, Santa, the real boss of the North Pole has arrived! Meet my Wheat Stitch Mrs. Claus, the sweetest little lady on the mantel. This free Mrs. Claus crochet pattern gives you a cozy cutie with a tiny gray bun, a scalloped bonnet, and an apron that actually ties, all finished off with jute twine bows.
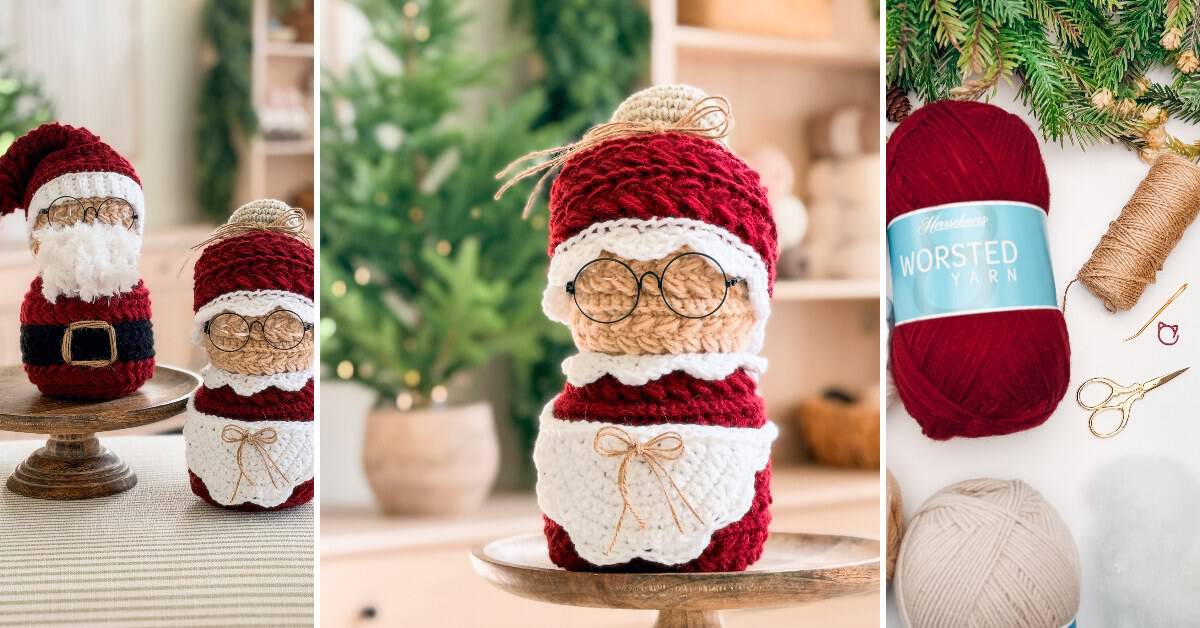
Her dress is worked in my signature Wheat Stitch™, so she’s got all that squishy, braided texture you know and love. She’s made in one piece from the top of her head down, so there’s no head to sew on and no arms to attach. And her bonnet? It grows right off her bun, so there’s nothing to stitch onto the top of her head. (Scallops on the bonnet, the collar, and the apron, and once you’ve made one, you’ve got all three!)
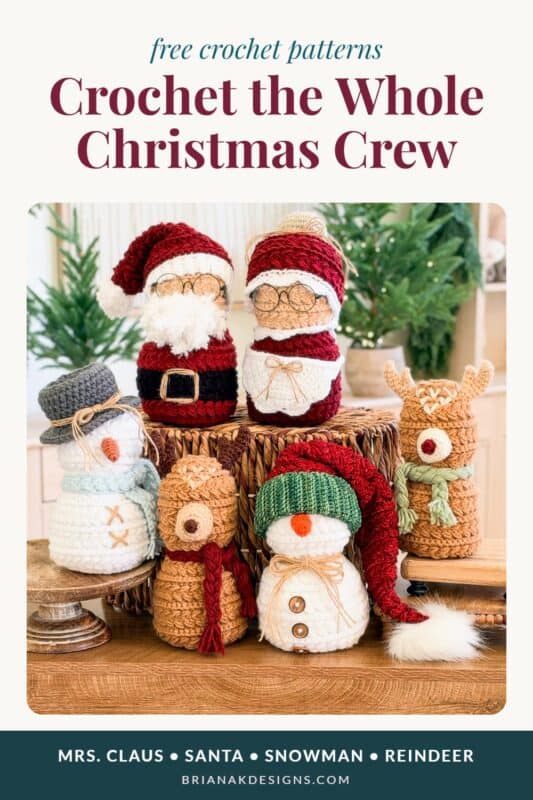
Of course, she’d never let Santa go anywhere alone! Pair her with her favorite guy, the Wheat Stitch Santa Claus, then fill out the North Pole crew with the Wheat Stitch Snowman and Wheat Stitch Reindeer. And if you want to match the whole Claus family this Christmas, the free Wheat Stitch Santa & Elf Stocking Hat comes in sizes newborn to adult large.
Disclosure: This post contains affiliate links. Please read my disclosure for more info.
Before You Hook: Wheat Stitch Mrs. Claus Crochet Pattern Details
🧶 Yarn Used: Herrschners Worsted 8
⚖️ Yarn Weight: #4 Worsted Weight
🧵 Featured Stitch: Wheat Stitch™ with scalloped edges
🪝 Hook Size: US G (4.0mm) and H (5.0mm) Crochet Hooks
📏 Sizes: One size, about 10″ tall and 5.5″ wide.
🩷🩷🩷🤍 Difficulty level: Intermediate
🕐 Approx Crochet Time: About 6 to 8 hours, usually spread across a couple of evenings. Plan your own with the free Crochet Time Estimator.
🏷️ Project Type: A cozy tabletop Mrs. Claus for your mantel, cake stand, or tiered tray, and a sweet handmade gift, too!
Save for Later • Get a Summary • Pick Up Where You Left Off
Why You’ll Love This Mrs. Claus Crochet Pattern
Wheat Stitch Mrs. Claus Crochet Pattern Supplies
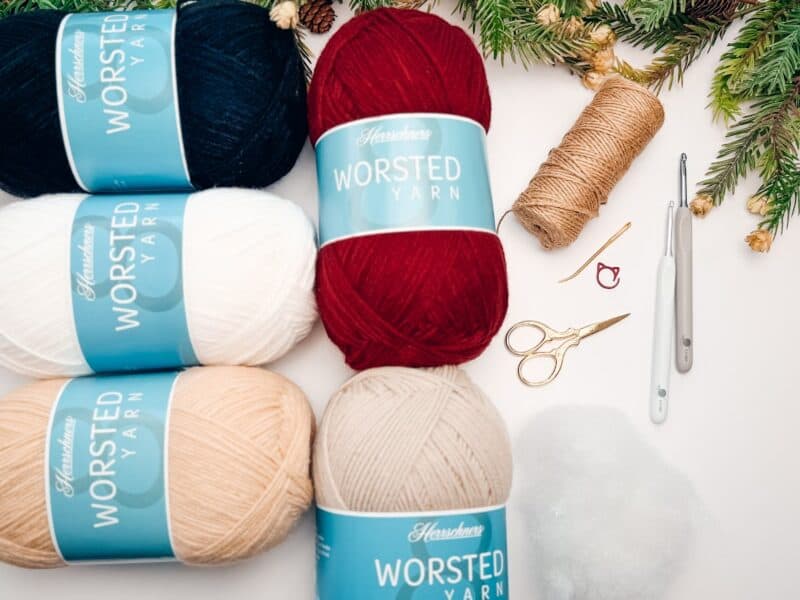
Yarn
Herrschners Worsted 8
100% Acrylic, 489yds/226g, #4 Worsted Weight
Colors shown: Sandstone, Wine (Red), White, and Slate
Crochet Hooks
G (4.0mm) and H (5.0mm) Crochet Hooks, or the size needed to obtain gauge
Yarn Quantities
Sandstone: about 80 yds
Wine: about 190 yds
White: about 65 yds
Slate: about 30 yds
Notions
Scissors
Yarn Needle
Removable Stitch Marker
Fiber Fill
Jute Twine
Doll Glasses (optional)
Be sure to check out the full pattern tips below
Yarn Substitutions
Want to crochet from your stash? Any #4 worsted acrylic with good stitch definition works for Mrs. Claus. Here are my favorites:
- Mary Maxim Starlette: 100% Acrylic, 180yds/100g, #4 Worsted Weight
- WeCrochet Brava Worsted: 100% Premium Acrylic, 218yds/100g, #4 Worsted Weight
- Herrschners Worsted 8 Sparkle: 100% Acrylic, 489yds/226g, #4 Worsted Weight
Swapping yarns? My tips on choosing a yarn substitute that behaves the same will help you pick a good match.
Skill Level
Intermediate. If you’re comfortable with a magic ring, back loop only stitches, puff stitches, sc2tog, color changes, joined and turned rounds, continuous rounds, and double crochet scallops, you’ve got this! New to any of those? The video tutorial walks you through every step.
Sizing & Finished Measurements
One size, about 10″ tall and 5.5″ wide. Changing the yarn weight will change the size.
Abbreviations
- blo: back loop only
- ch: chain
- dc: double crochet
- flo: front loop only
- puff st: puff stitch
- RS: right side
- sc: single crochet
- sc2tog: single crochet two together
- sl st: slip stitch
- st(s): stitch(es)
- WS: wrong side
- YO: yarn over
Gauge
Gauge isn’t critical for this pattern, and the practice swatch is optional. If you’re struggling to match it, What is Crochet Gauge and How To Fix It covers what to adjust and how.
Gauge Instructions
Row 1 (WS): Ch 21, sc in the 2nd ch from the hook and in each ch across, turn. | 20 sts
Row 2 (RS): Ch 1 (turning ch does not count as a st throughout), blo sc in each st across, turn.
Rows 3 and 4: Ch 1, [skip the next st, sc in next, work a puff st into the skipped st] work across, turn.
Rows 5 and 6: Ch 1, blo sc in each st across, turn.
Repeat Rows 3 to 6 three more times and then measure gauge. Adjust as needed.
Special Stitches Used in This Pattern
Puff Stitch: Yarn over and insert your hook into the skipped stitch. Yarn over again and pull up a long loop. Yarn over and insert your hook into the same skipped stitch. Yarn over again and pull up a long loop (5 loops on the hook). Yarn over and pull through the first 4 loops, yarn over and pull through the remaining loops.
Clean Sc: Insert your hook into the left bar of the sc just made, then insert into the next stitch or row edge space. YO and pull up a loop, then pull through the first loop on the hook. YO and pull through the remaining two loops on the hook. You can watch it in my tutorial on crocheting a clean straight edge.
If the Wheat Stitch is new to you, start with my Wheat Stitch tutorial for beginners and work a small swatch first.
Important Pattern Notes
This pattern uses standard US terminology. I use affiliate links and follow GPSR compliance. Privacy and disclosure policy here.
How it is made
From the top of her head down
You’ll start at the very top of Mrs. Claus’s head with a magic ring and crochet her all in one piece, switching from Sandstone to Wine as her dress grows.
Next comes her little Slate bun, and her Wheat Stitch bonnet is crocheted right off of it, finished with a row of White scallops.
Then whip up her scalloped apron and collar, tie on two jute twine bows, and she’s ready to run the North Pole!
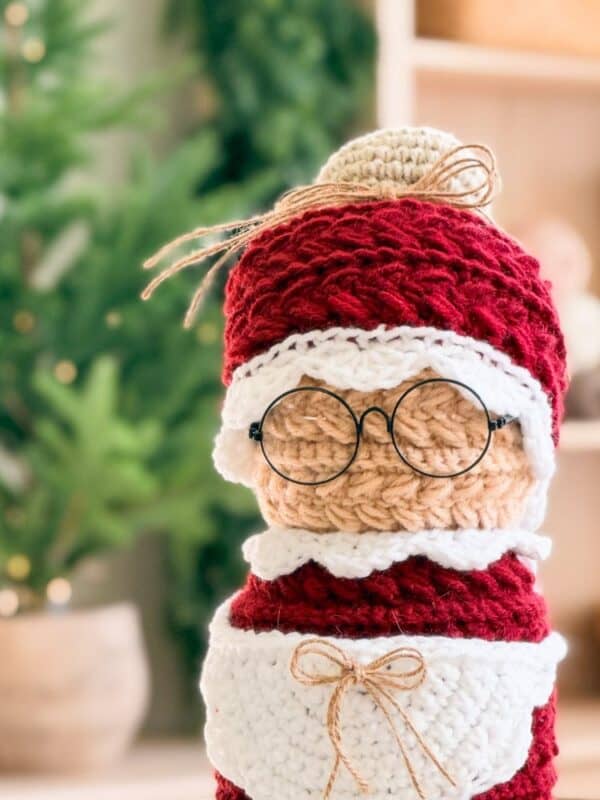
Getting Her Scalloped Collar to Fit
The collar is the one piece worth checking as you go. You’ll work it into a chain, then seam it into a circle around her neck, so before you add the scallops, wrap that chain around her neck. It should reach all the way around without stretching. (A stretched chain makes the scallops pop up instead of lying pretty.)
To adjust, add or remove chains in multiples of 6, since each 6 chains make one scallop. If you end with 2 chains left after your last scallop instead of 3, skip 1 chain and sl st in the last one.
Quick heads up: the video shows 7 scallops, but the written pattern adds 1 more for a better fit, so follow the written count!
How to Style Your Crochet Mrs. Claus
She’s the sweetest on a cake stand, a mantel, or a holiday tray right next to Santa.
Want to dress her up a little more? Here are a few fun ideas:
Embroider the apron
Stitch a simple holly sprig, a candy cane, or her initial onto the apron with yarn or embroidery floss.
Add some holly
Tuck a little holly sprig into her bun, or tack a few berries and leaves along the apron waistband.
Give her some sparkle
Thread a few tiny beads or a strand of sparkle yarn along the bonnet edge.
Add dainty spectacles
A pair of craft doll glasses makes her extra charming.
Want a whole winter wonderland? Add a few Wheat Stitch Christmas Trees in different heights, then let the snowman and reindeer join the party!
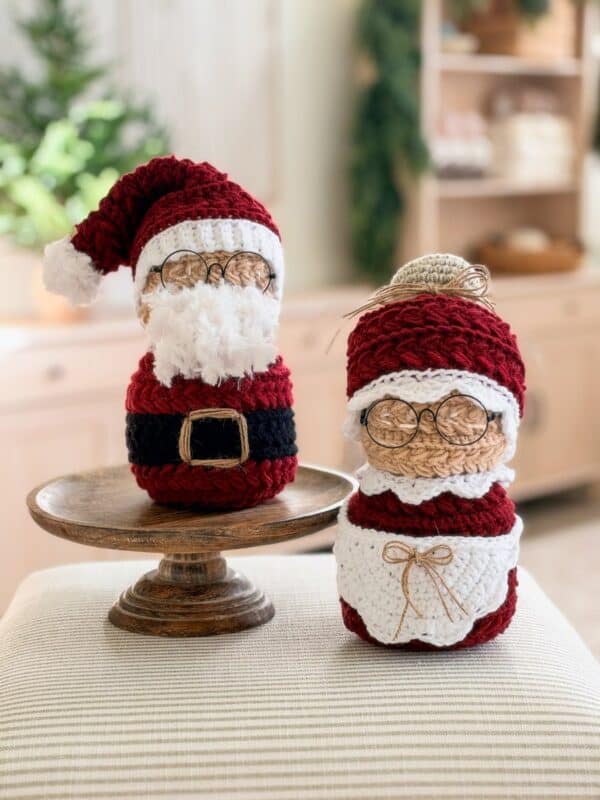
Caring for Her Scallops and Bows
Spot clean only with a damp cloth and mild soap, then let her air dry. Don’t machine wash or dry her, since the stuffing can shift and the twine bows can loosen.
If the scallops on the bonnet, collar, or apron curl, press them flat with your fingers or give them a light mist of water and let them dry in place. To reshape her, squeeze and roll the body back into shape and straighten the bonnet and apron.
Store her in a cool, dry spot in a box or bag with a little room so nothing gets squished, and keep her out of direct sunlight so the Wine doesn’t fade.
Watch the Wheat Stitch Mrs. Claus Video Tutorial
Prefer to crochet along? The video tutorial covers the body, the bun and bonnet, the apron, and the collar.
Wanna Crochet Along?
Also in the Briana K App
Included with your purchase. Check off every row as you go. See how it works
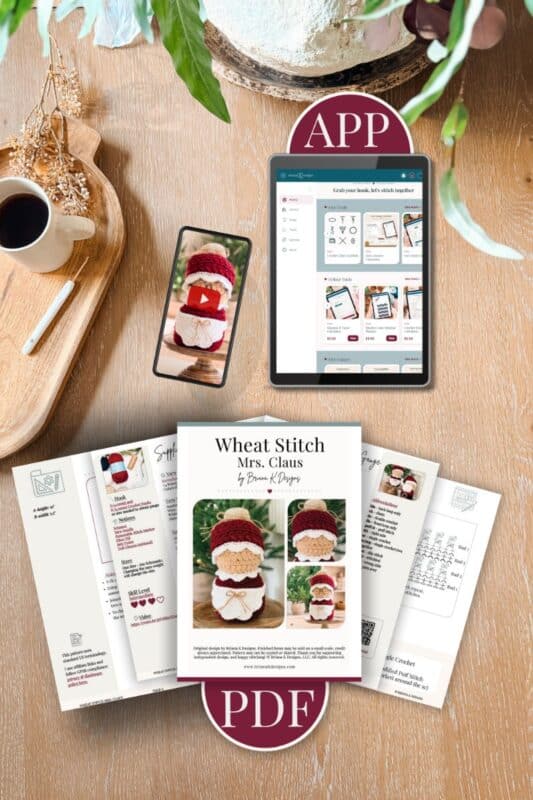
In the app
RND 1Magic ring, sc 12
RND 2Blo 2 sc in each st
RND 3Wheat Stitch puff round
Get the pattern
Wheat Stitch Mrs. Claus
Relax and crochet with no ads. Beautifully formatted for printing and taking with you anywhere.

Add your email in the box below to unlock this pattern to view on the blog for free. I’m thrilled to share this amazing crochet pattern with you! Please don’t copy, paste, or distribute this pattern. Prefer an ad-free experience? Purchase a digital PDF file for a small fee from one of my online stores. I appreciate your support and readership. You are why I can keep doing what I love and sharing it with others. Thank you from the bottom of my heart.
Wheat Stitch Mrs. Claus Free Crochet Pattern
Rnd 6: Ch 1, blo 2 sc in first, blo sc in the next 2 sts, *blo 2 sc in next, blo sc in the next 2 sts; repeat from * around, join and turn. | 48 sts
Rnds 7 and 8: Repeat Rnds 3 and 4.
Rnds 9 and 10: Ch 1, blo sc in each st around, join and turn. | 48 sts
Rnds 11 to 14: Repeat Rnds 7 to 10.
Rnds 15 and 16: Repeat Rnds 3 and 4.
Rnd 17: Ch 1, *blo sc2tog; repeat from * around, join and turn. | 24 sts
Rnd 18: Join Wine, ch 1, blo 2 sc in each st around, join and turn. | 48 sts
Rnds 19 and 20: Repeat Rnds 3 and 4.
Stuff the head.
Rnd 21: Ch 1, blo 2 sc in first, blo sc in the next 3 sts, *blo 2 sc in next, blo sc in the next 3 sts; repeat from * around, join and turn. | 60 sts
Rnd 22: Ch 1, blo sc in each st around, join and turn. | 60 sts
Rnds 23 and 24: Repeat Rnds 3 and 4.
Rnds 25 and 26: Ch 1, blo sc in each st around, join and turn. | 60 sts
Rnds 27 to 30: Repeat Rnds 7 to 10.
Rnds 31 and 32: Repeat Rnds 3 and 4.
Begin stuffing the body and continue stuffing as you go.
Free for crocheters
Crochet with me in the Stitch app
Track your rows, save your patterns, play crochet games and share your makes in the Stitch Community, all in one free app.
Rather chat on Facebook? Join Briana K Community
Rnd 33: Ch 1, *blo sc2tog, blo sc in the next 4 sts; repeat from * around, join and turn. | 50 sts
Rnd 34: Ch 1, *blo sc2tog, blo sc in the next 3 sts; repeat from * around, join and turn. | 40 sts
Rnd 35: Repeat Rnd 3. | 40 sts
Rnd 36: Ch 1, *blo sc2tog, blo sc in the next 2 sts; repeat from * around, do NOT join or turn, work continuously for the remaining rnds. | 30 sts
Rnd 37: *Sc2tog, sc in the next st; repeat from * around. | 20 sts
Rnd 38: Sc2tog around. | 10 sts
Rnd 39: Sc2tog around. | 5 sts
Fasten off leaving a tail. Use the tail end to loop through the 5 sts and pull closed. Weave in end.
Bun
With Slate and G (4.0mm) Hook
The bun is worked in continuous rounds. Do not join or turn.
Rnd 1: Inside a Magic Ring, sc 6, do not join and work continuously. | 6 sts
Rnd 2: 2 sc in each st around. | 12 sts
Rnd 3: *2 sc in next st, sc in the next st; repeat from * around. | 18 sts
Rnd 4: Sc in the first st, *2 sc in the next st, sc in the next 2 sts; repeat from * to the last 2 sts, 2 sc in the next st, sc in the last st. | 24 sts
Rnd 5: *2 sc in the next st, sc in the next 3 sts; repeat from * around. | 30 sts
Rnds 6 to 8: Sc in each st around. | 30 sts
Rnd 9: *Sc2tog, sc in the next 3 sts; repeat from * around. | 24 sts
Rnd 10: *Sc2tog, sc in the next 2 sts; repeat from * around. | 18 sts
Rnd 11: *Sc2tog, sc in the next st; repeat from * around. | 12 sts
Sl st in the next st and fasten off. Stuff the bun. Thread the starting tail onto your yarn needle and pass it straight down through the center of the bun and back up 2 times, pulling snug to create the dimple. Weave in.
Bonnet
With H (5.0mm) Hook
The bonnet is worked straight off the bun in joined and turned rounds.
Rnd 1 (WS): Join Wine with a sl st in the next st, ch 1, blo 2 sc in each st around, join and turn. | 24 sts
Rnd 2 (RS): Ch 1, *blo 2 sc in the next st, blo sc in the next st; repeat from * around, join and turn. | 36 sts
Rnds 3 and 4: Ch 1, skip the first st, sc in next, work a puff st into the skipped st, *skip the next st, sc in next, work a puff st into the skipped st; repeat from * around, join and turn. | 36 sts
Rnd 5: Ch 1, blo sc in the first st, *blo 2 sc in the next st, blo sc in the next 2 sts; repeat from * to the last 2 sts, blo 2 sc in next st, blo sc in the last st, join and turn. | 48 sts
Rnd 6: Ch 1, blo sc in each st around, join and turn. | 48 sts
Rnds 7 and 8: Repeat Rnds 3 and 4.
Rnds 9 and 10: Ch 1, blo sc in each st around, join and turn. | 48 sts
Rnd 11: Repeat Rnd 3. | 48 sts
Rnd 12 (RS): Ch 1, skip the first st, sc in next, work a puff st into the skipped st, *skip the next st, sc in next, work a puff st into the skipped st; repeat from * around, join. Do not turn. | 48 sts
Rnd 13 (RS): Join White, ch 1, sc in the first st, Clean Sc in each st around, join. Do not turn. | 48 sts
Rnd 14 (RS): Ch 1, *sl st in next st, skip the next 2 sts, 5 dc in next st, skip the next 2 sts; repeat from * around, join with a sl st to the first st. | 8 scallops
Fasten off and weave in ends. Place the bonnet on the head, tilted back slightly, and tack in place.
Apron
With White and G (4.0mm) Hook
The apron is worked flat as a half circle, with the straight edge at the waist.
Row 1: Inside a Magic Ring, ch 1, sc 3, turn. | 3 sts
Row 2: Ch 1, 2 sc in each st across, turn. | 6 sts
Row 3: Ch 1, *2 sc in the next st, sc in the next st; repeat from * across, turn. | 9 sts
Row 4: Ch 1, *2 sc in the next st, sc in the next 2 sts; repeat from * across, turn. | 12 sts
Row 5: Ch 1, *2 sc in the next st, sc in the next 3 sts; repeat from * across, turn. | 15 sts
Row 6: Ch 1, *2 sc in the next st, sc in the next 4 sts; repeat from * across, turn. | 18 sts
Row 7: Ch 1, *2 sc in the next st, sc in the next 5 sts; repeat from * across, turn. | 21 sts
Row 8: Ch 1, *2 sc in the next st, sc in the next 6 sts; repeat from * across, turn. | 24 sts
Row 9: Ch 1, *2 sc in the next st, sc in the next 7 sts; repeat from * across, turn. | 27 sts
Row 10 (Scallop Edge): Ch 1, 3 dc in the first st, sl st in the next st, *skip the next st, 5 dc in the next st, skip the next st, sl st in the next st; repeat from * 5 more times, 3 dc in the last st. | 6 scallops and 2 half scallops
Do not fasten off.
Waistband & Ties: Ch 35, sl st in the 2nd ch from the hook and in each ch across, back to the apron. Working along the straight top edge, sc in the first row end, Clean Sc in each row end across, working 1 st in each sc row end and 2 sts in each dc edge. Ch 35, sl st in the 2nd ch from the hook and in each ch back to the apron. | 22 sts across the top
Fasten off and weave in ends.
Collar
With White and G (4.0mm) Hook
The collar is worked into a chain, then seamed into a circle around the neck. Before working the scallops, wrap the chain around the neck. It should reach all the way around without stretching. Stretching makes the scallops pop up. To adjust, add or remove chains in multiples of 6. Each 6 chs is one scallop.
Leave a 10″ starting tail.
Row 1: Ch 50, sl st in the 2nd ch from the hook, *skip the next 2 chs, 5 dc in the next ch, skip the next 2 chs, sl st in the next ch; repeat from * across. | 8 scallops
If you end with 2 chs left after your last scallop instead of 3, skip 1 ch and sl st in the last ch. The video shows 7 scallops; the written pattern adds 1 more scallop for a better fit around the neck.
Fasten off leaving a 10″ tail.
Finishing
Wrap the collar around the neck with the scallops facing down. Use the tails to seam the ends together at the back, then tack the collar to the body.
Wrap the apron around the front of Mrs. Claus over the Wine body and tie it in a bow at the back. Tack it in place if you’d like.
Twine Bows: Cut 2 lengths of jute twine about 12 to 18″ each. Wrap one around the base of the bun and tie it in a bow. Tie the other in a bow and tack it to the center of the apron waistband.
Weave in any remaining ends, and add a pair of dainty spectacles. Your sweet Mrs. Claus is ready to bring some cozy cheer to your holiday decor!
Mrs. Claus Crochet Pattern FAQs
How long does it take to crochet Mrs. Claus?
Plan on about 6 to 8 hours, usually spread across a couple of evenings. The body takes the longest at 39 rounds. The bun, bonnet, apron, and collar are each quick on their own, and they make a nice change of pace after all those body rounds.
Do I need to sew anything on Mrs. Claus?
Very little. The bonnet is worked right off the bun, so you only tack it in place on her head. The collar gets a quick seam at the back and a few tacking stitches, and the apron simply ties around her. That’s it, no arms or head to attach.
Is this Mrs. Claus pattern beginner friendly?
It’s rated Intermediate. You’ll work puff stitches, back loop only rounds, decreases, color changes, continuous rounds, and double crochet scallops. If you’ve finished a project or two in the round, you’ll be fine, especially with the video tutorial open next to the written pattern.
Can I make her bigger or smaller?
Yes. Changing the yarn weight changes the size, so a bulkier yarn and a bigger hook will make a bigger Mrs. Claus. If you change her size, check the collar chain against her neck before working the scallops, and keep the fabric dense so the stuffing doesn’t show through.
Can I sell the Mrs. Claus I make?
Yes, finished items may be sold on a small scale, and credit back to Briana K Designs is always appreciated. The pattern itself can’t be copied or shared.
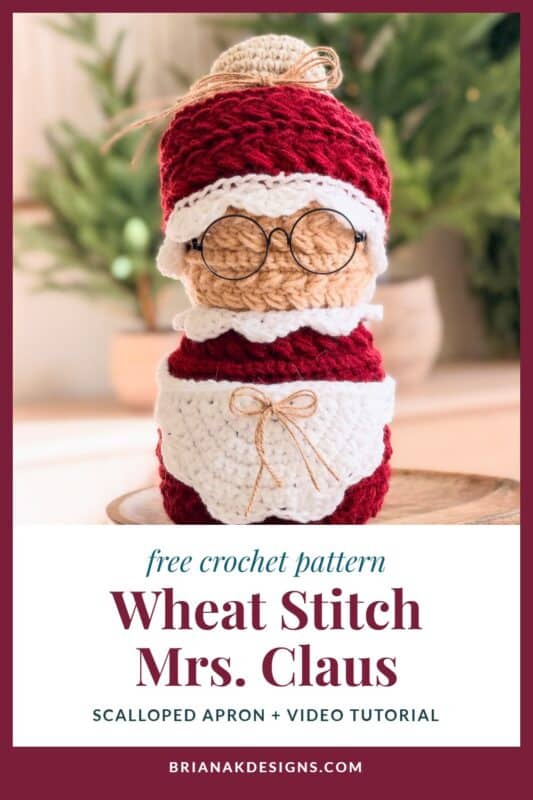
📌 Save her for later! Pin one of these to your Christmas crochet board.
Hook down? Not so fast…
I’d Love to See Yours!
You made something beautiful. Here’s how to keep it, show it off, and inspire the next maker.
More Crochet Patterns You’ll Love
Decking the halls? These festive Wheat Stitch™ patterns pair perfectly with Mrs. Claus:
🥂 Cheers, and happy crocheting!
Get the Wheat Stitch Mrs. Claus Pattern
Printable Version
This pattern is free to read here on the blog. The ad-free printable PDF is available in the Briana K Designs shop on Etsy and Ravelry.
brianakdesigns.com
The complete written pattern is free right here on the blog.
If you’d rather have a printable copy without ads, the PDF includes the stitch chart, the schematic, the video link, and Easy Print pages for when you’re short on ink. It also unlocks the interactive version in the Briana K app.
Made your own Mrs. Claus? I’d love to see her! Tag #brianakdesigns so I can find her.
Well, That Was Fun. What’s Next?
Who are you making for this year?
Keep the hook movingReaders Are Loving
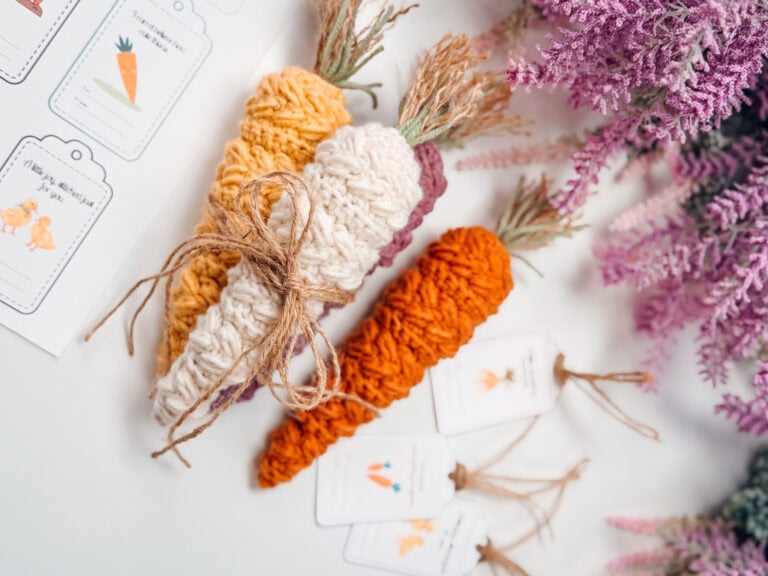 Wheat Stitch Carrot
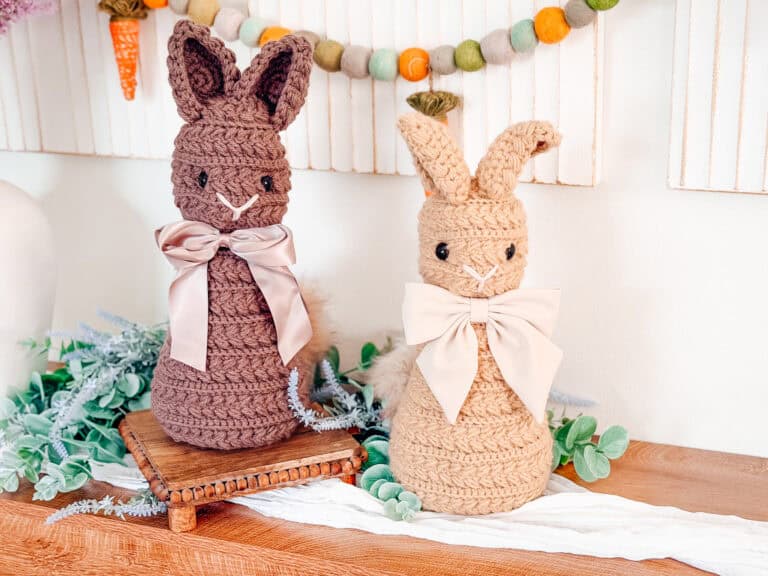 Wheat Stitch Bunny
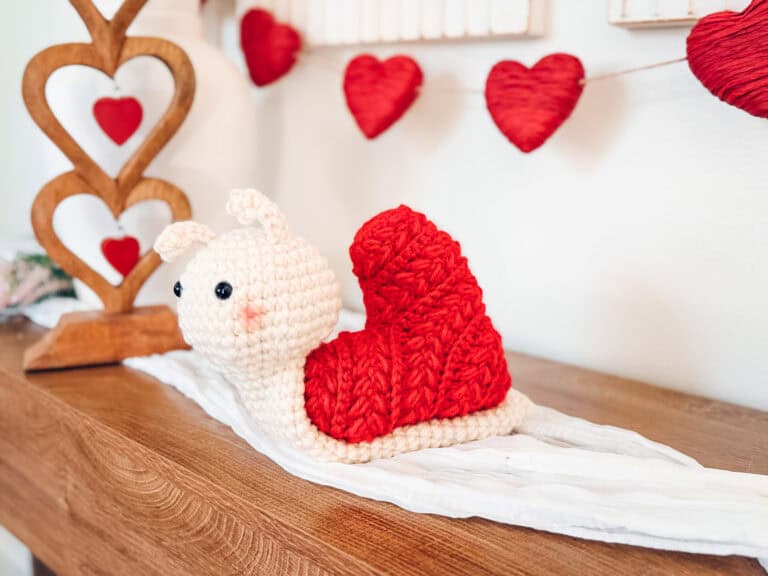 Wheat Stitch Snail
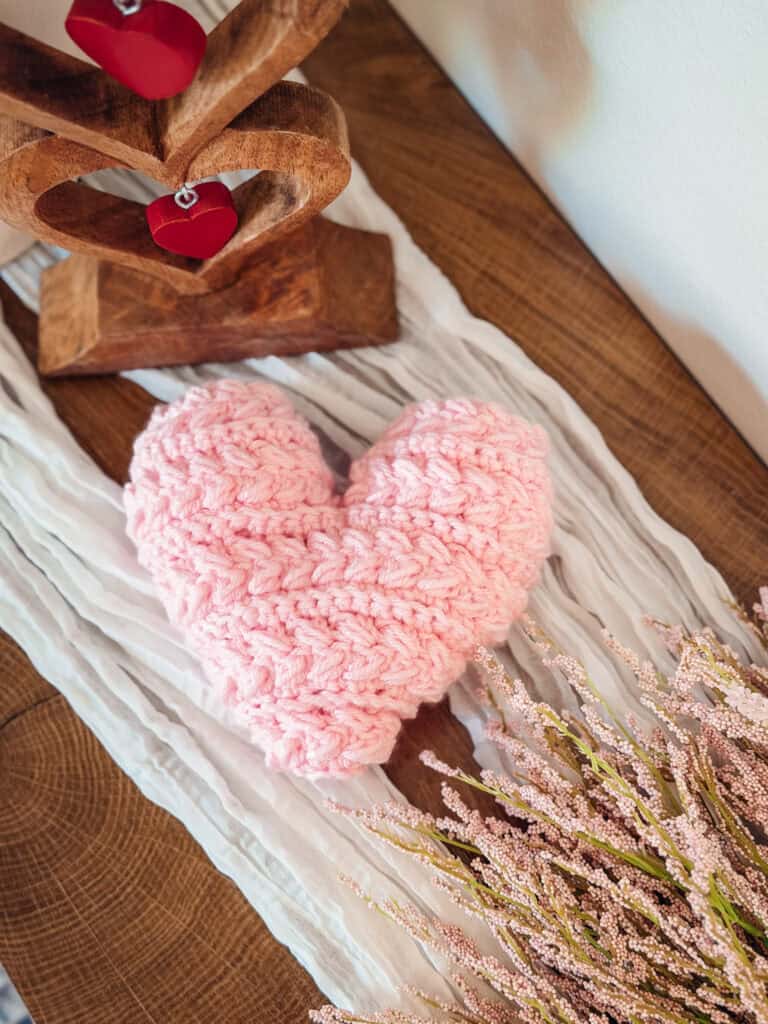 Wheat Stitch Heart